spruing and investing the wax models

So now I finally have something to cast! Time to start tearing through those unpacked boxes and find everything I need. Tongs, check! Torch, check! Casting investment, check-check!

Okay, I'm scared to death of this step. But time to bite the bullet and just do it.
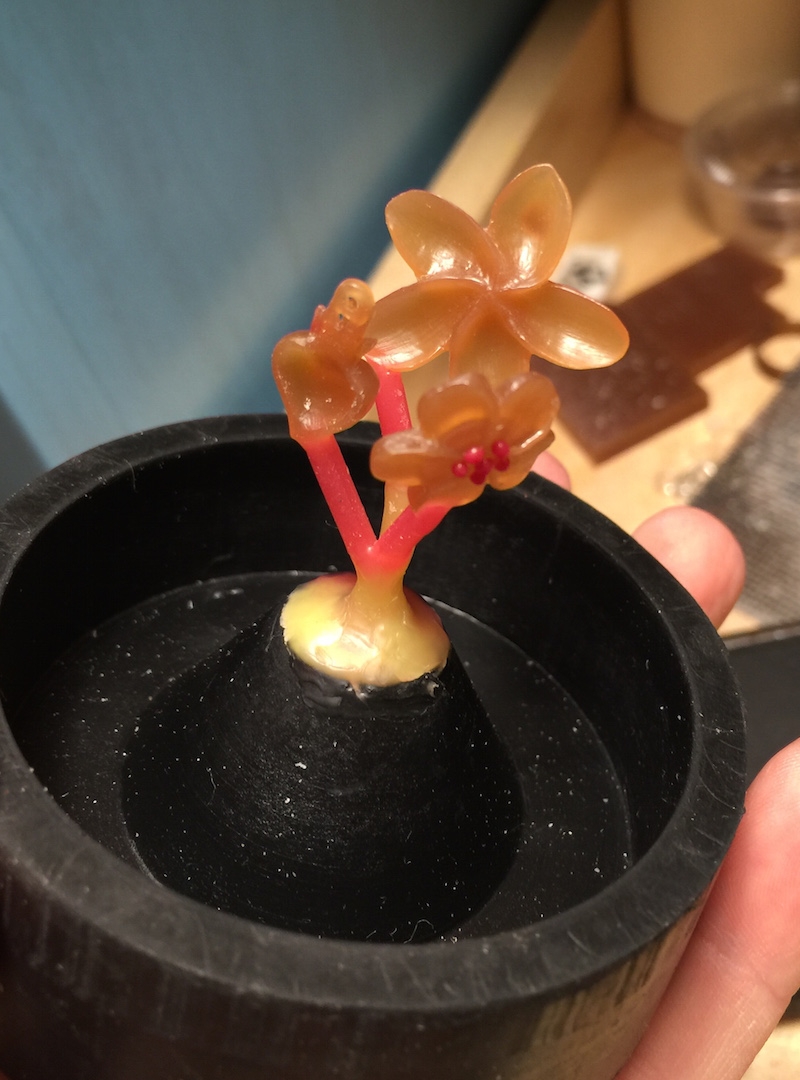
Step 1: Add the Sprues

When you're creating a lost wax model, you need to add a "sprue," which creates a tube through which molten metal travels into the model cavity in the investment (like plaster of paris).

You'll want to weigh each model with a short sprue attached on a jeweler's scale, and make a note of the weight in GRAMS on a piece of paper. You'll use this to calculate the amount of metal needed.

If you're casting multiple items at the same time, you can make a "tree" of the separate models, connected with sprues to the button. 

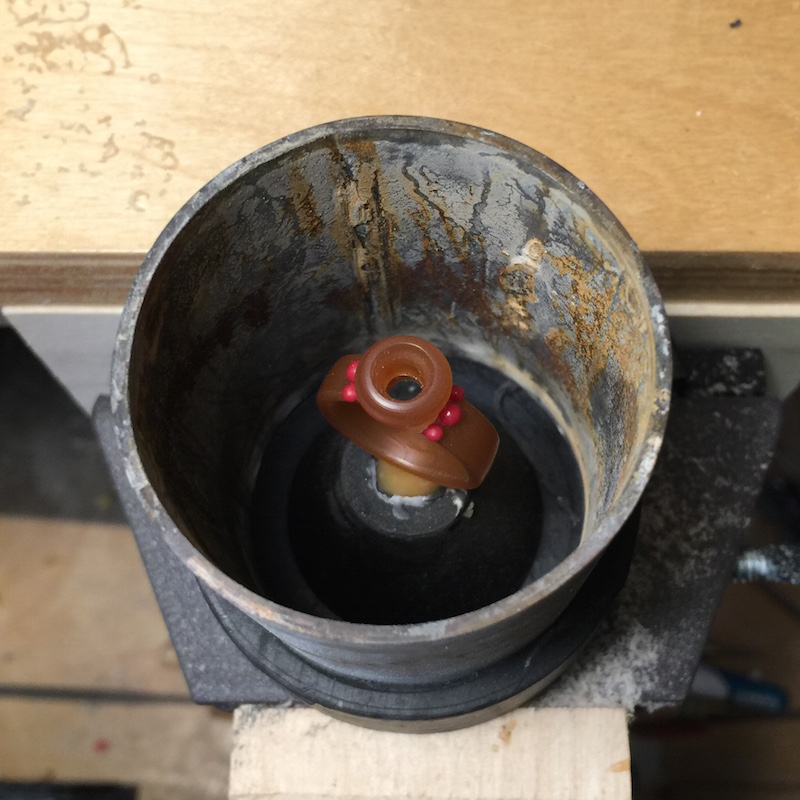
The bottom base shown on the last photo will fit onto a metal flask, which is a large stainless tube.  

Next, spray the model with a light coat of debubblizer from about 12-18 inches away. Bubbles on the model will result in little bumps...you want to avoid them at all costs!

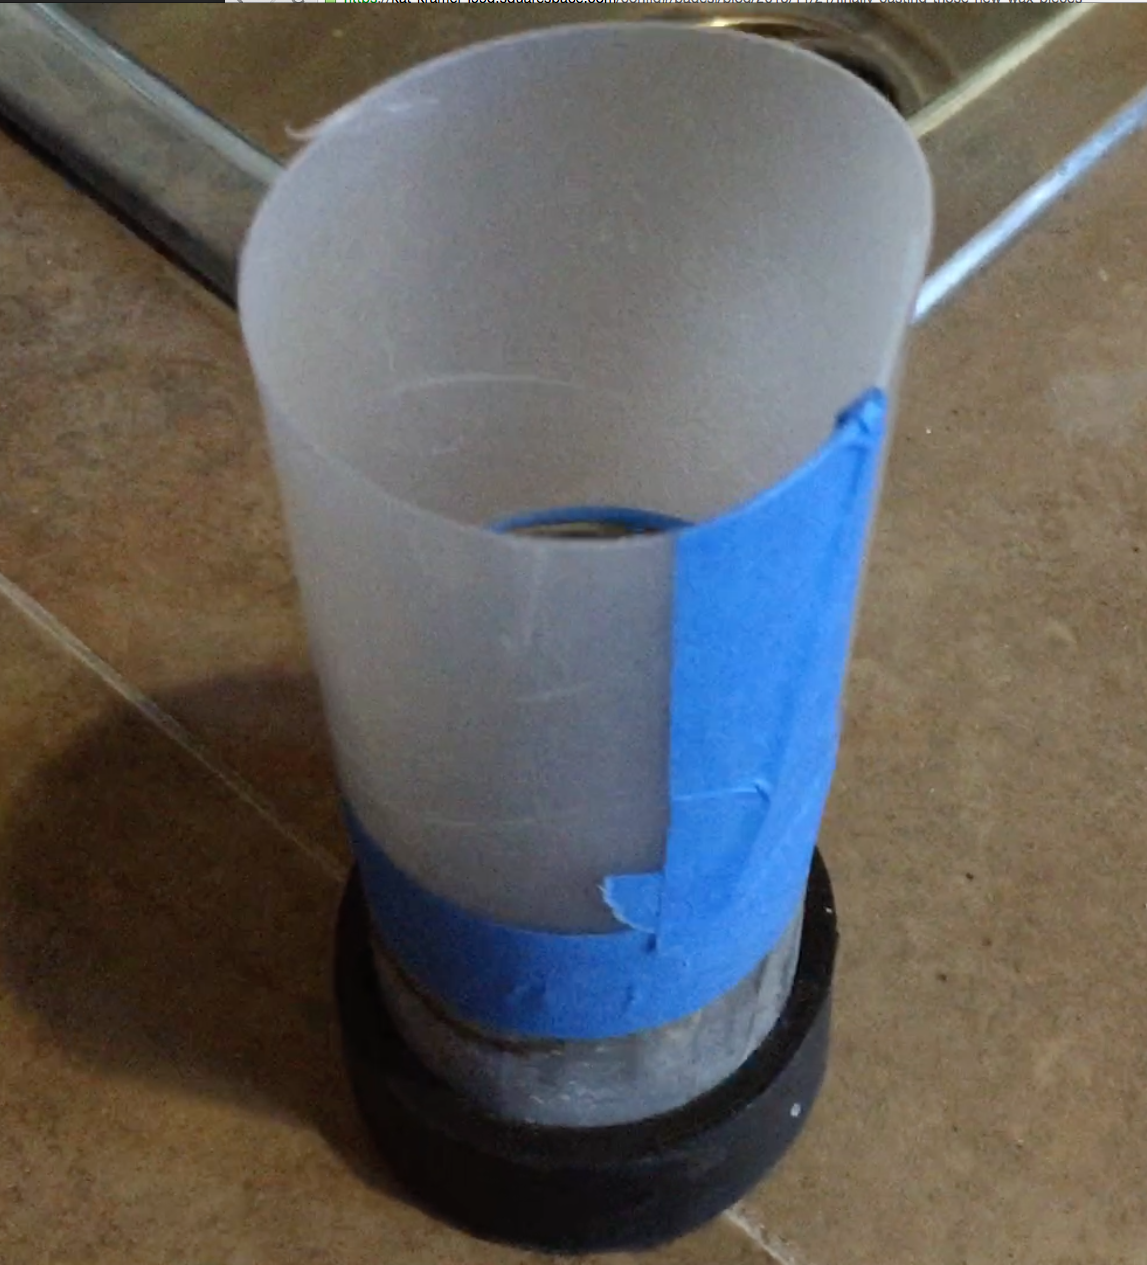
Using thin plastic, such as transparency material, create a "collar" at the top of the flask to contain the investment.

Step 2: Mix the Investment

The next step is to mix the investment, using the casting machine's vacuum chamber to remove any bubbles from the investment.

Using tables provided by the manufacturer of the investment, you carefully mix dry investment with cool water in a rubber mixing bowl. With plaster, you always add the dry plaster to water, and allow the water to seep into the dry mix...a process called "slaking." After the investment has absorbed water, you can start to mix. Kerr, the manufacturer of the investment, recommends mixing for about 3-1/2 minutes. I didn't go that long.

Step 3: Remove the Bubbles by Vacuuming

My first casting kit recommended tapping the side of the bowl to remove bubbles, but the Kaya-Cast has a vacuum chamber that lowers the pressure, causing the investment to "boil." Kerr recommends that once the investment starts to boil, vacuum an additional 20 seconds more. When the pressure is released, the bubbles disappear!

Step 4: Pour the Investment in the Flask and Vacuum Again

Carefully pour the investment down the side of the flask, never on the model itself. The investment will fill around the model from the bottom, which will help push any air bubbles to the top. Make sure that the investment is slightly below the top of the flask.

Place the flask in the vacuum chamber again, and vacuum up to 90 seconds. 

In the video, you'll notice that the sound of the vacuum is different. The bell jar was not sealing completely with the silicone pad. Pressing down on the jar fixed the problem, and since only a few seconds elapsed, I didn't have to adjust the time.

Step 5: Let the Investment Set

The next step is to let the investment set for about two hours. Once the investment has hardened, remove the collar, clean the top with a putty knife, making sure that the investment is slightly below the top edge of the flask.

Step 6: Removing the Rubber Base

Carefully twist (if possible) the rubber base, and remove it. If you can't twist it—these little suckers are pretty tight—pull one edge slightly away from the flask, then twist. It should come off. Inspect the hole to make sure that there isn't any debris.

If bits of investment get into the hole, they can become lodged in the molten metal and ruin your piece.

Step 7: Burn Out the Wax

Turn the flask upside down, and place on a metal screened based that's used for collecting wax and protecting your kiln. Using a kiln and the recommended burnout schedule from the investment manufacturer, burn out the wax. If you're using SatinCast from Kerr, the schedules are located here, or see the graphic below.

Since my flasks were 2"x2.5", 2.5"x2.5", and 2.5"x3", I should have used the five-hour burnout schedule. Larger flasks require longer burnouts. Since one of my flasks was larger than the 2.5"x2.5" limit for the 5-hour schedule, I went up to the 8-hour schedule. I probably could've done fine with the shorter schedule, or adjusted it a little longer.

I also saw that there was a large range of casting temperatures, which varies depending on the type of metal and the type of design. I was casting sterling silver from Rio Grande, which has a recommended range of 800-1200°F (427°C-649°C). I did read that centrifugal casting machines will generally cast at a higher temperature, and I know that a local studio casts at 900°F (482°C) with their centrifugal machine. There can also be problems with the quality of your casting if you cast too hot. So I chose to cast at 900°F.

So the final stage of your burnout cycle is to hold the flask at the casting temperature, which in this case was one hour at 900°F (482°C).

Kerr's recommended burnout cycle

Step 8: Calculate the Amount of Metal

Take the weight from Step 1 and make the following calculations:

  1. Add 10% for the button. Multiply the weight (or total weight of multiple pieces) x 1.1.

  2. Take the new amount, and multiple by the specific gravity of the metai you're casting. Silver is 10.36, but generally rounded up to 10.4.

  3. This is the weight in grams of your metal.

  4. Divide this number in half. You'll need at least 50% NEW metal (casting grain) and the other 50% can be scrap. Set the metal aside. Repeat for each flask.

  5. Turn on the scale, change mode to GRAMS. Place a small container on the scale and press the TARE button to zero out the scale. Add the casting grain first, and make sure that you have at least 50%. Add the rest of the scrap until you reach the total number needed.

Next...we'll cast!
a different take on wax with kate wolf

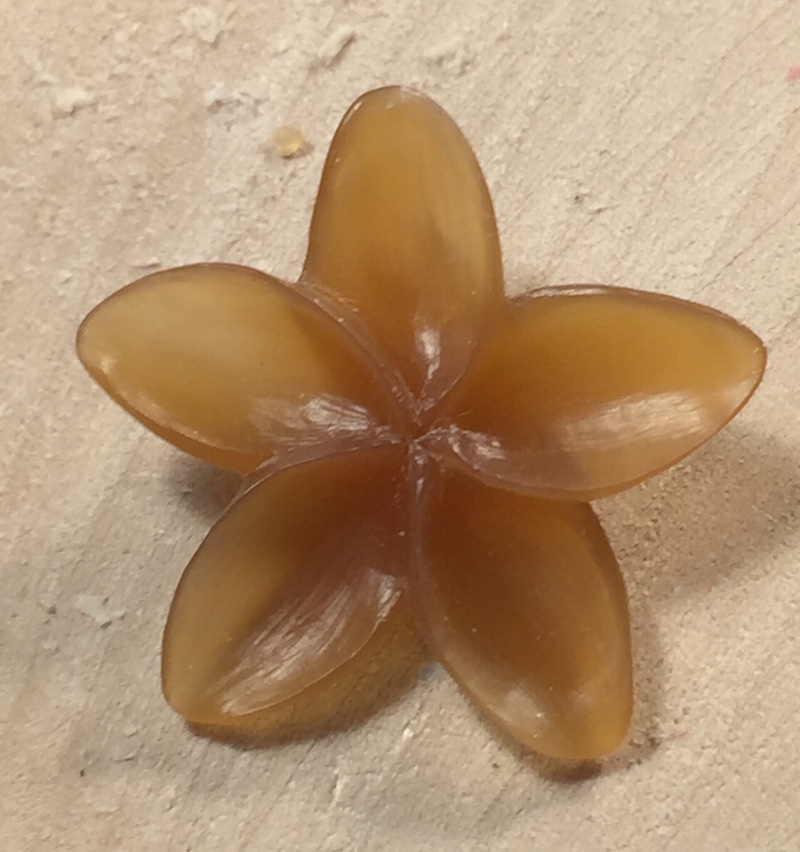
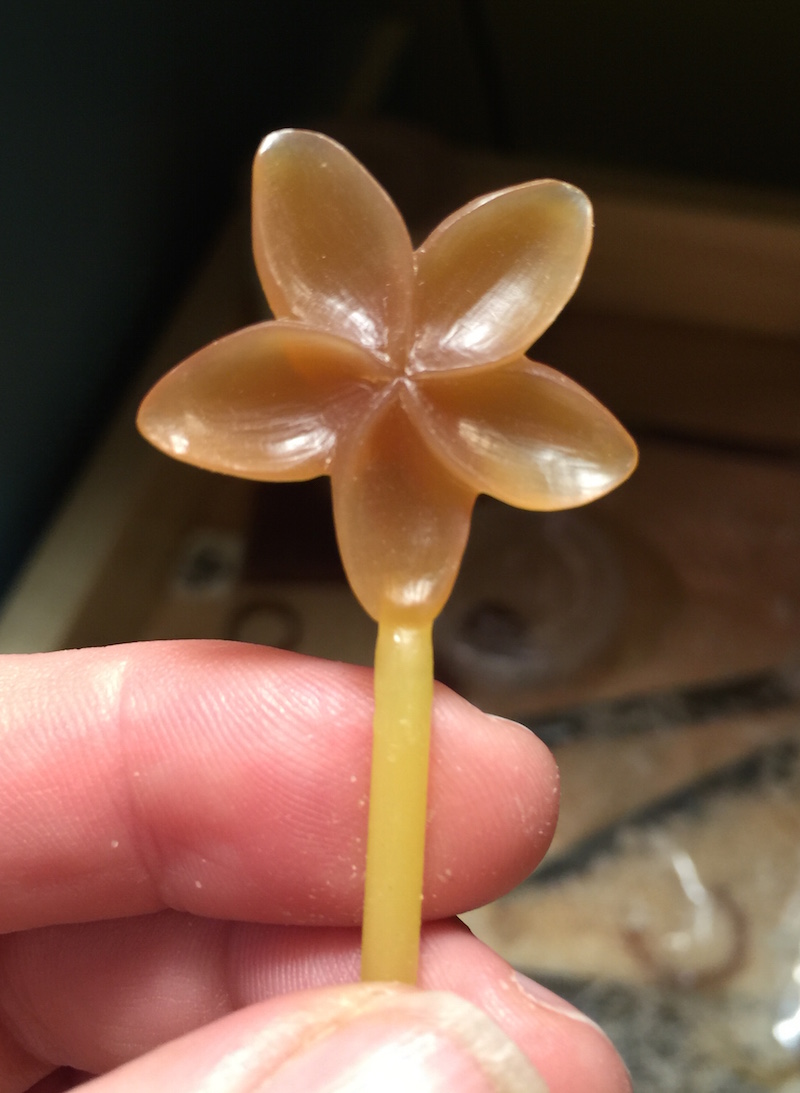
Wax model of flower for casting

Wax model of flower for casting

If you read my "About Me" page, you might have seen that my parents bought me a casting set when I was 18 as a consolation prize after a break up with my boyfriend—a kit that I still have today. Lost wax casting is a technique that's been around for thousands of years. A model is created from wax, placed into a type of high-temp plaster material, then the wax is burned out under high heat leaving a cavity, and molten metal is poured into the mold. When the metal has cooled, you have an exact replica of the wax model cast in metal.

But there was something I'd struggled with. I'd never learned anything about how to carve wax...or carve wax correctly.  Did you know that there are many types of wax available? Sure, I'd noticed that there were different colors, and I kinda understood that one wax seemed softer than another, but I was missing something. I just didn't get it. I'd bought every color of wax known to man, bought several books—including one expensive out-of-print book—but I'd gotten nowhere. Those colors were a mystery.

And I have the equipment. A Kaya-Cast vacuum casting setup. All 88 pounds of it, even hauling it back to Austin from Denver. Buying the right equipment is surely the key, right? Nope. Still missing something.

I bought dental tools, too...you know, in the olden days when your dentist actually made your crown, he used lost wax casting to make it. Some of the best instructions I'd found on the web were vintage videos on YouTube from the University of Michigan Dental School. I don't think they even use those techniques anymore.

Wolf Precision Master Carver's Kit 

Wolf Precision Master Carver's Kit 

Awhile back, I'd bought a set of beautiful Kate Wolf wax-carving tools, and piddled around with them, but still had nothing really worthy of casting. The blue wax seemed to smudge easily, but the tools were magical. The Wolf Precision Master Carvers kit contains well-made, quality tools...there had to be something I was doing wrong! I'd tried to get into a class of hers in Austin—to learn from the master herself—but they fill up quickly, so I couldn't get in.

And then the heavens opened up with an email from Creative Side Jewelry Academy in Austin. There was a cancellation in Kate Wolf's wax turning class. Turning wax on a lathe. I wasn't quite sure what I'd do with it, but it had to be good. I jumped at the opportunity. Heck, I even had a woodturning lathe. But supposedly there was no lathe needed, just a Foredom Flex Shaft, and I had one of those. I could sell the lathe on Craigslist to pay for the other things I might need.

Bezel ring turned on the lathe...

After a couple of blissful days turning in Kate's Class, I was a machine! I turned out ring after ring in wax. It was the perfect mix of technical and creative skills, and I was hooked. We made rings, bezels, and some people made little urns. We used those beautiful Wolf Tools to turn the wax. I learned it was more about lightly scraping than actually carving like you would with wood. Pieces were joined, then gaps filled with Touch-Up Wax, which was softer than the hard, golden Wolf Milling Wax. Fascinating. 

Then I got REALLY lucky. It was storming and there were floods in Central Texas. Someone couldn't make it to Kate's Figure Carving class and canceled! They made an announcement to the group, and I jumped at the opportunity to continue. It was the class I'd wanted to take for a long time. I was nervous, excited, happy...elated!

I had NO IDEA what to carve. Many people in the class came in with elaborate sketches and photos.  I settled for a flower. Kate had a great handout with flowers. I decided to go for something simple and pay a lot of attention to the details. One looked a little like a plumeria. 

Foredom Wax-Carving Pen Kit

So I started carving with a new-found appreciation and knowledge of my Wolf Tools. It was delicate work, shaving off tiny bits of HARD wax. Suddenly the different types of wax made perfect sense. When you needed to repair something, you used Touch-Up Wax, which melted at a lower temperature than the golden wax, so your wax pen didn't damage the underlying model. And I also learned that the Foredom Wax-Carving Pen that I owned and didn't like was actually GREAT! I had been using it turned up really hot, which was totally wrong. Lowering the temperature and understanding how temperature is used with wax made it perfect. And the small size of the Foredom makes it really handy to take while traveling.

Kate Wolf

Kate Wolf

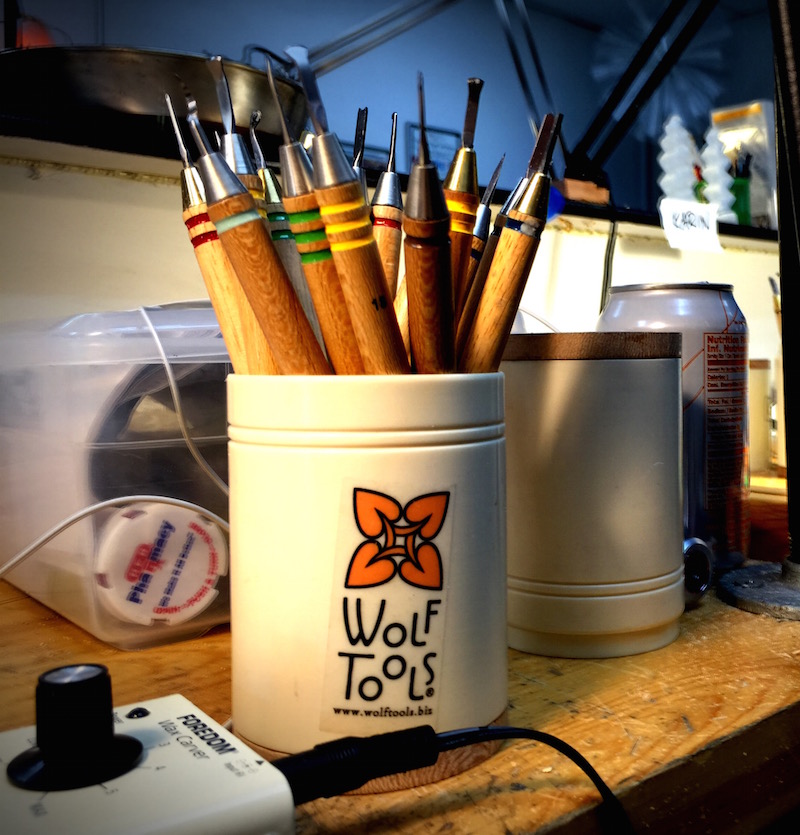
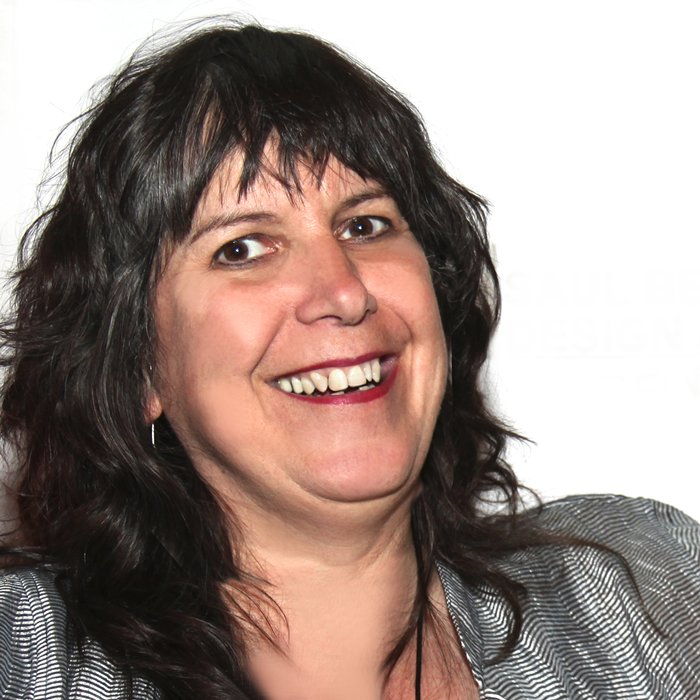
Kate Wolf is an amazing teacher, and I learned a great deal from her in the classes. If you're struggling to understand wax carving, or even someone who learned wax carving a long time ago, you could learn a lot. Not only is she a masterful teacher, but damned entertaining. She has the most hilarious stories and will keep you entertained throughout the class. I could only smile the other day when I noticed my Wolf Tools has a sticker on the container that says "Warning: Some of these tools are WICKED sharp!" Being from Maine, she says "wicked," and maybe some other words that make you giggle, a lot. :-)

when disaster strikes...rust on my expensive jeweler's files

We recently moved, and a couple of days ago I was unpacking boxes. I admit, I got lazy and left a couple of flip-top containers on the back porch, and when I unpacked them, I realized that I had a small disaster on my hands. There were damp paper towels in the box, and a small puddle of water in the bottom. All of my expensive jeweler's files were covered with rust.

I decided to tackle the worst one...the flat file, fourth from the right.

Luckily, my expensive Fretz jeweler's hammers were fine, with no rust to be found on them. A testament to Bill Fretz's excellent craftsmanship.

But what to do with the files? And these are not your run-of-the-mill Home Depot or Harbor Freight files. These are my good $35-40 European jewelers' files.

I posted a question on a forum, and got several recommendations, ranging from Barkeeper's Friend to muriatic acid (from Kevin Potter, metalsmith extraordinaire and maker of the wonderful Potter Hydraulic Press for jewelers). As my mind wandered back to a college chemistry experiment where we used acid to dissolve a paper clip, I worried even more! Could the acid destroy the file?

But since the only "acid" I had on hand was vinegar, I chose to use the recommendation of another jeweler, Catherine Franz, on that technique. I still had no idea what to expect, since a file has a lot of tiny crevices. 

It was a miraculous solution to the problem!

DISCLAIMER: I'm providing the information for you to use at your own risk...this worked on my files, and I've copied those instructions here faithfully. However, I can't be responsible for any damage done to anyone's tools! :-)

Step 1

I soaked the file in a glass dish of regular household vinegar, propping up the tang/handle of the file on a drinking straw to raise the surface off the bottom of the dish. I was really surprised to see the vinegar attack the rust. (click on the image to see the bubbles).

Step 2

I did NOT do this when I cleaned my file, but in hindsight, I should have scrubbed the file occasionally with a fine-bristle, soft brass brush or stiff toothbrush. The rust acted as a "resist," and could potentially leave a surface that's not perfectly flat. Here's a link to a brass brush similar to the one I used.

Step 3

I left the file in the vinegar for 24 hours (accidentally!). It was in the the hot Texas sun, but heating the vinegar slightly might give it a good start.

Step 4

I made a paste of baking soda and water, then used a toothbrush to clean the file and neutralize the acid. I rinsed and dried the file completely.

Step 5

I used machinist's oil to oil the file, and dabbed away the excess. I ordered some Starrett Tool and Instrument Oil from Amazon.

Anyway, my file is in better shape than it was before! Here's the result...click the image to view it larger.

The cleaned file (click to enlarge)

photographing the local wildlife...

As we're nearing the end of our stay on the Texas Gulf Coast, I realized that I hadn't spent any time photographing anything! Maybe some HDR photos on our iPhones of the sunset in the channel, and a little video of a dolphin that came up to play. 

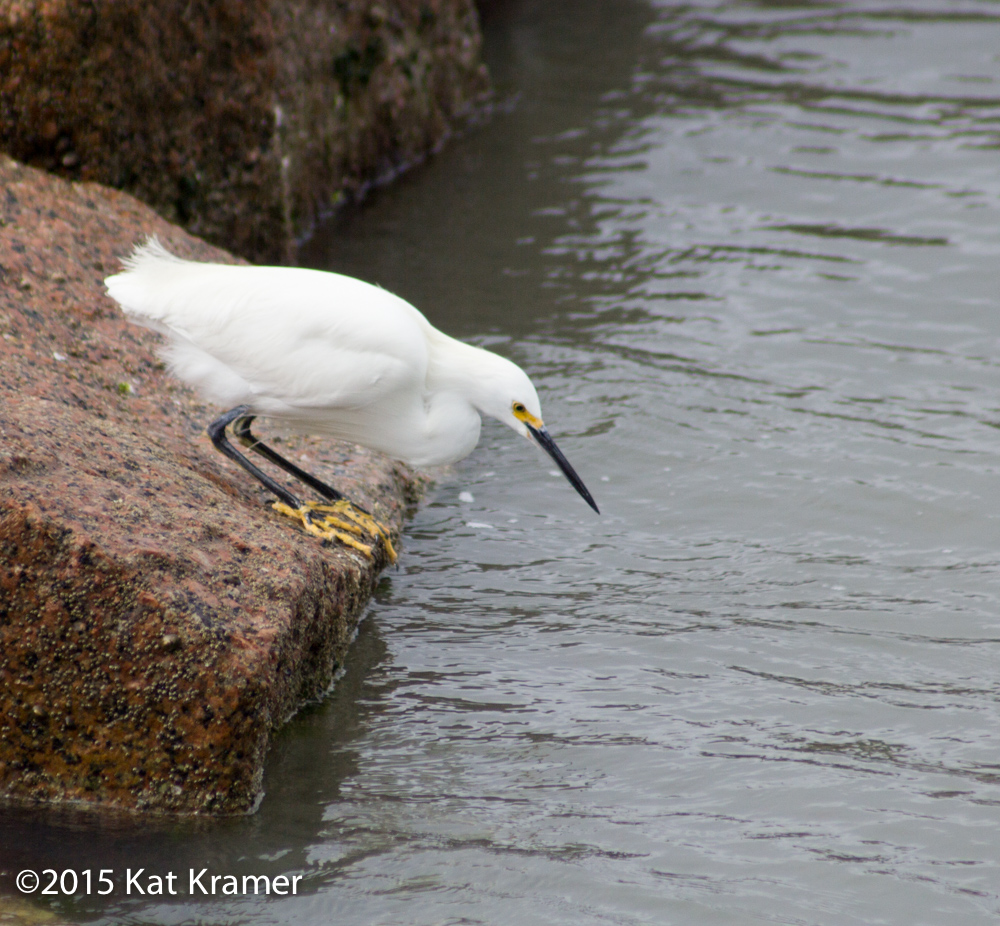
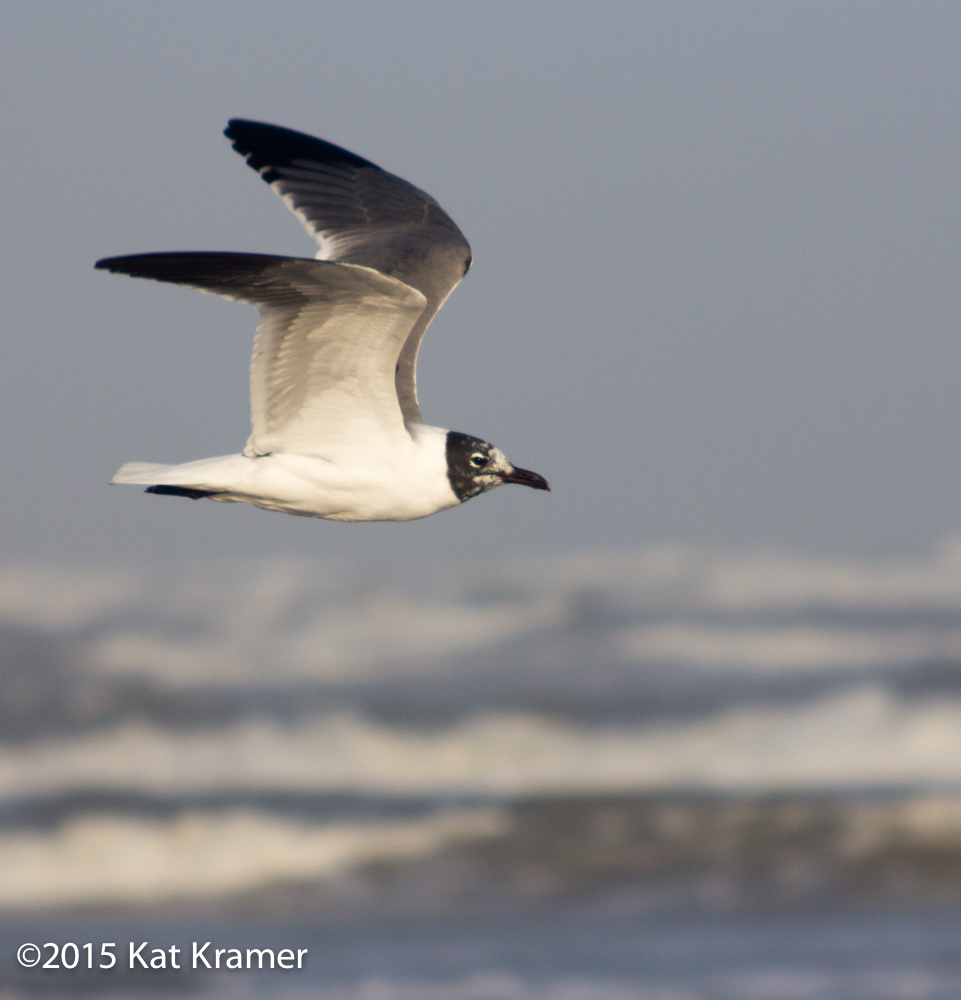
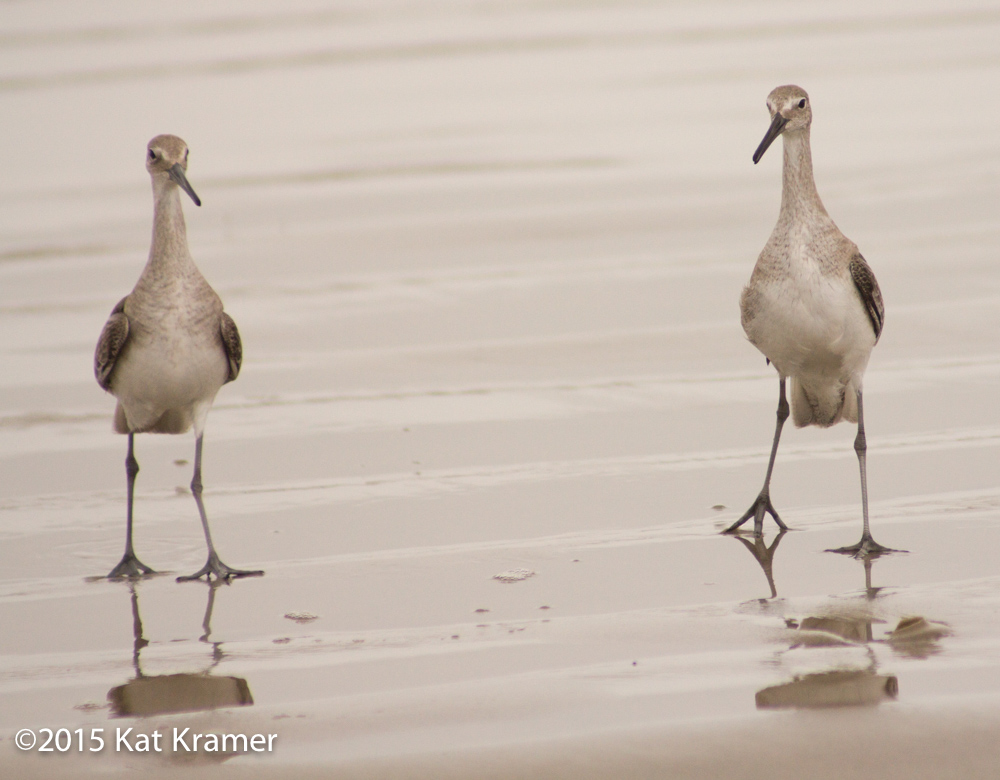
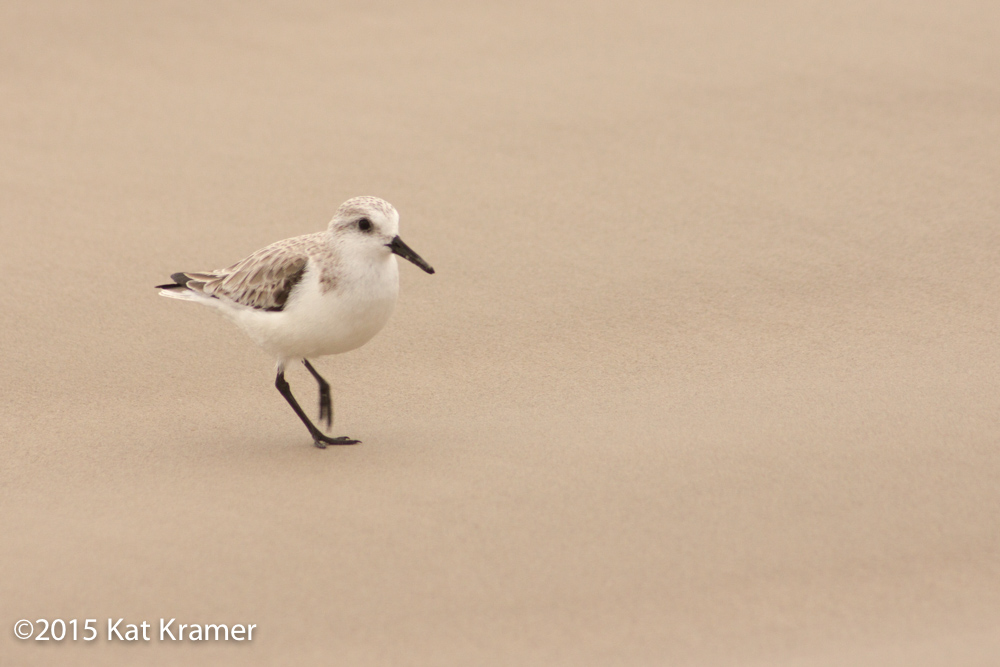
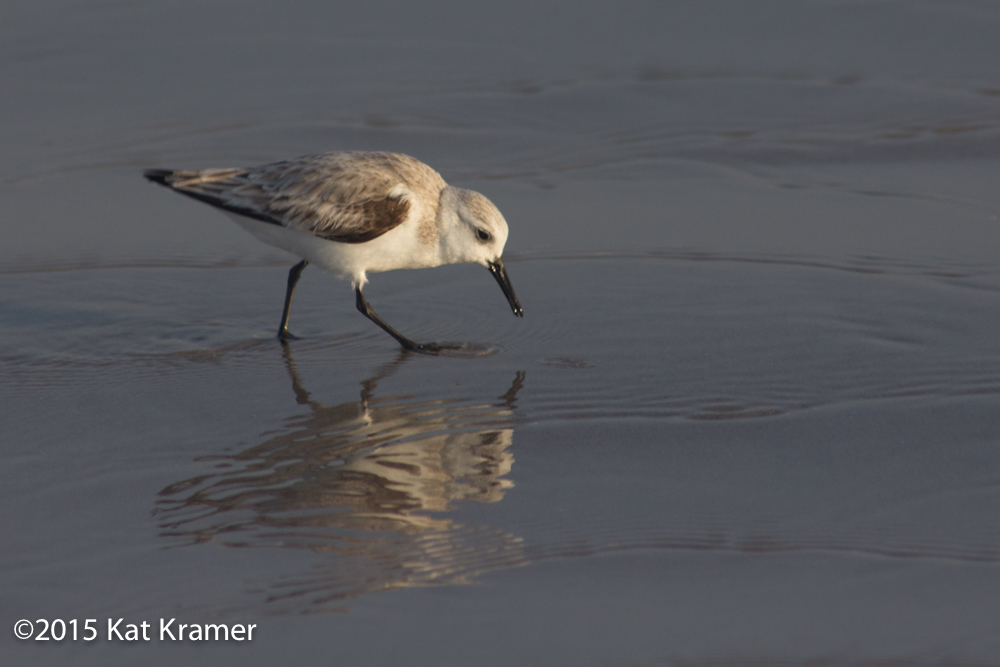
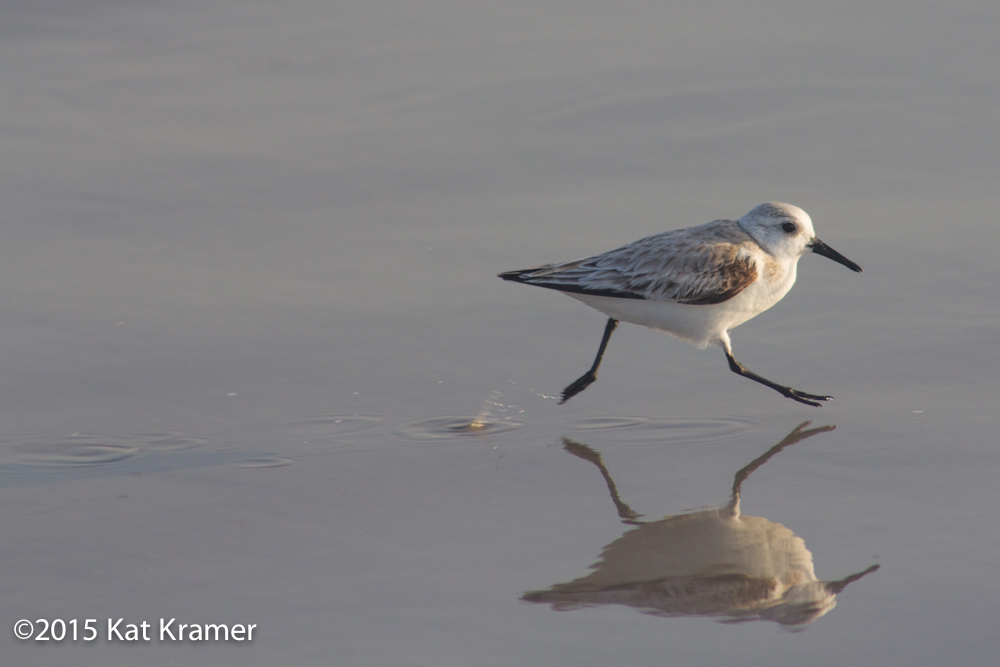
So I finally took out the camera and spent an afternoon looking for birds as subjects for watercolor and acrylic. I didn't really need them to turn out well. I just needed to capture the colors and the rough shapes. That's not what I got...they were better than expected.

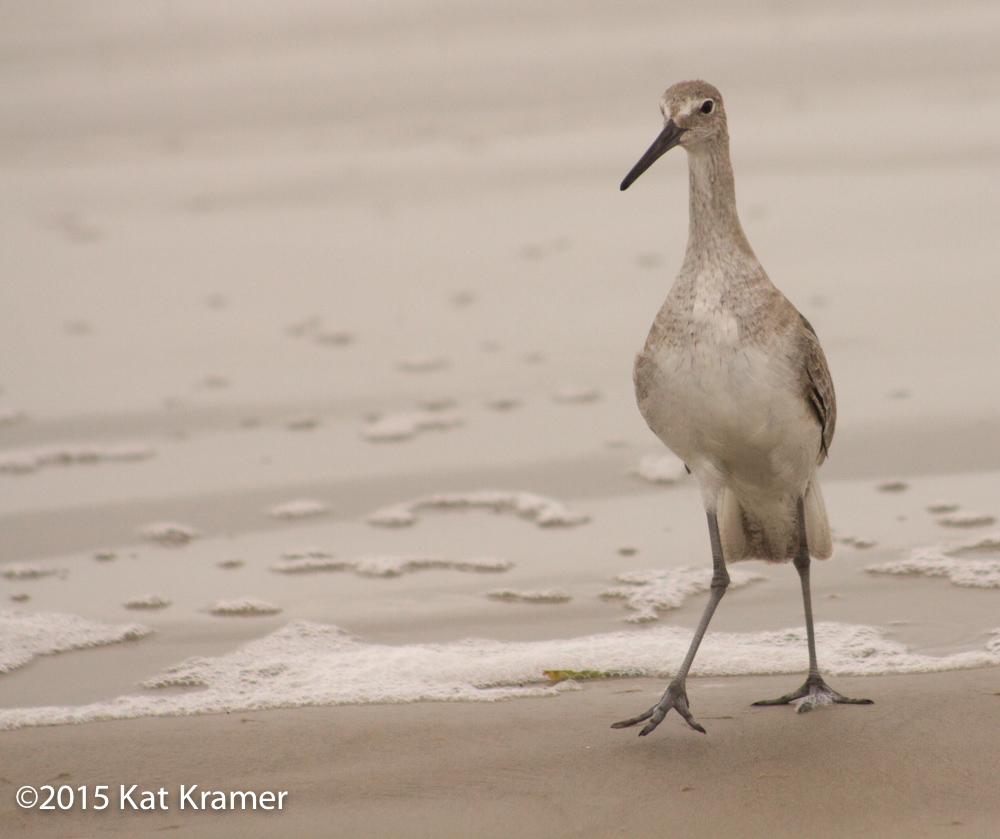
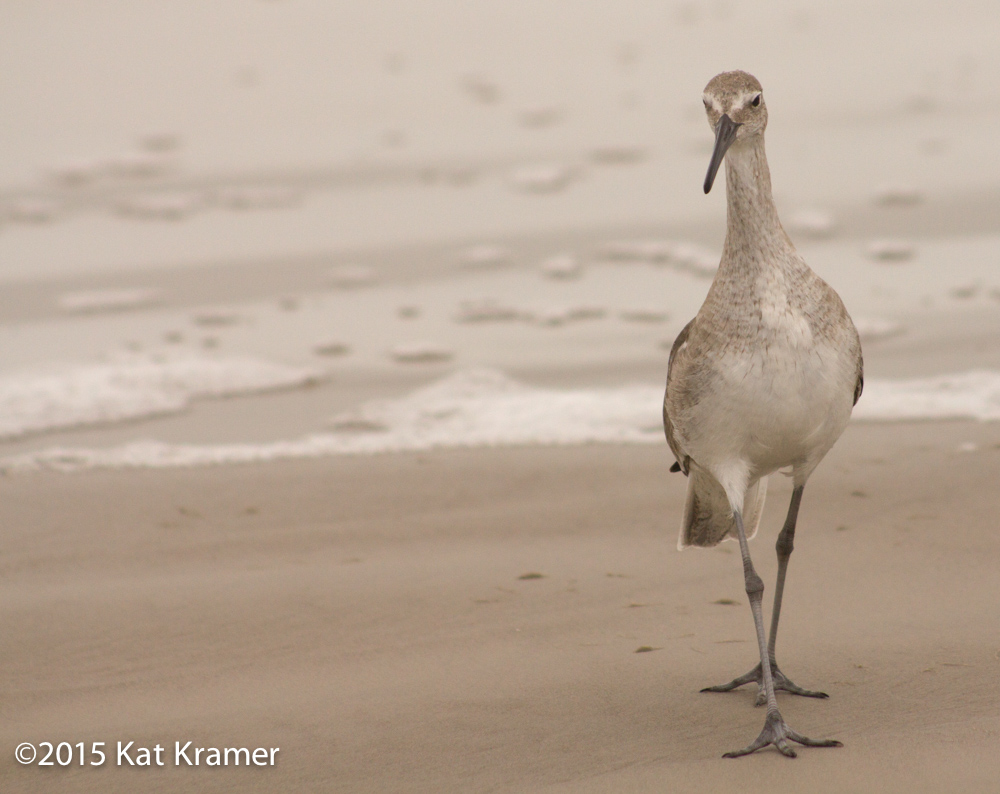
Anyway, I took some pictures that didn't turn out all that bad...I'm sure the critters were annoyed with me chasing them around, but I love the expressions on their faces. Birds do have expressions, don't they?

I also thought that these will make great photos I can use for jewelry designs...

This was also an experiment with Adobe Lightroom. I'll write more about that later.

editing Ebola K...

For the month of January and February, Bobby announced that we were taking off for Port Aransas, Texas so he could finish up the second installment in his book series, Ebola K. I love the beach, so I can't complain!  As it turns out, he's a little tired of the cold weather, and craving Mexican food. 

This was one of the hardest books yet. There is so much research that goes into a fiction book based on real life, and this book has some interesting explorations into the more emotional side of what might happen during a pandemic. He even found information about the influenza epidemic from the early 1900s...they had to post guards near trains because people were stealing coffins. Or the fact that terror groups in Africa are killing elephants to steal their tusks, doing some unimaginable things to the poor creatures. But as always, it's Bobby's goal to educate the reader while giving them an escape into another world.

After a long final week, we did it. We had a hard deadline with Amazon for Valentine's Day, and missing that deadline would mean losing all of the preorders. So with the pressure on, we had to get it done. Margaret and Bryan, Bobby's ex brother- and sister-in-law came in for a vacation...heh, heh, heh. We put them to work. Since Margaret has edited Bobby's books in the past, the timing was perfect. Bryan assumed "manservant" duty, and kept us in great food for the weekend.

On Saturday, we uploaded. And the book is out next Tuesday, February 24th. Check it out!

casting jewelry...making the tree (part three)

Closeup of one of the wax models - needs cleanup!

Okay, I wish I had more pictures for this post. But once you make all of those little wax models, you then have to INSPECT them to find the ones that are pretty close to perfect. After talking with a couple of jewelry experts this week, I learned that there is a fine line between making the wax perfect, or making the wax "close enough." Either way, the casting will have to be cleaned up.

So I opted for "close enough." Not really my style, since I'm a perfectionist. But the nice thing about casting metal is that if it doesn't work, you can melt it down and cast it again.

Now it's time to mount these little guys onto a stick of wax called a "sprue," making a tree formation so that multiples can be cast simultaneously. The sprue is mounted on a rubber base, which is removed before the tree goes into a kiln to melt out the wax. You've seen my tree, but check out this tree from the Kerr brochure...

Photo from Kerr's casting brochure showing wax tree with stones to be cast in place

Photo from Kerr's casting brochure showing wax tree with stones to be cast in place

The other thing I learned from the Kerr brochure is that stones can be cast in place! I'm guessing these diamond were mounted in the wax models, then cast. Now I'll be out "chasing squirrels" in my quest to find out how this is done. (Wow, couldn't wait on that one...here's a link.)

Kerr is a company that makes waxes, "investment," and tools for dental work, but it's also used for jewelry. Since I haven't bothered to read the manual for my casting machine (I'm a Mac user, and we don't "do" manuals...), I've had to research how this all comes together. There is information out there for making wax models. There is information about mixing the "investment" (heat-resistant plaster-type material), there is information about burning out the metal flask. Then you have to know how your casting machine works. 

Gosh, it makes me miss that cute little Jewelcast machine from my first post.

Selection of perforated flasks from Pepe Tools

So the next step is to "invest" the wax tree. I'll prepare the perforated flask, then I'll apply a spray that will reduce bubbles on the wax models, mix the investment, vacuum the bubbles out, then pour it in. Seems easy enough. Then I learn that preparing the investment and burning out the flask will take about ten hours. That was unexpected! Agh...I guess I'll spend Black Friday babysitting my kiln. That's okay. I've got a couple of Etsy orders to fill.

You might be looking at the picture of perforated flasks to the right, wondering how in the world one might pour wet plaster into the flask without it flowing out. The answer? TAPE. Then it has to sit for a couple of hours before going into the kiln.

So more about that burnout schedule...and some information from Kerr. Looks like you hold the kiln temperature around 300°F for about an hour to melt out the wax, although another page I found on the internet recommends three hours. Then you ramp up the kiln to completely burn out any wax residue, then remove the flask while it's around 900°F – 1000°F, put it on the vacuum caster, and pour molten metal into the cavity. 

Here's a link to their brochure that shows the burnout schedule. I'm using the middle-sized flask.

Anyway, back down to the studio to start preparing the flask...stay tuned!