Our Fixer Upper
After about a year and a half of preparations on my parents’ house, we started the remodel. Here is our journey.
The CAD drawing below is done in SketchUp, the software used in several home shows on HGTV, like Fixer Upper…luckily, I’ve been a trainer in the software for many years, so recreating the vision for the house was pretty easy.
We adjusted the flow of the house slightly, opening up the kitchen to make it an “open concept” kitchen, moving the front office door to face the living room and give it a view, and overhauling the master bath to remove a really weird “shed” closet that made the bathroom seem small and dark.


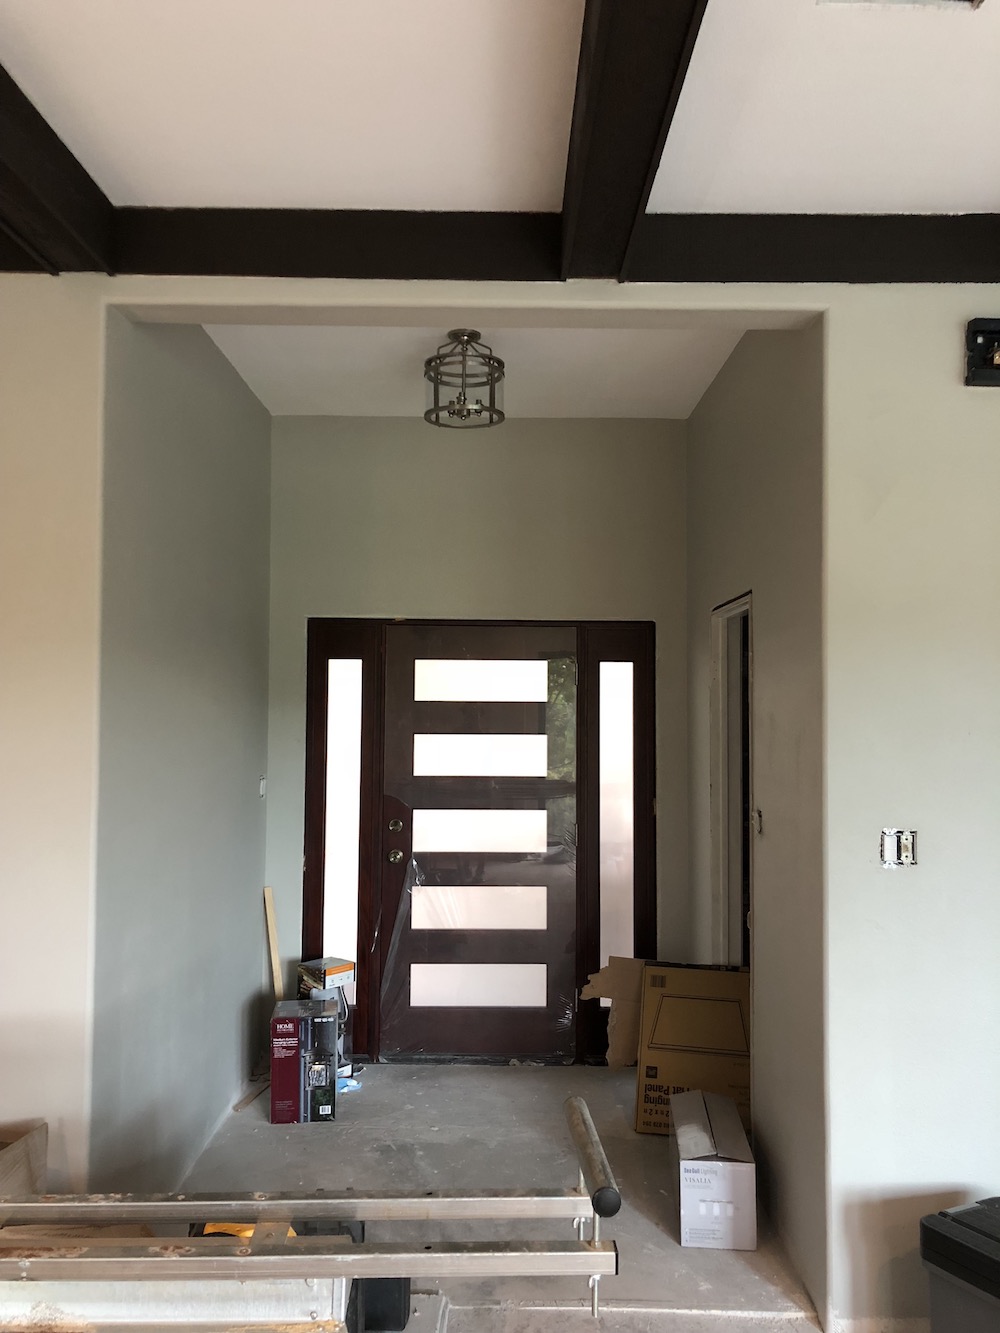
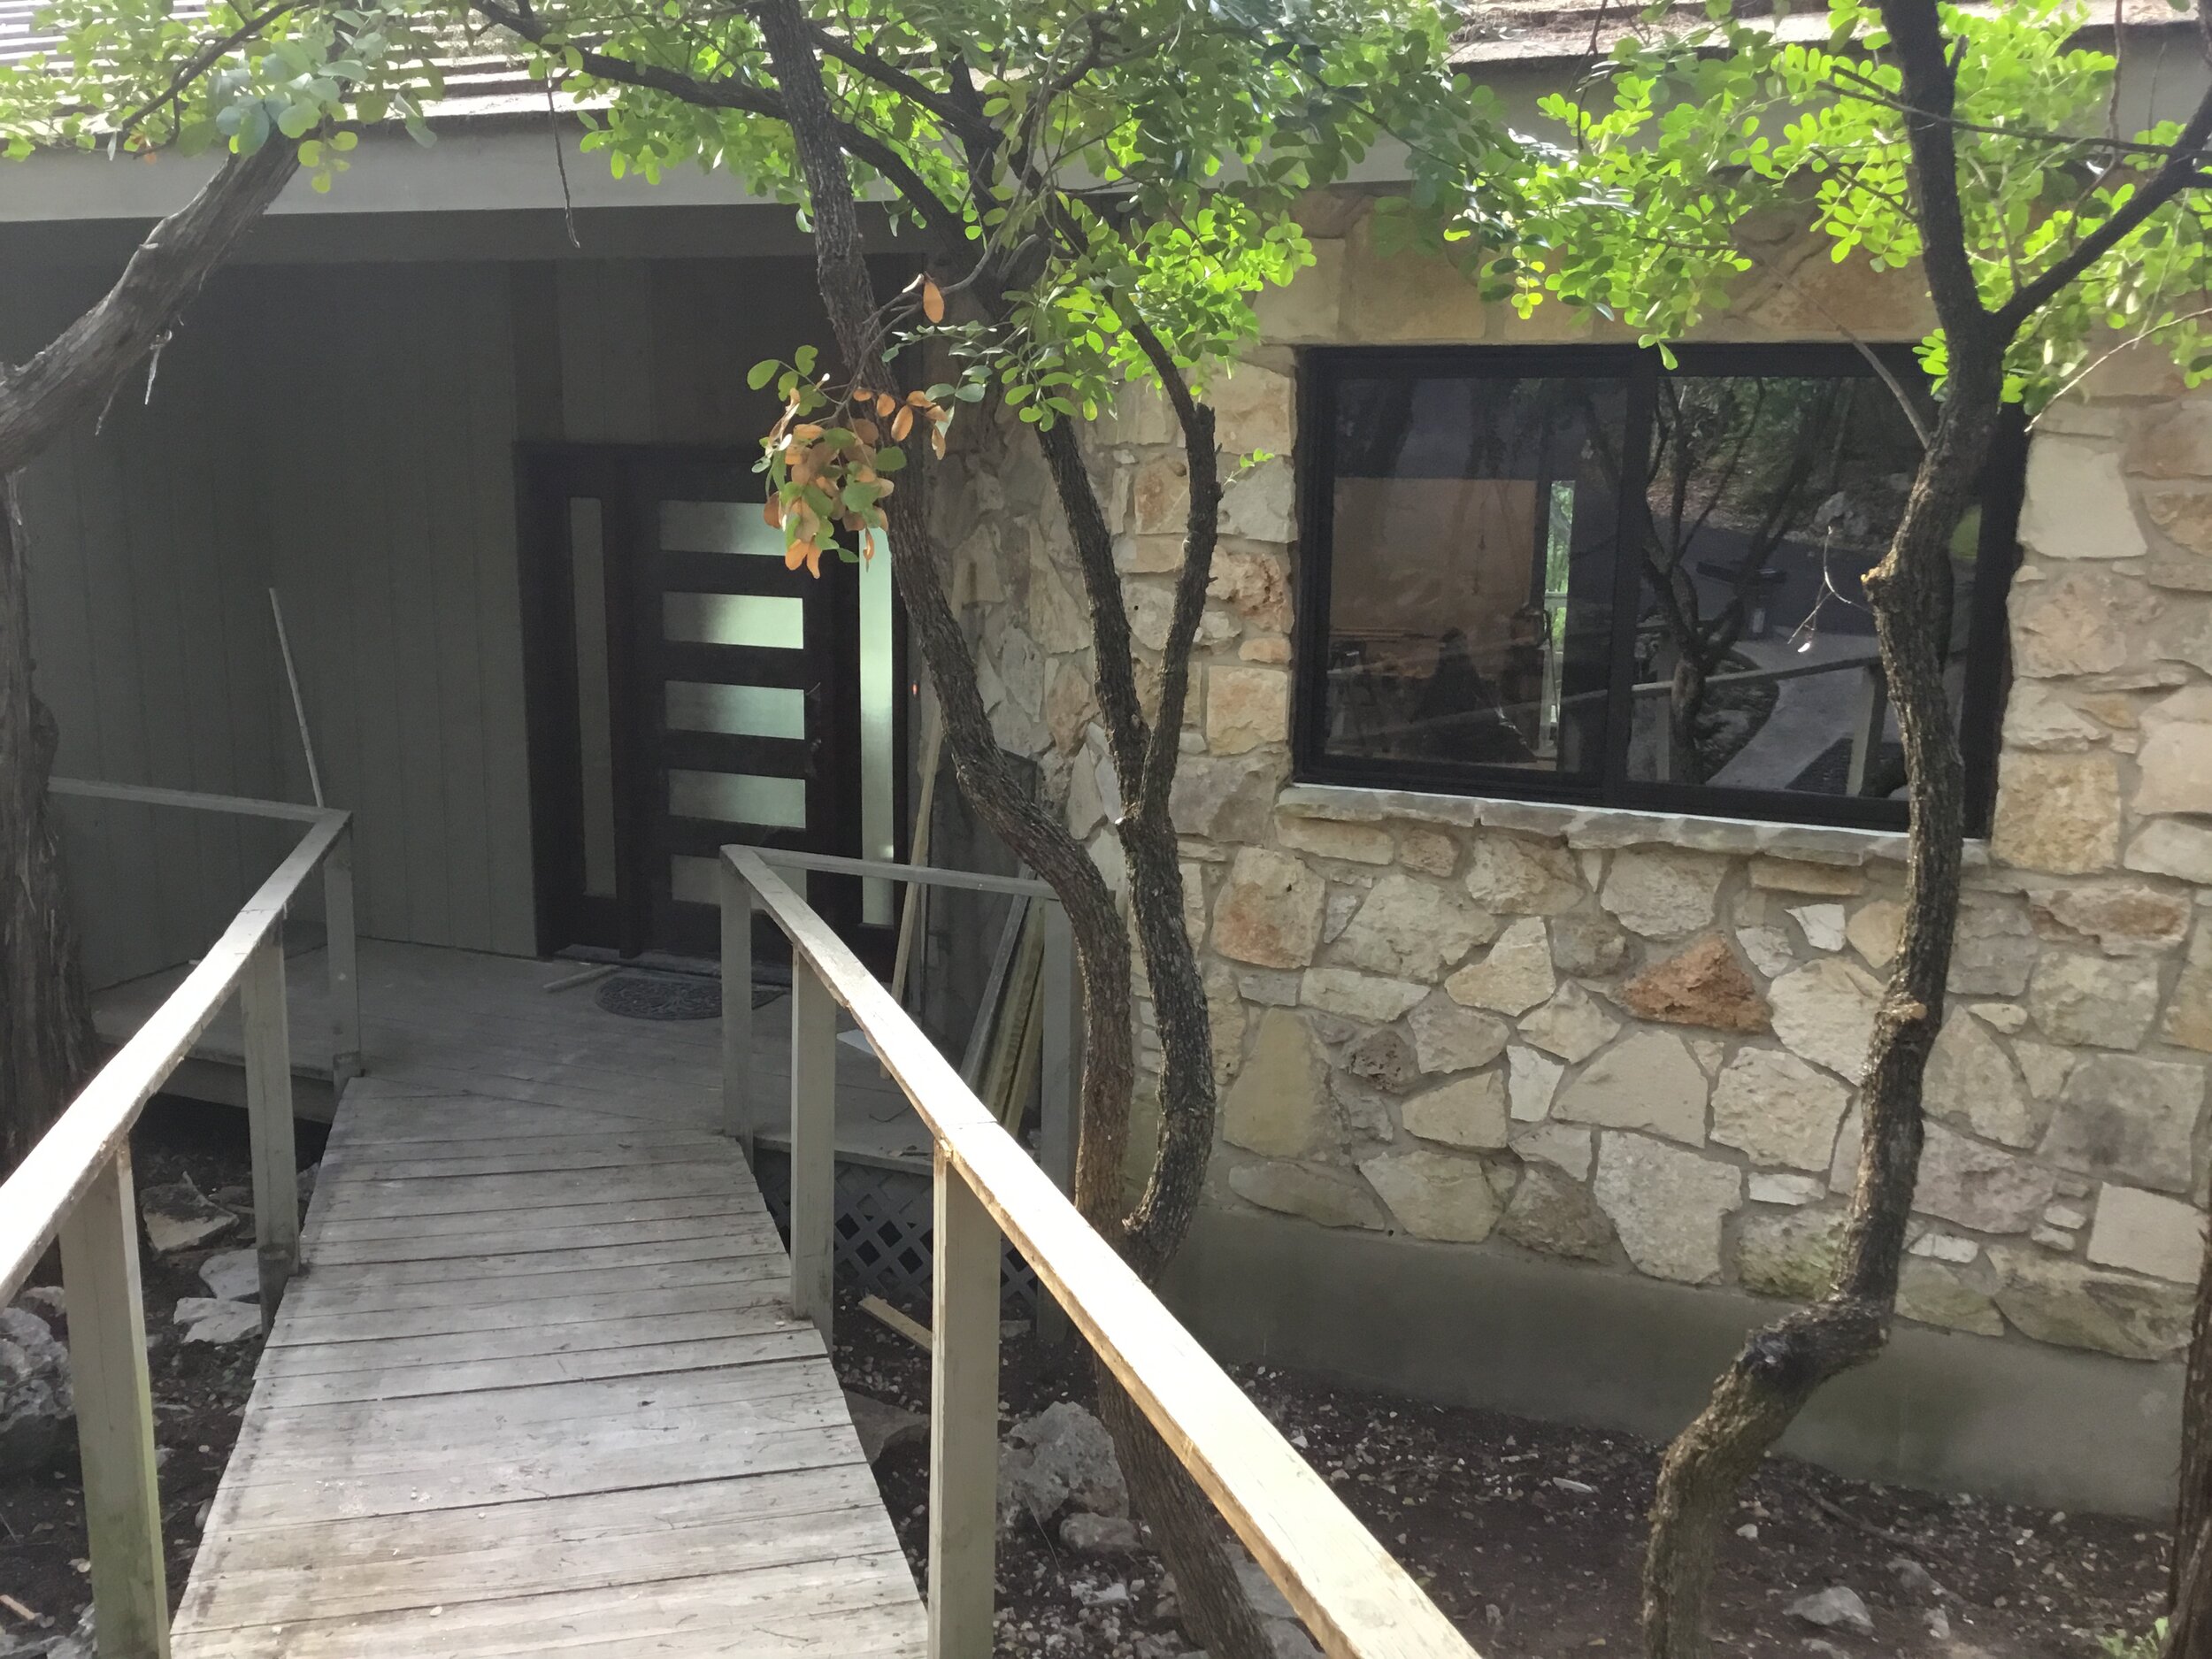
The Living Room and Front Entry
One of the beautiful changes to the house was the removal of the cedar siding and front door, and replacing it with drywall and a new, solid mahogany front door with glass. It brightened up the front entry and made it welcoming and beautiful.
We also changed the location of the office door, and opened the office up to the main living room. What was a small, cramped office is now an extension of the living room with a view. There is an optimal place to put a desk in the office that gives a view of the living room, fireplace, TV, and the Guadalupe Canyon.
Hover over the image to see the description, and use the arrows or thumbnails to navigate.


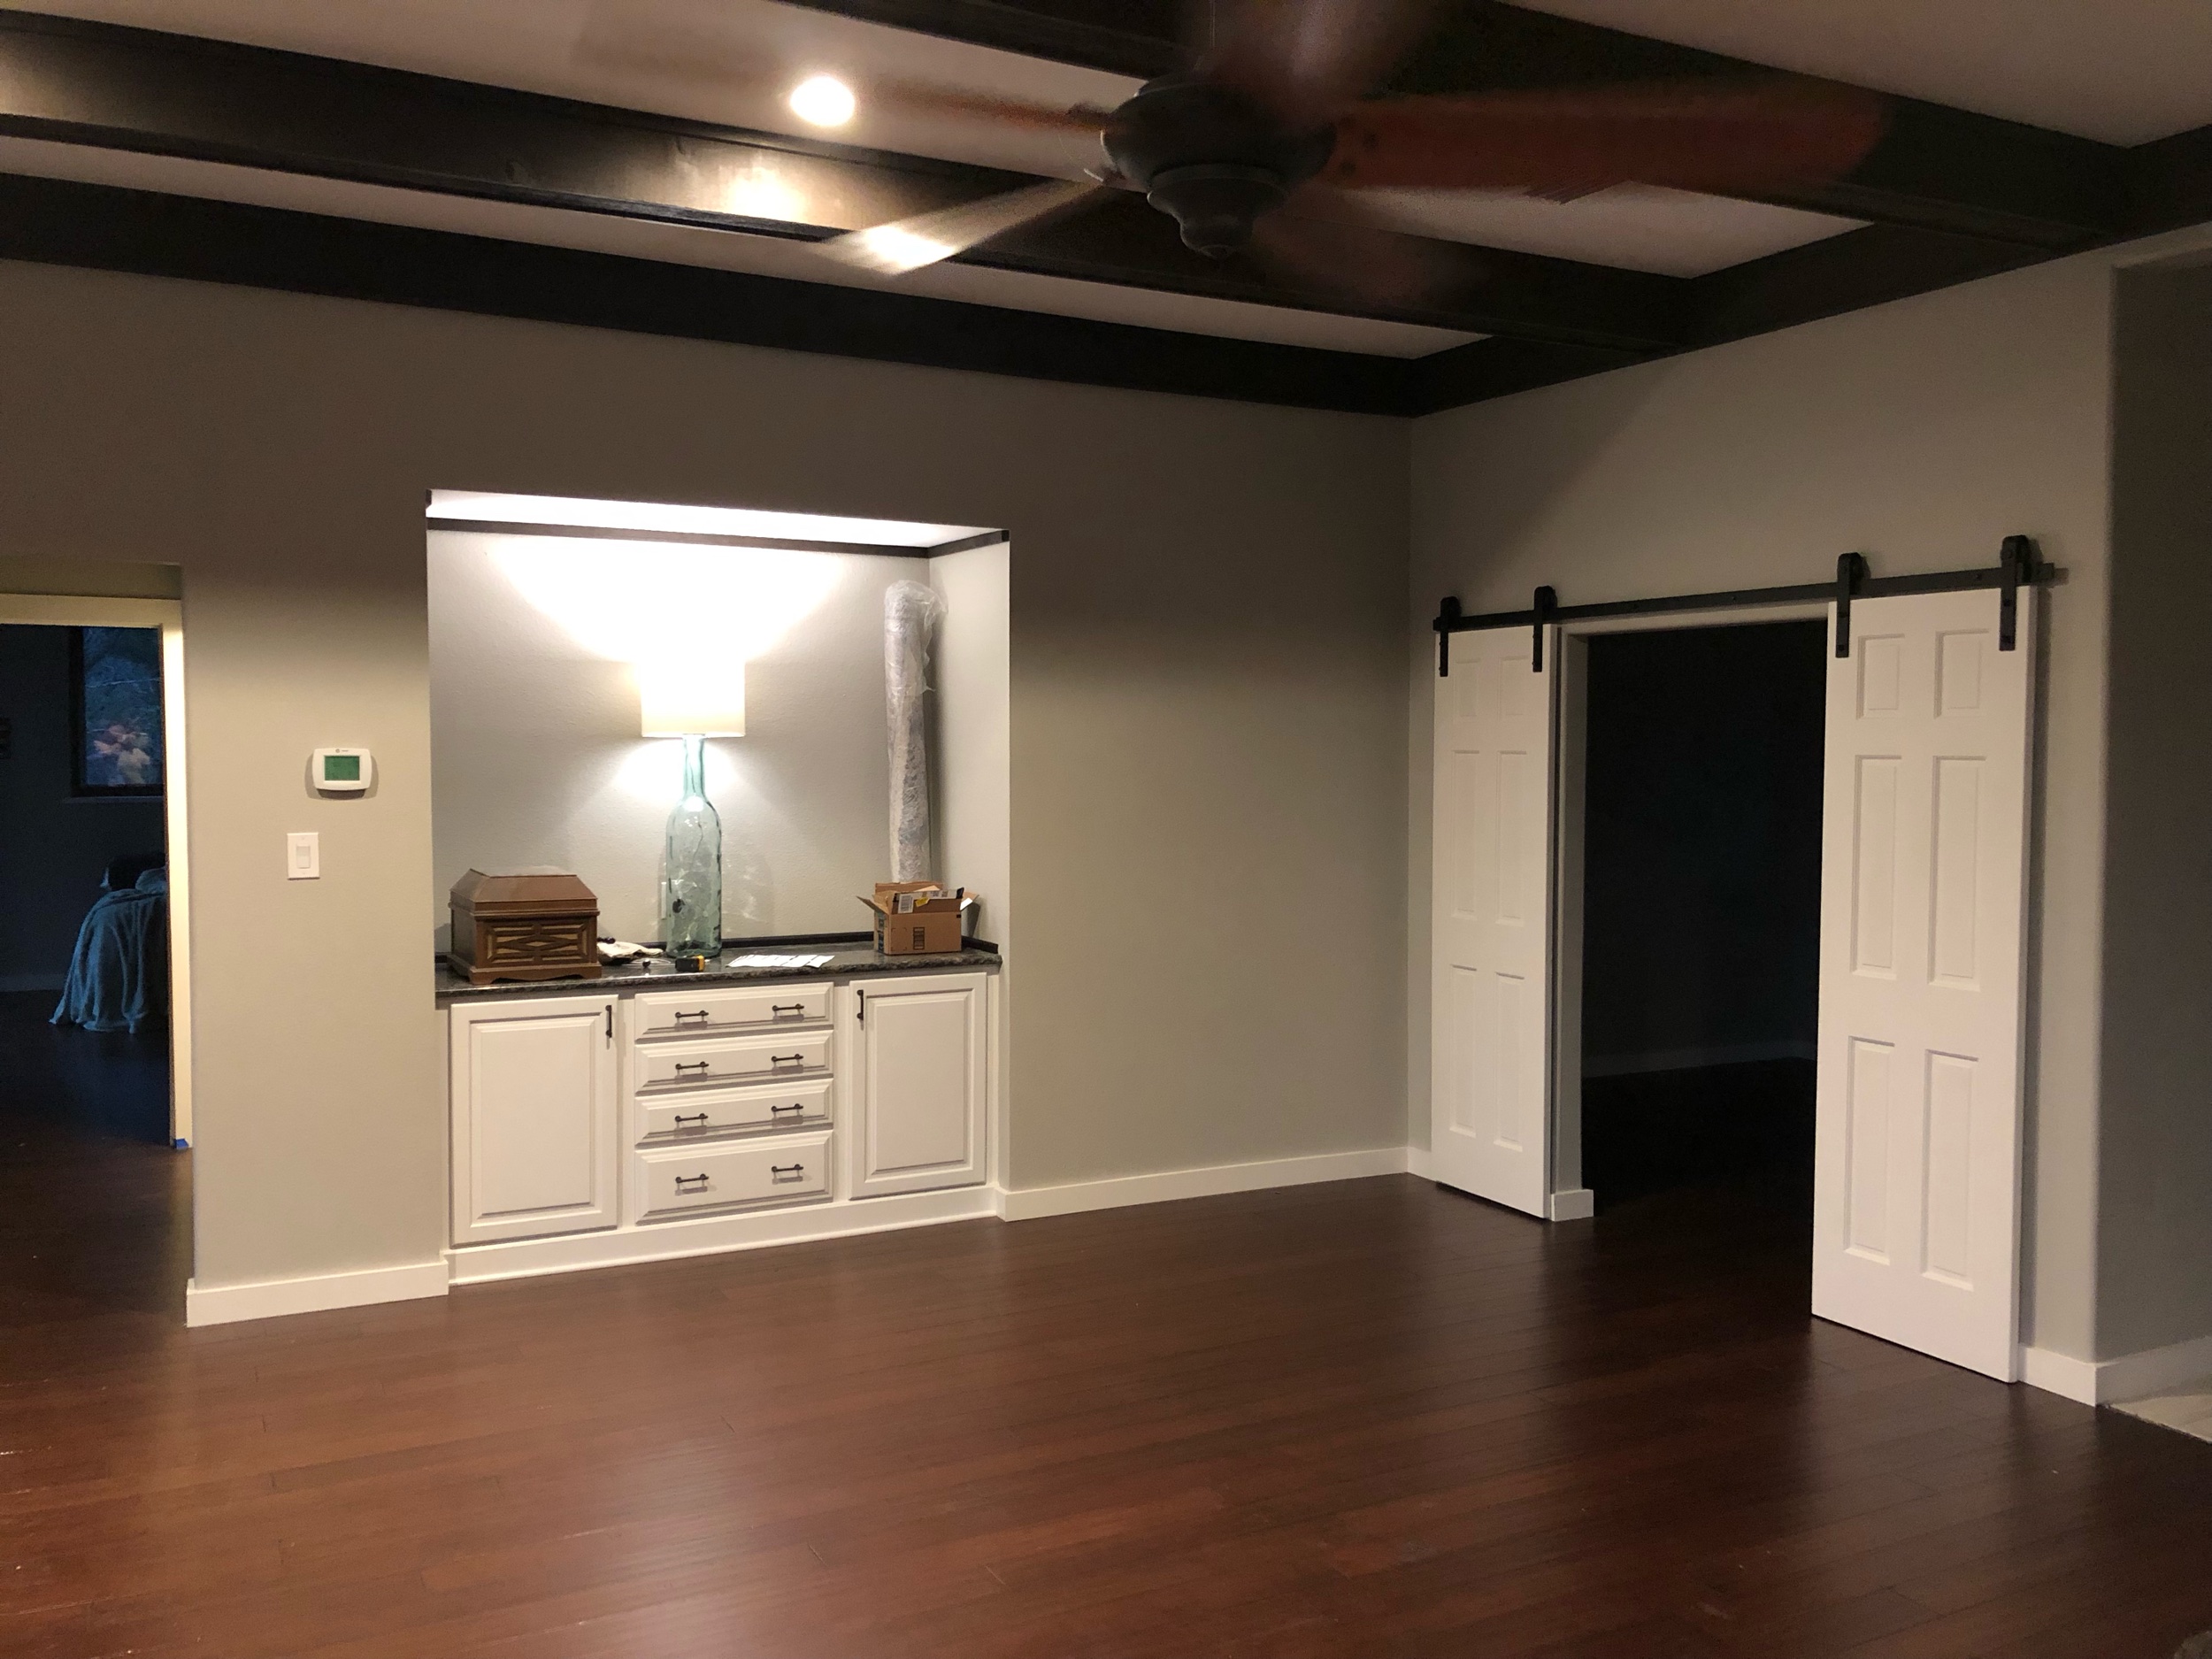
The Fireplace and Alcove
One of the more drastic changes to the living room was covering the old stone fireplace. The fireplace was dark and dirty, and the doors didn’t operate easily. We considered trying to remove and replace the firebox, but that would’ve required a massive change. Our painter suggested covering it with sheetrock, and I found a beautiful electric fireplace that could be used year-round, with or without heat.
Hover over the image to see the description, and use the arrows or thumbnails to navigate.


The Master Bathroom
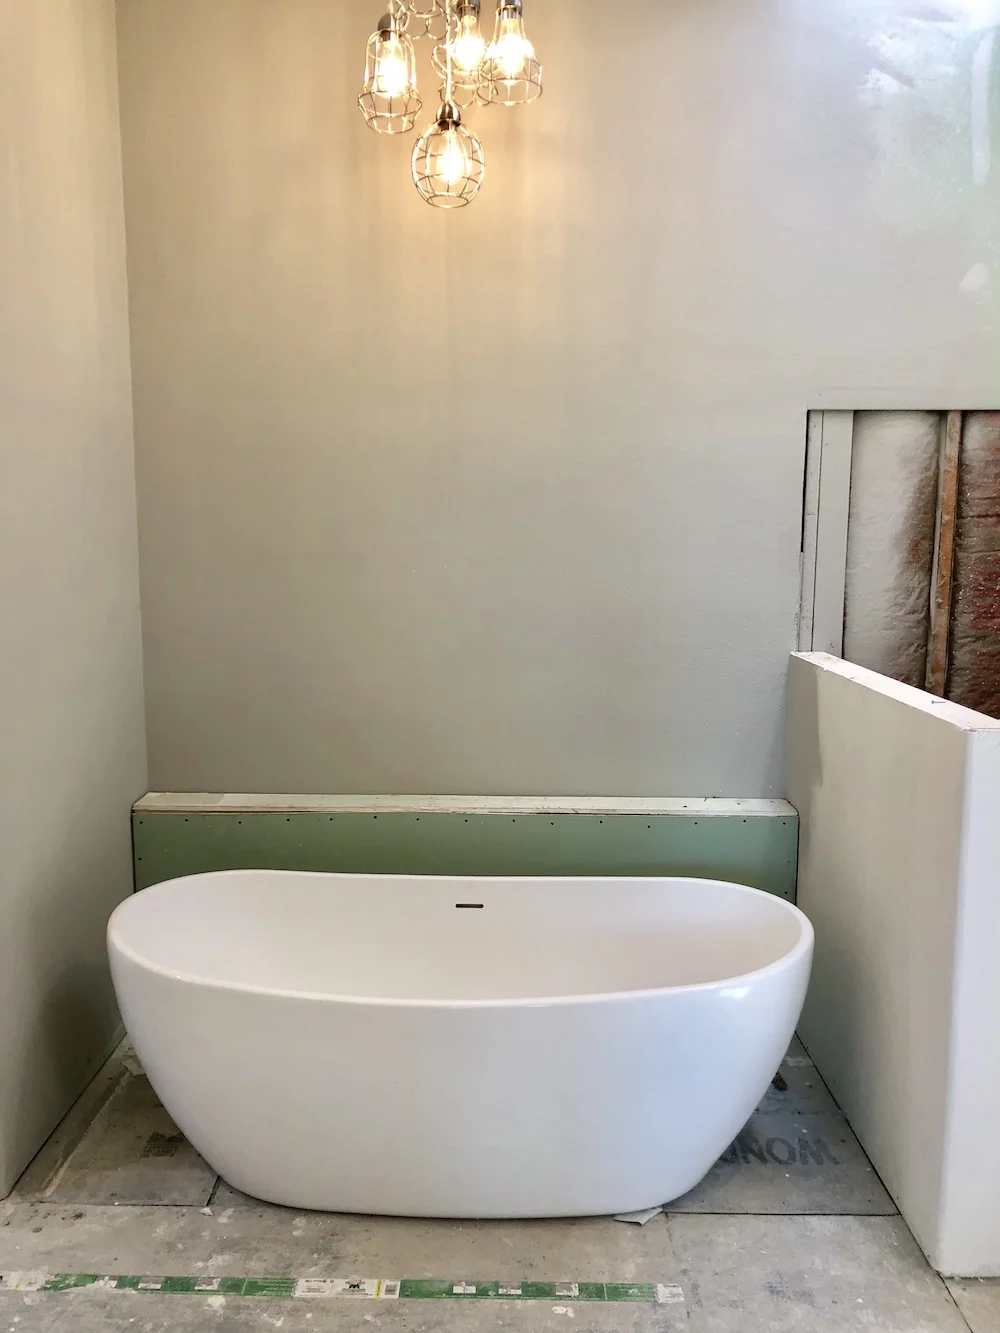
Another huge change to the house was the master bathroom. The original design included a really weird “shed” that was part of the closet. It was complete with cedar siding “shingles” that collected dust. There was also an alcove in the master bedroom for a dresser that took up room in the master bath, so we planned to remove it. When the shed was removed, beautiful light poured in from the skylight.
The result was stunning. After new electrical with recessed lighting and a chandelier over the new freestanding tub, we couldn’t be more pleased with the results. (Check back for the installed tile…it’s currently in progress).
Hover over the image to see the description, and use the arrows or thumbnails to navigate.


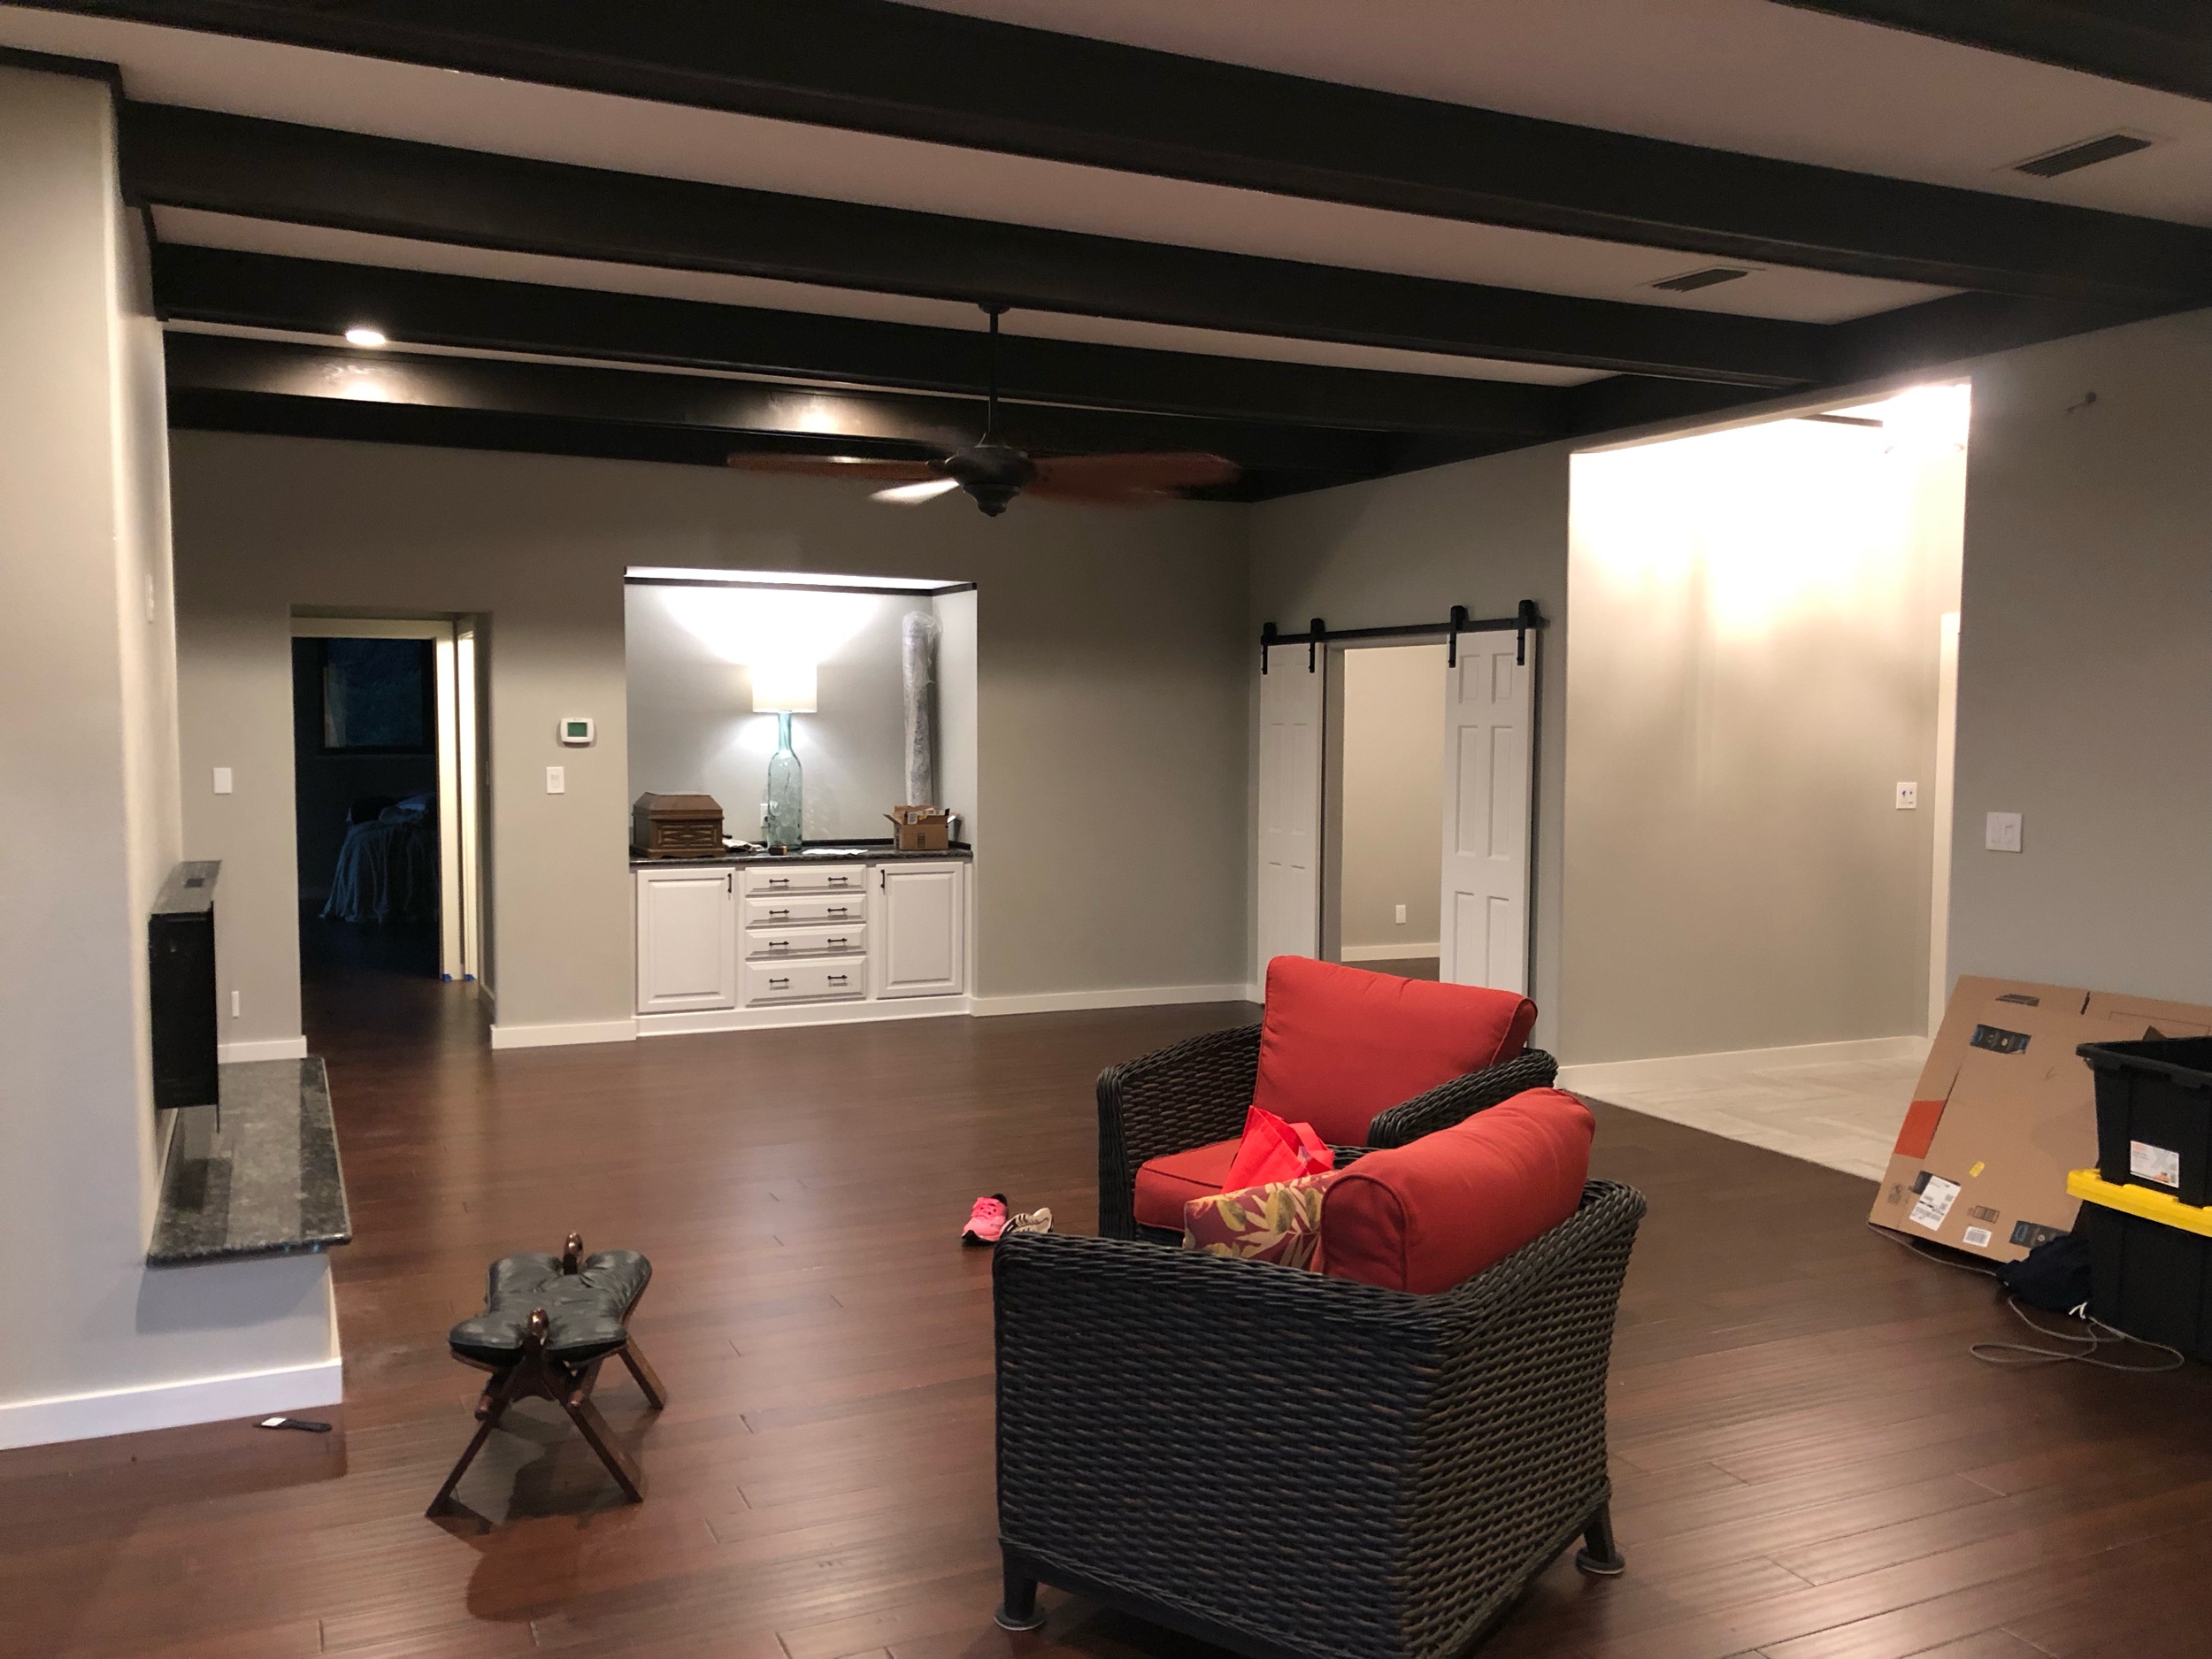
Opening up the Kitchen
One of the first questions we kept getting from anyone interested in the house was "is it open concept?" Unfortunately, it featured a tiny pass-through bar and dark cabinets, which made the kitchen seem small.
So early on, we decided to remove the wall above the bar to open it up to the living room.
We had also discussed removing the heavy beams in the living room, and even adding small cabinets to the top of the kitchen cabinets to extend them to the ceiling, but after opening up the kitchen, the beams tied nicely to the kitchen and the cabinets didn’t seem too short anymore.
Hover over the image to see the description, and use the arrows or thumbnails to navigate.


Rebuilding the Deck
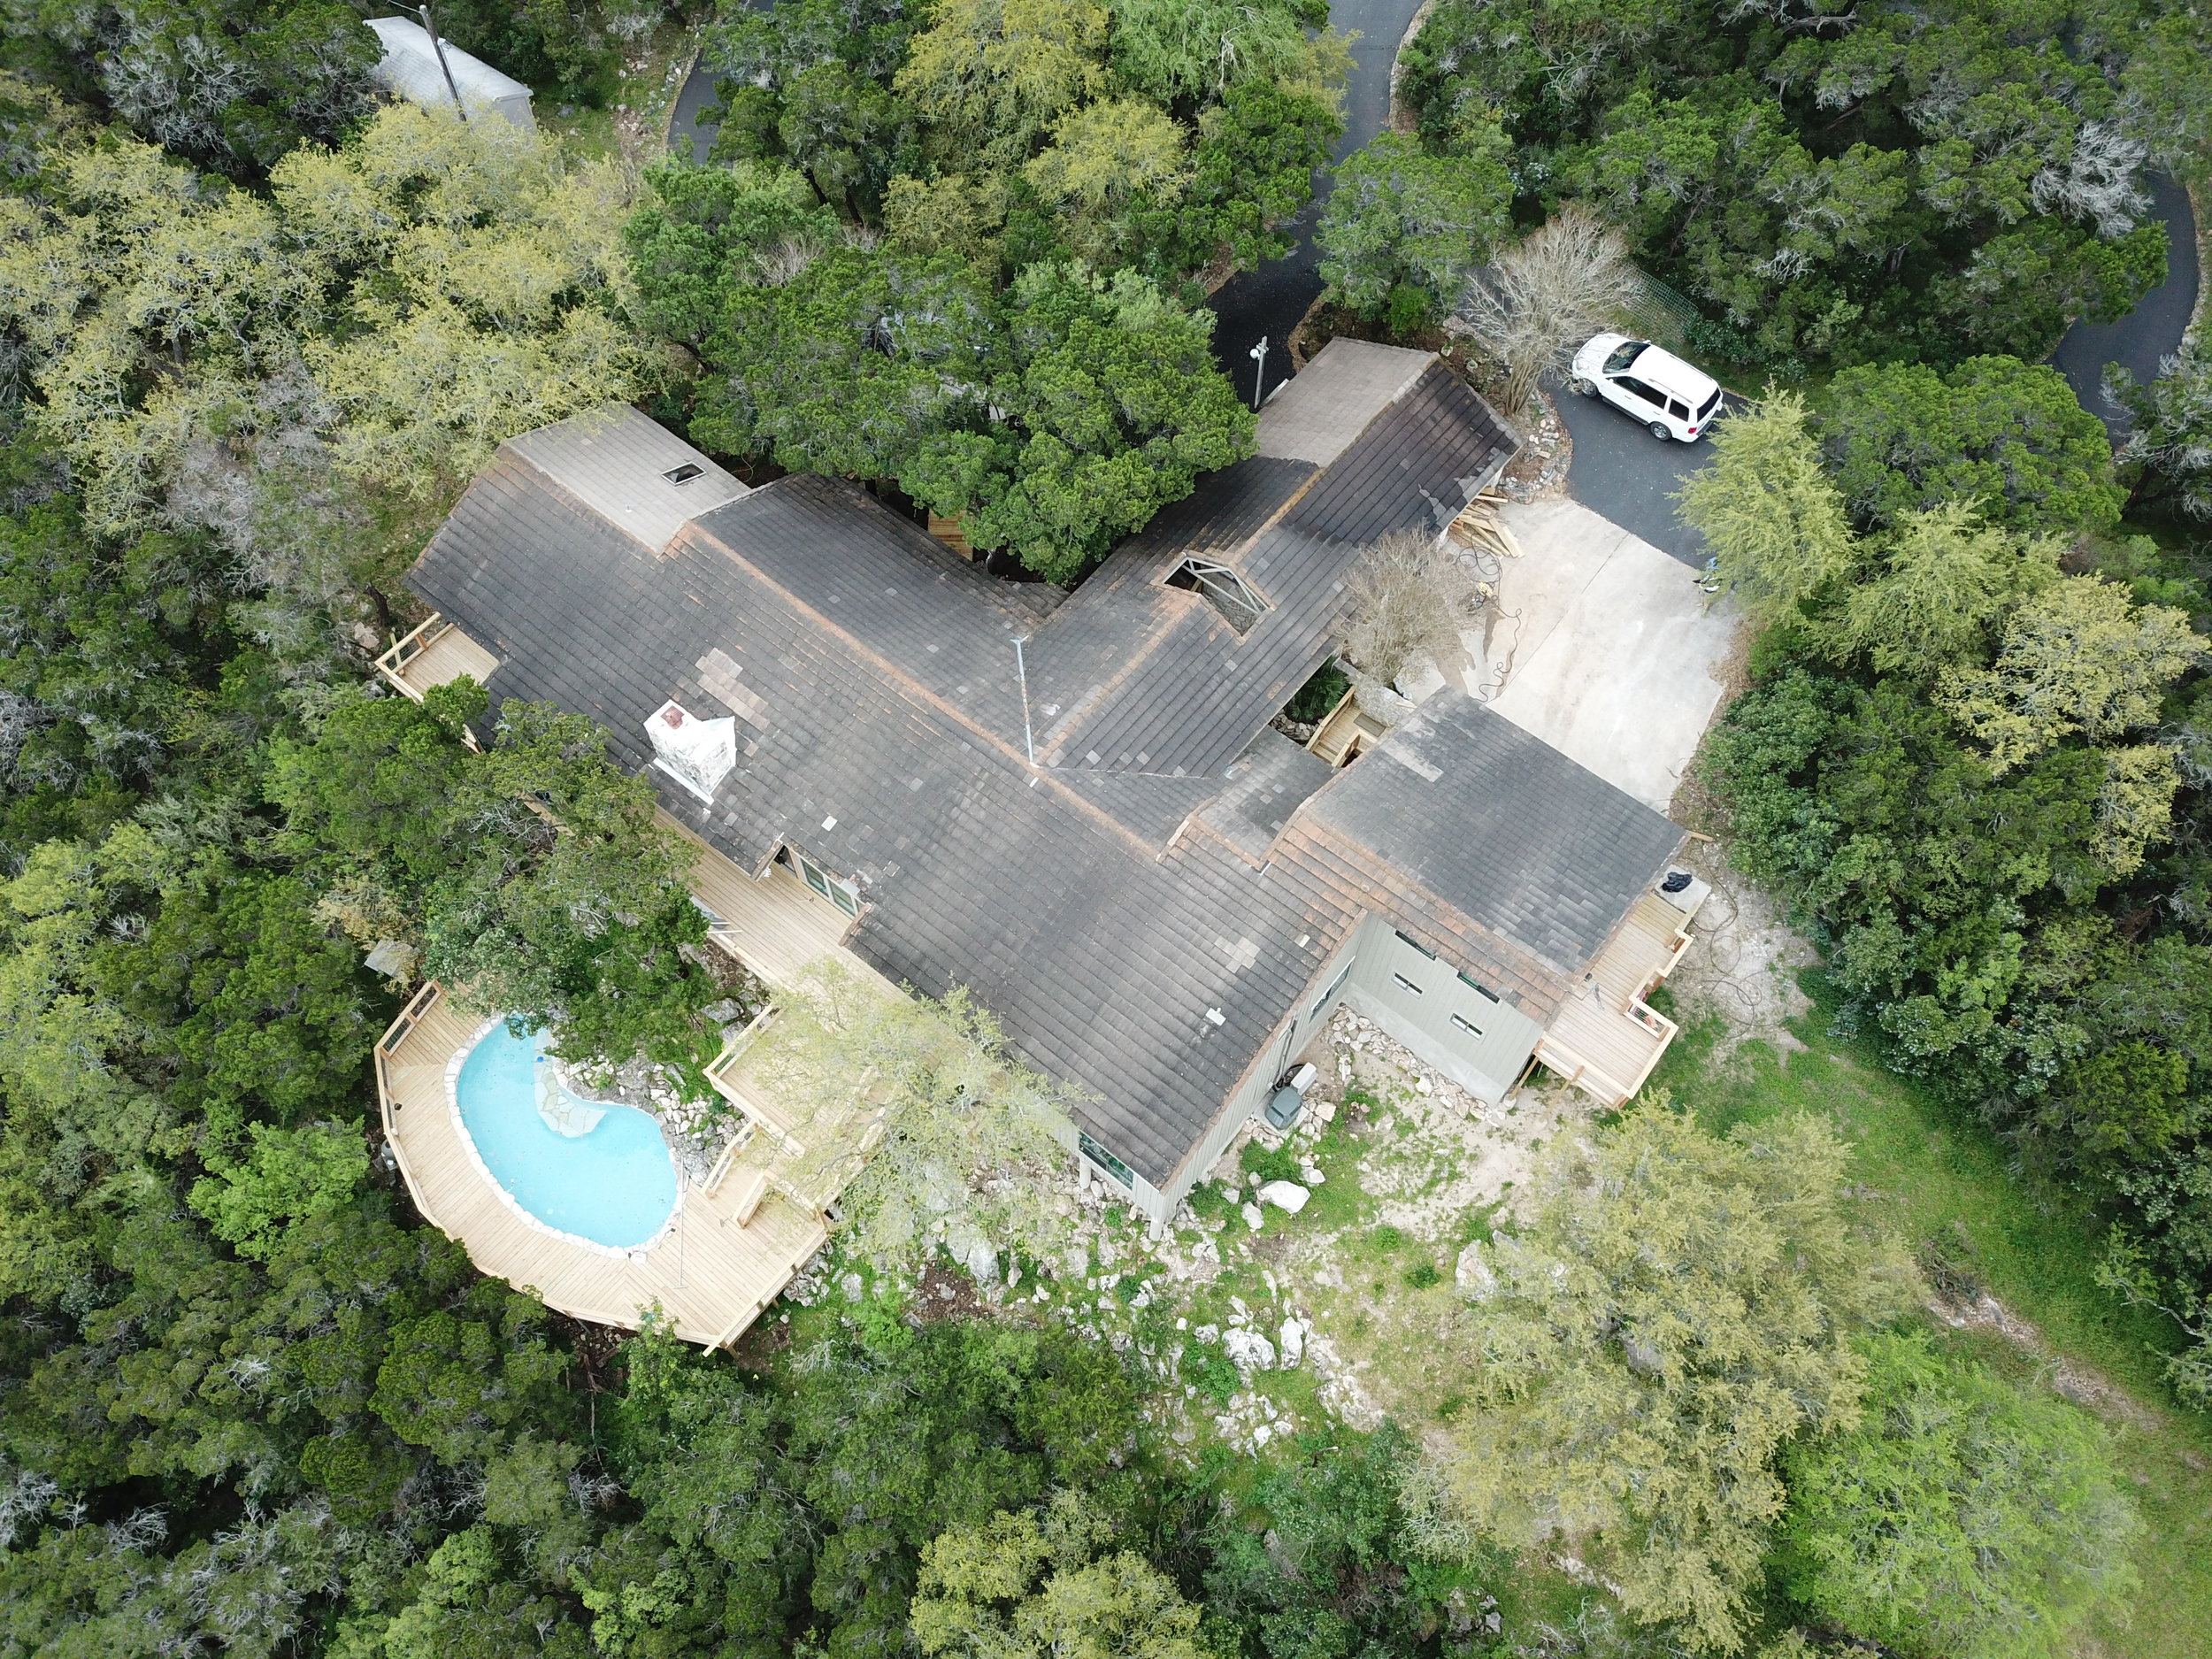
After many years, it was time to rebuild the deck. It had been built incorrectly 35 years ago, so we tore it out and rebuilt it bigger and better. The house now has about 1,550 SF of deck, including an observation deck outside the new bonus room.


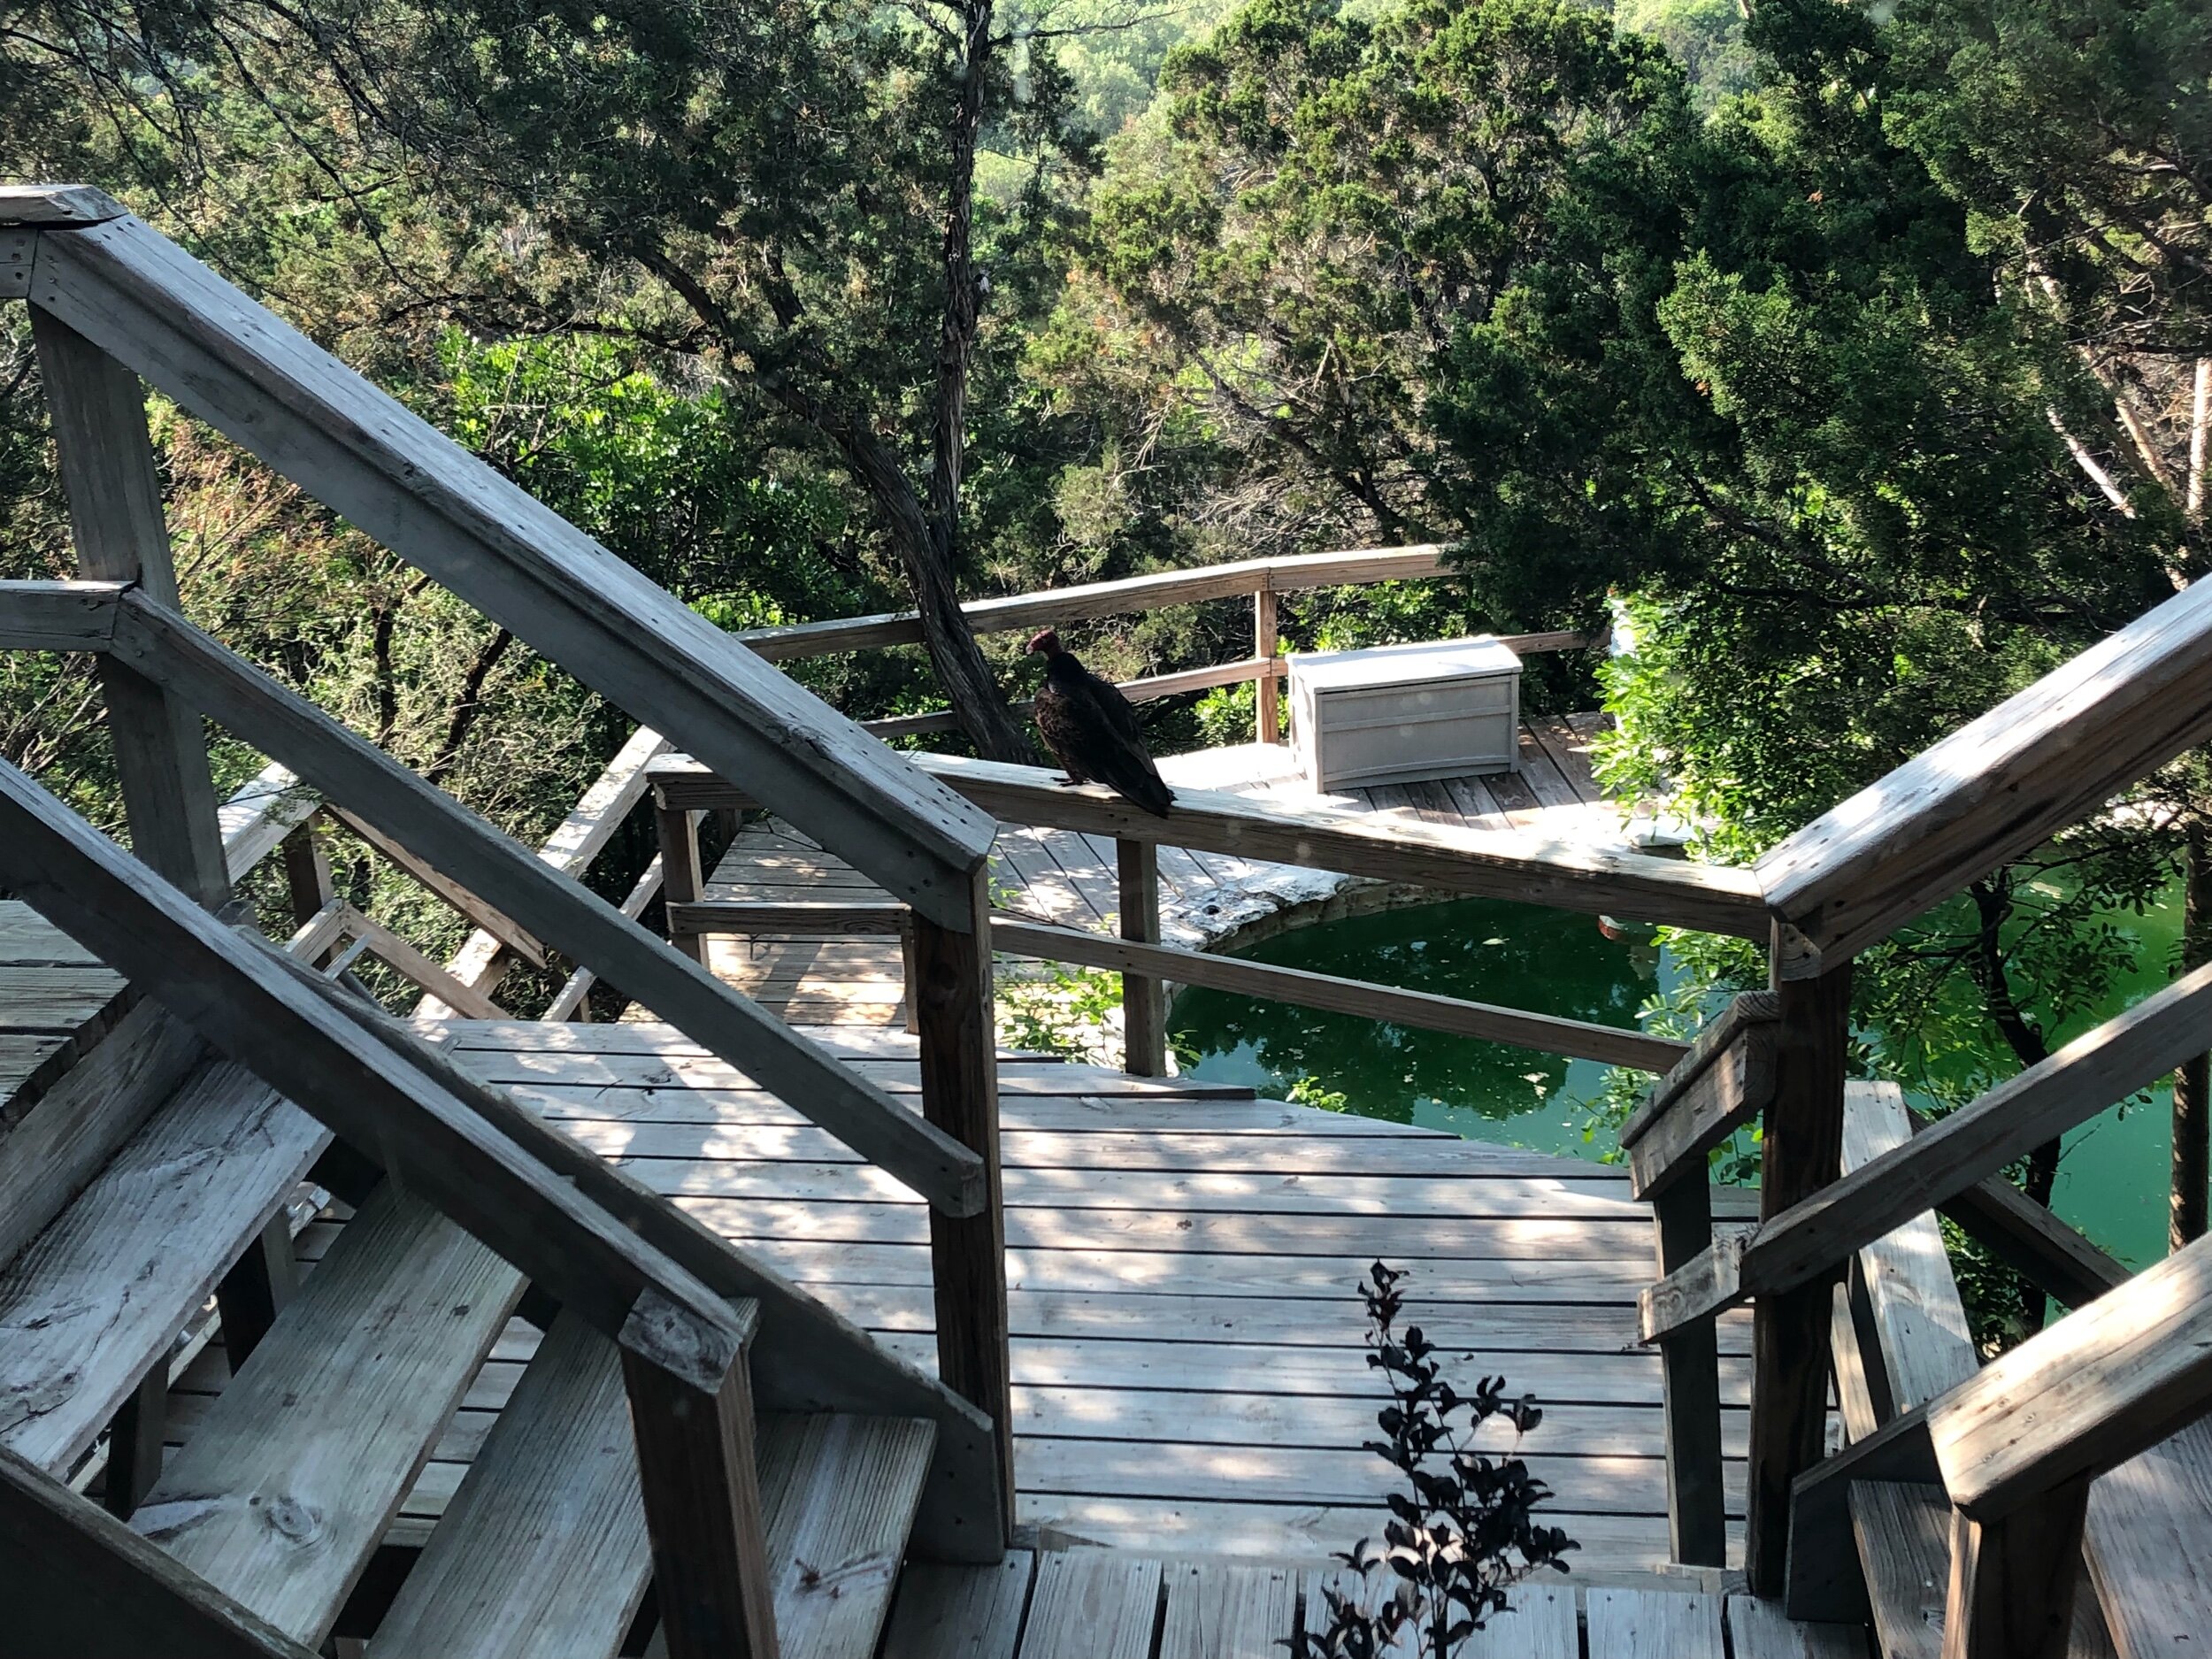


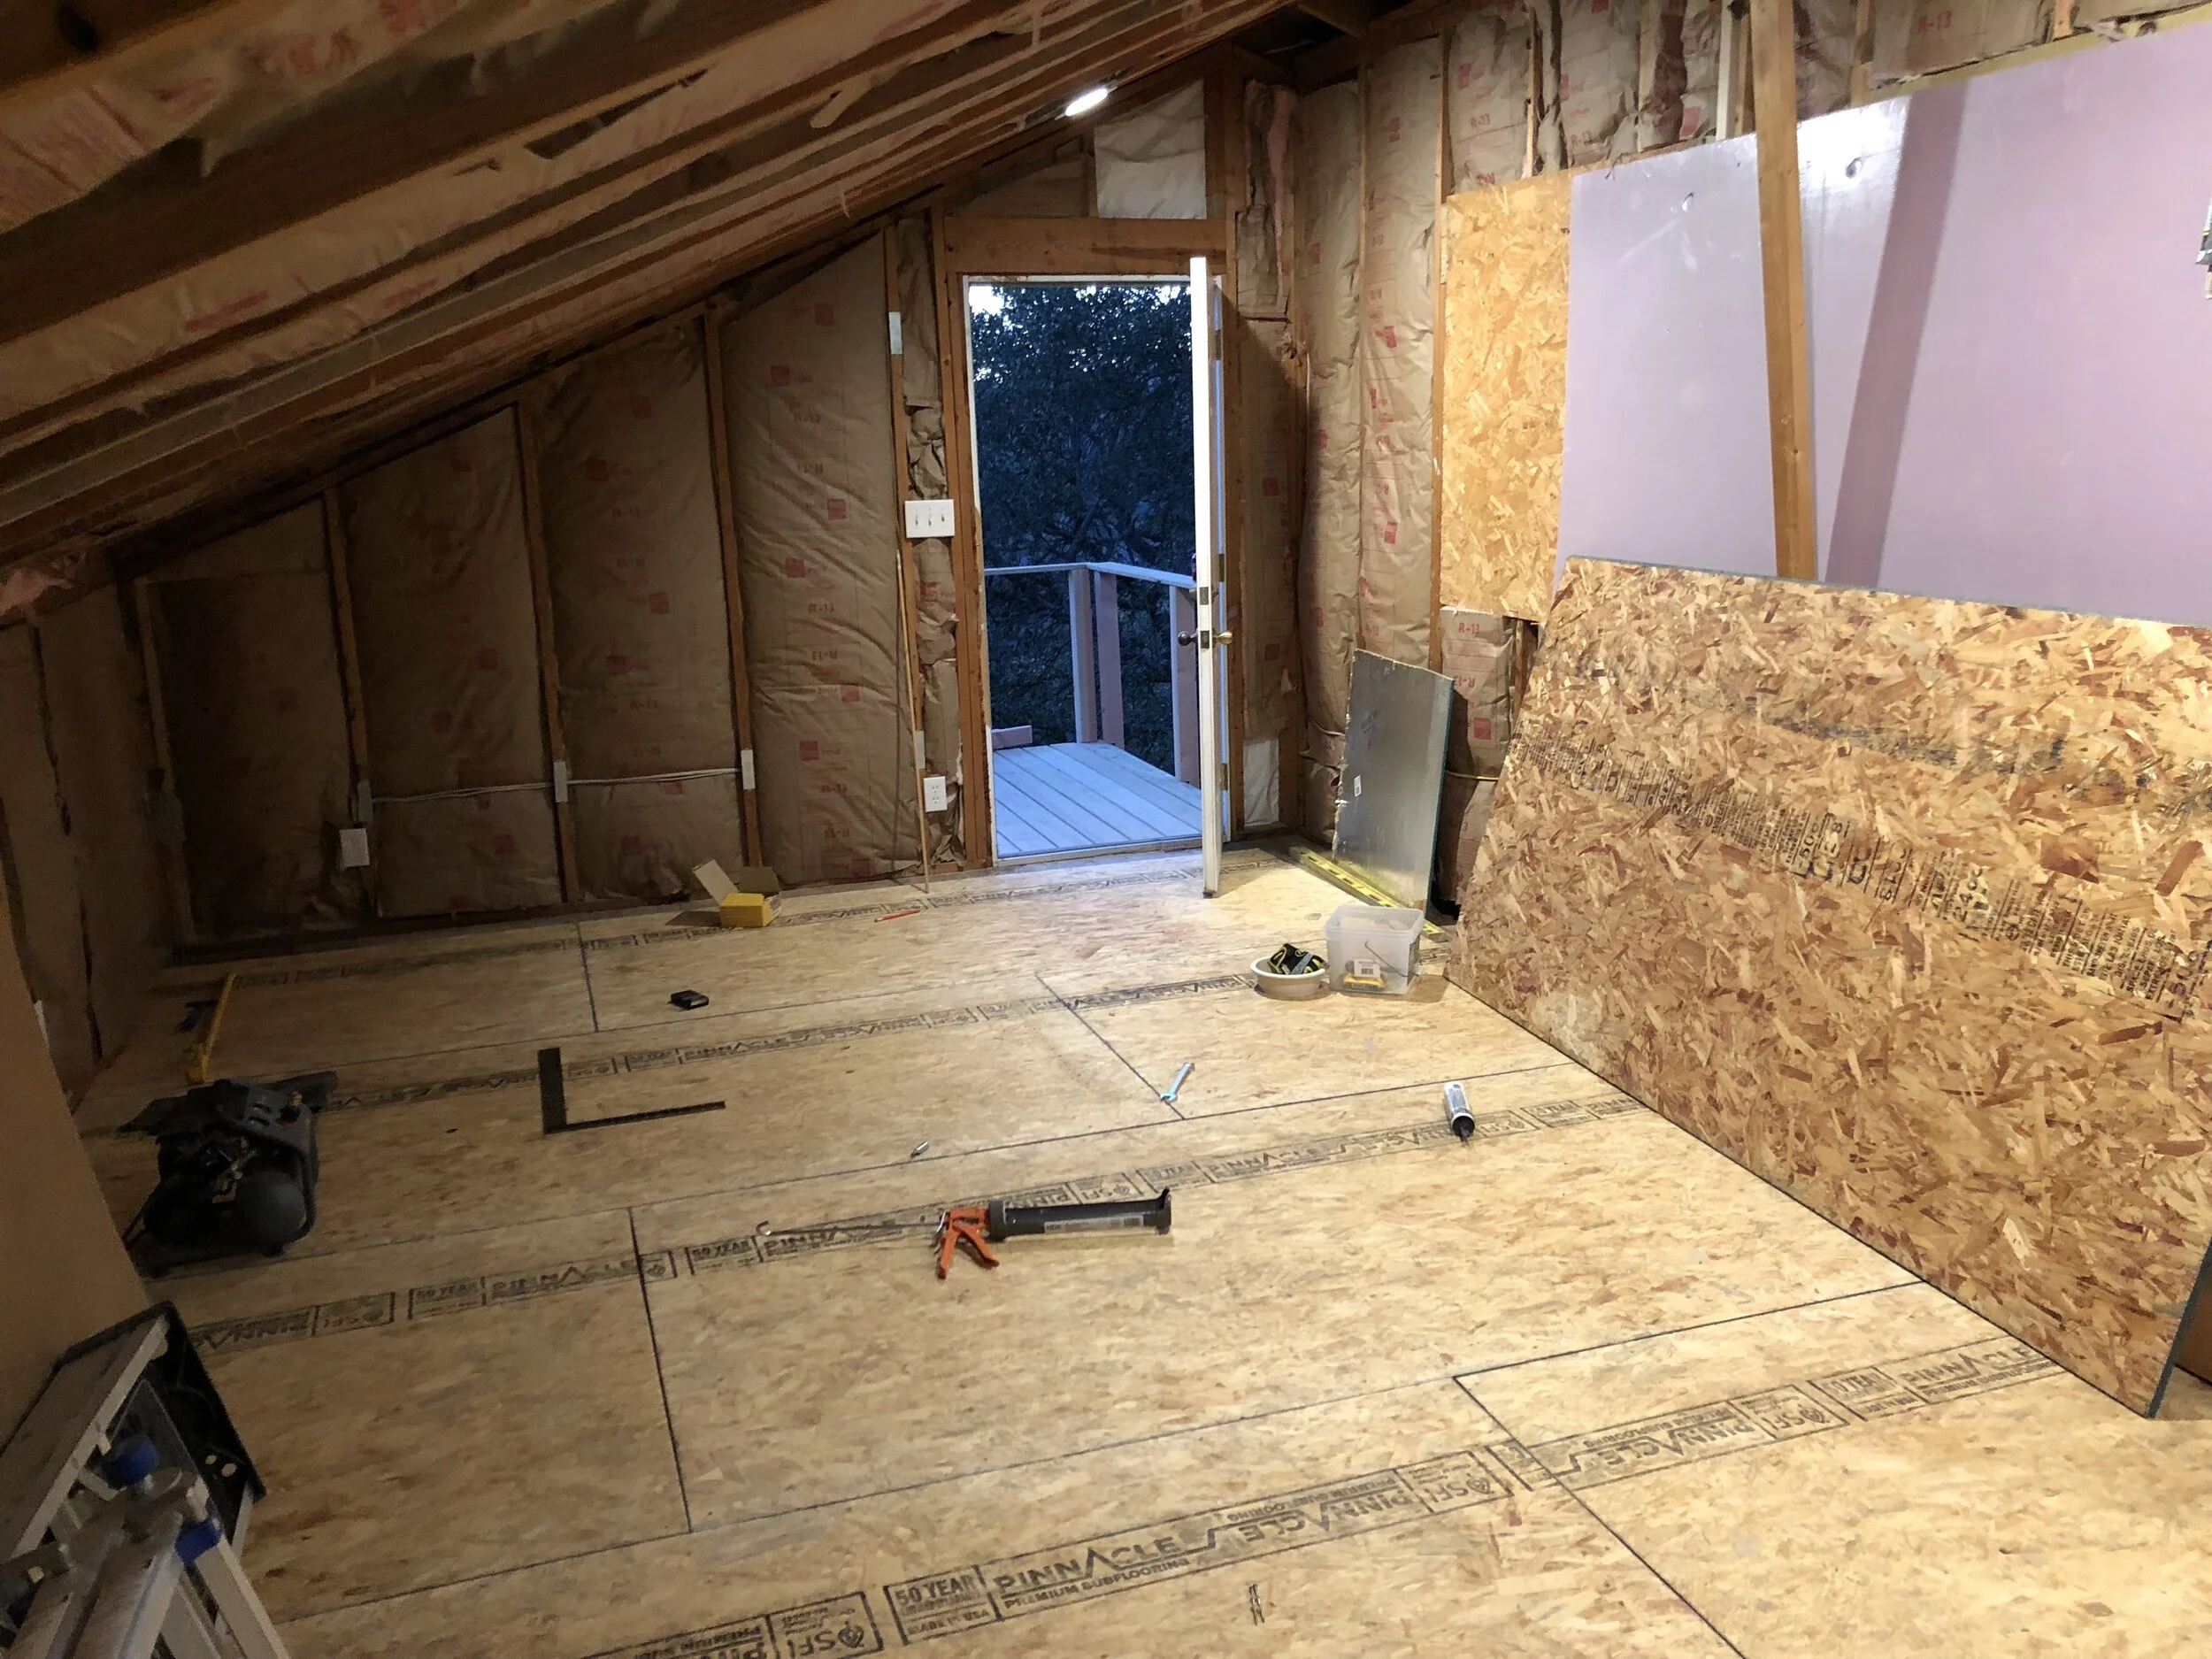
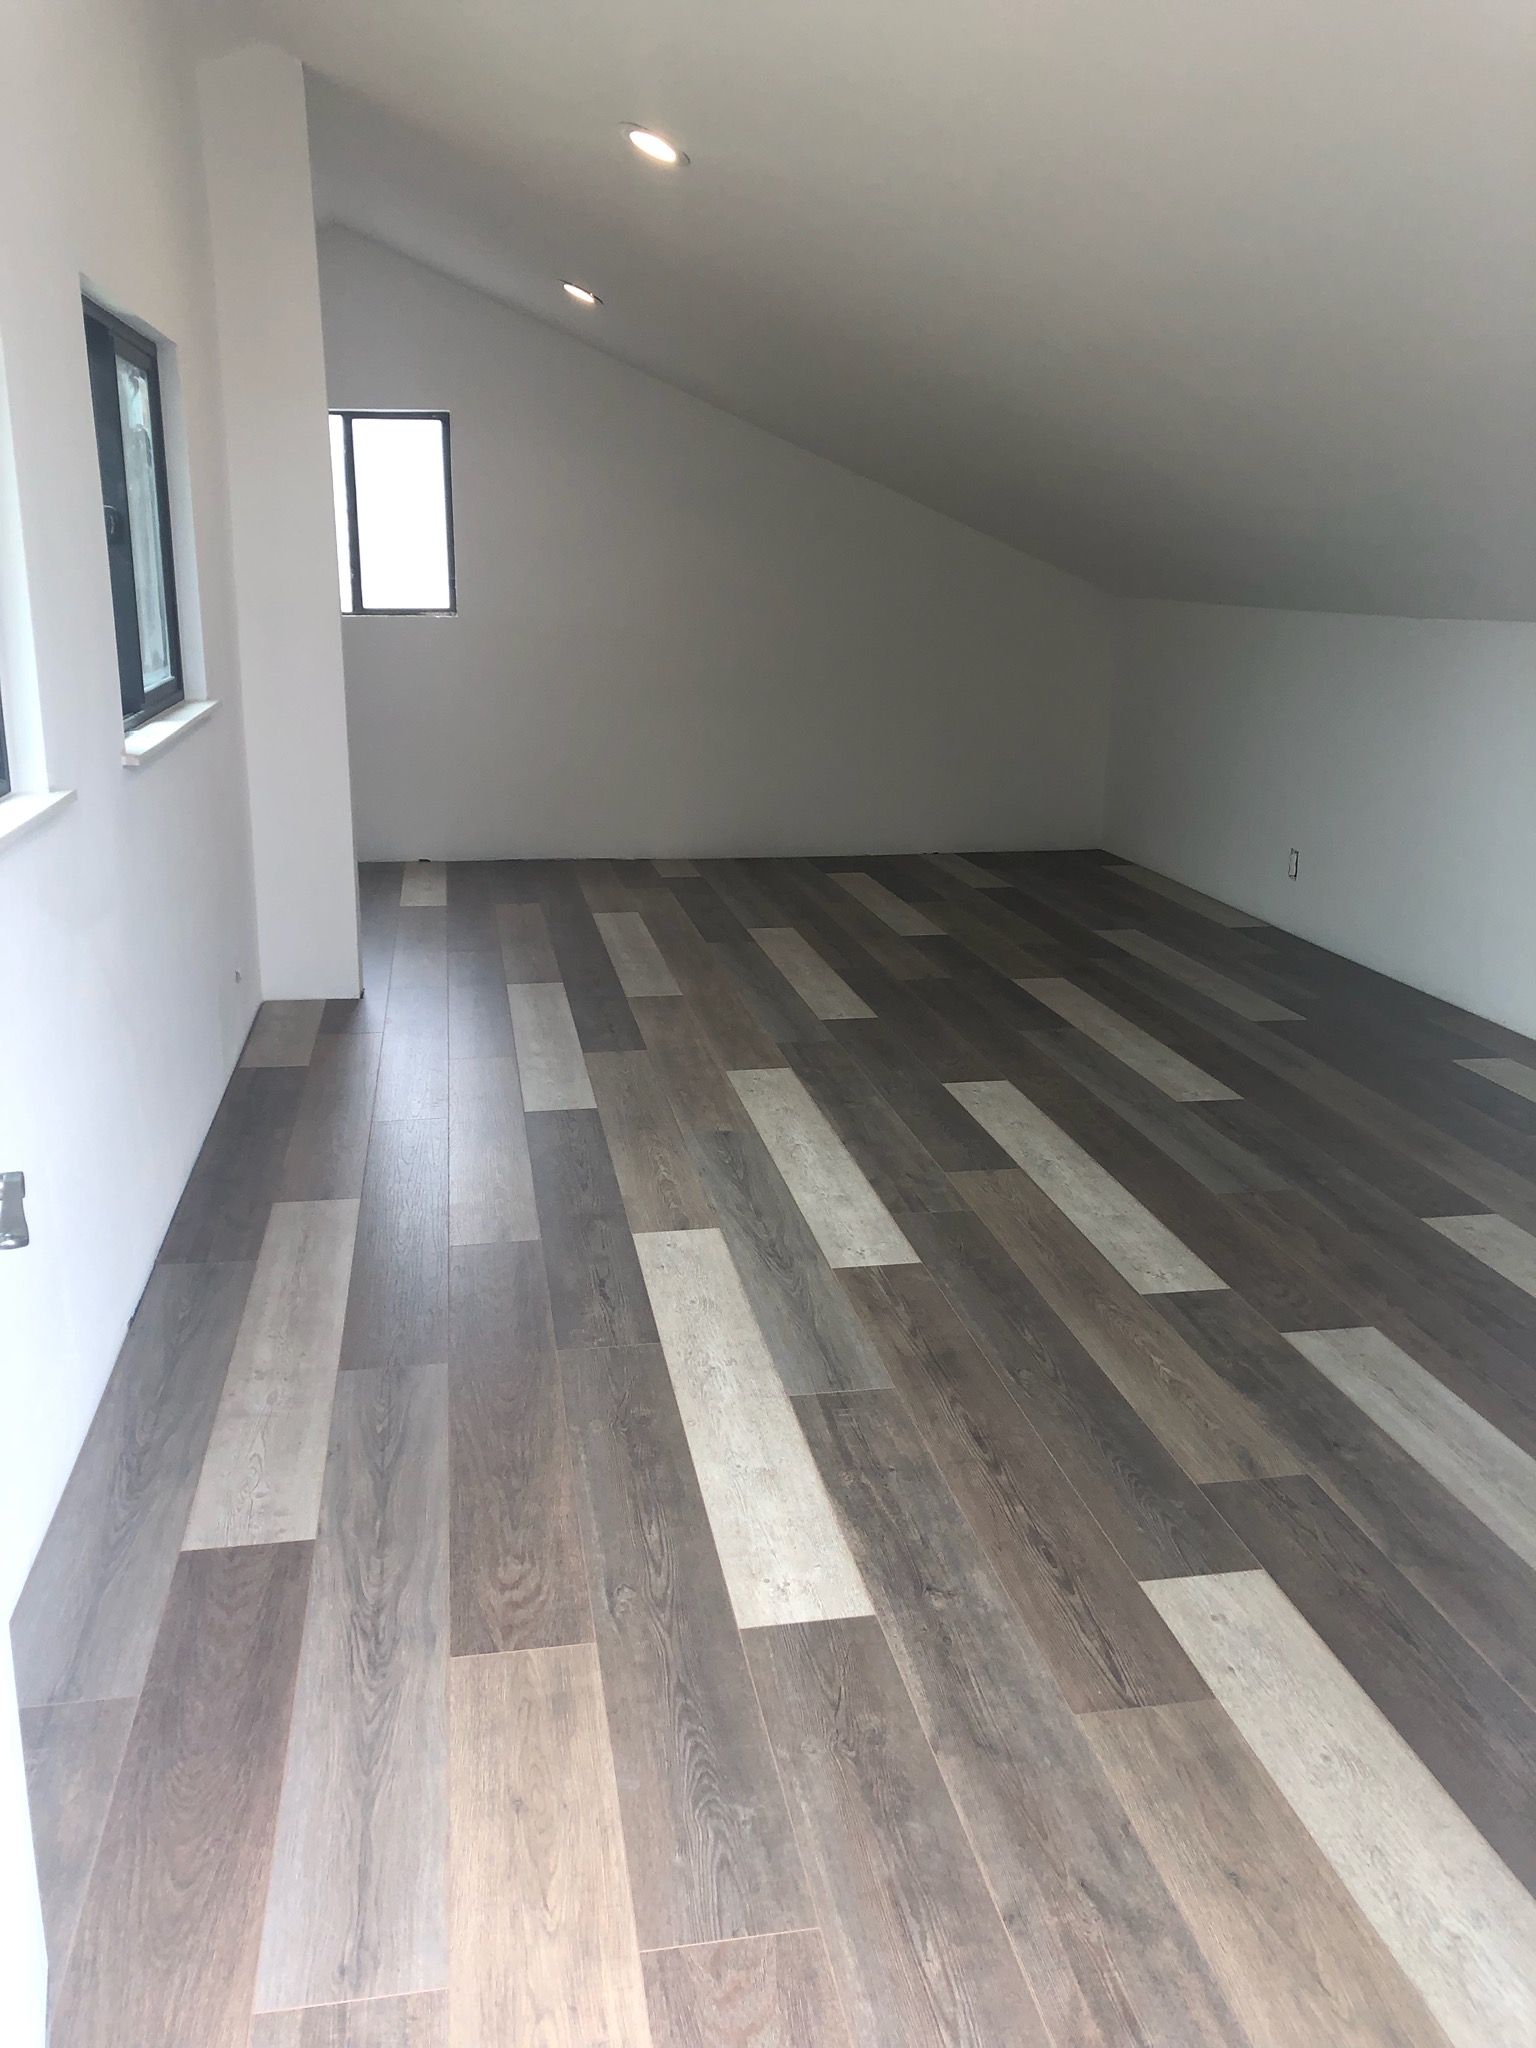
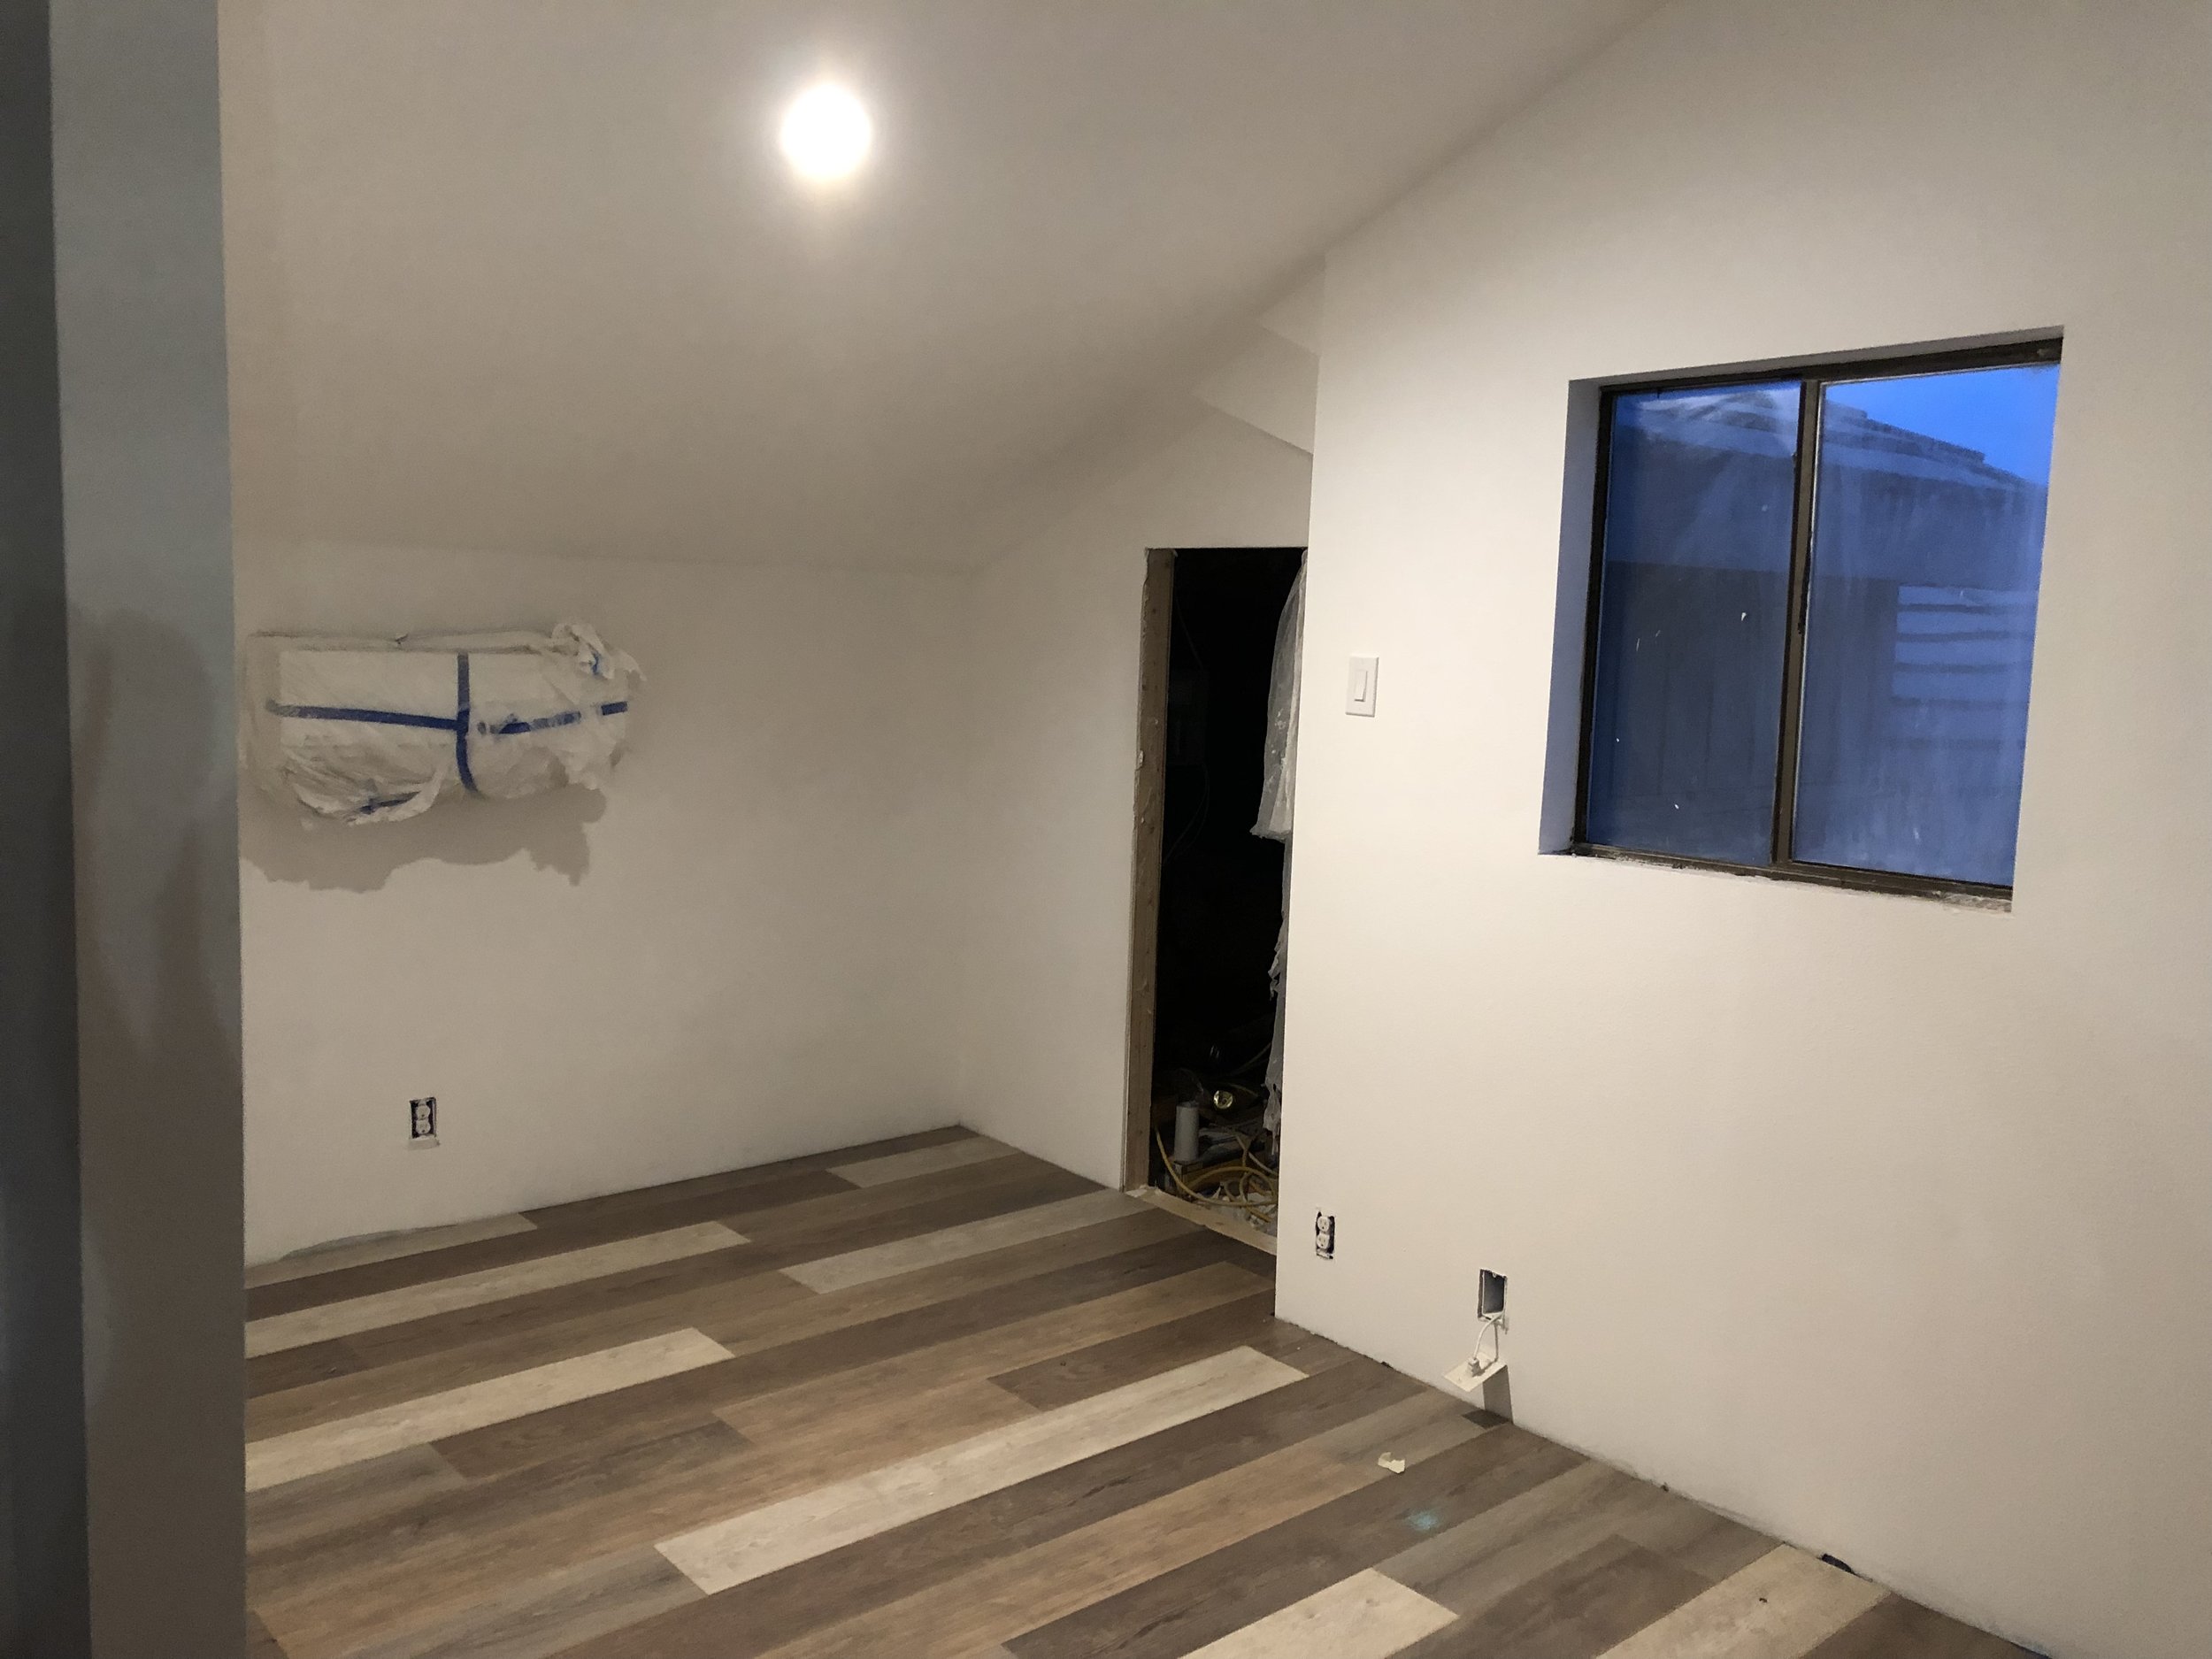
The Bonus Room
Dad had planned for years to turn the attic into a usable room, so we did that for him. What used to be a small deck turned into an observation deck that has an amazing view of a grassy area with deer and the Guadalupe Valley.


The Grasscloth Bathroom
This old bathroom needed some updating…


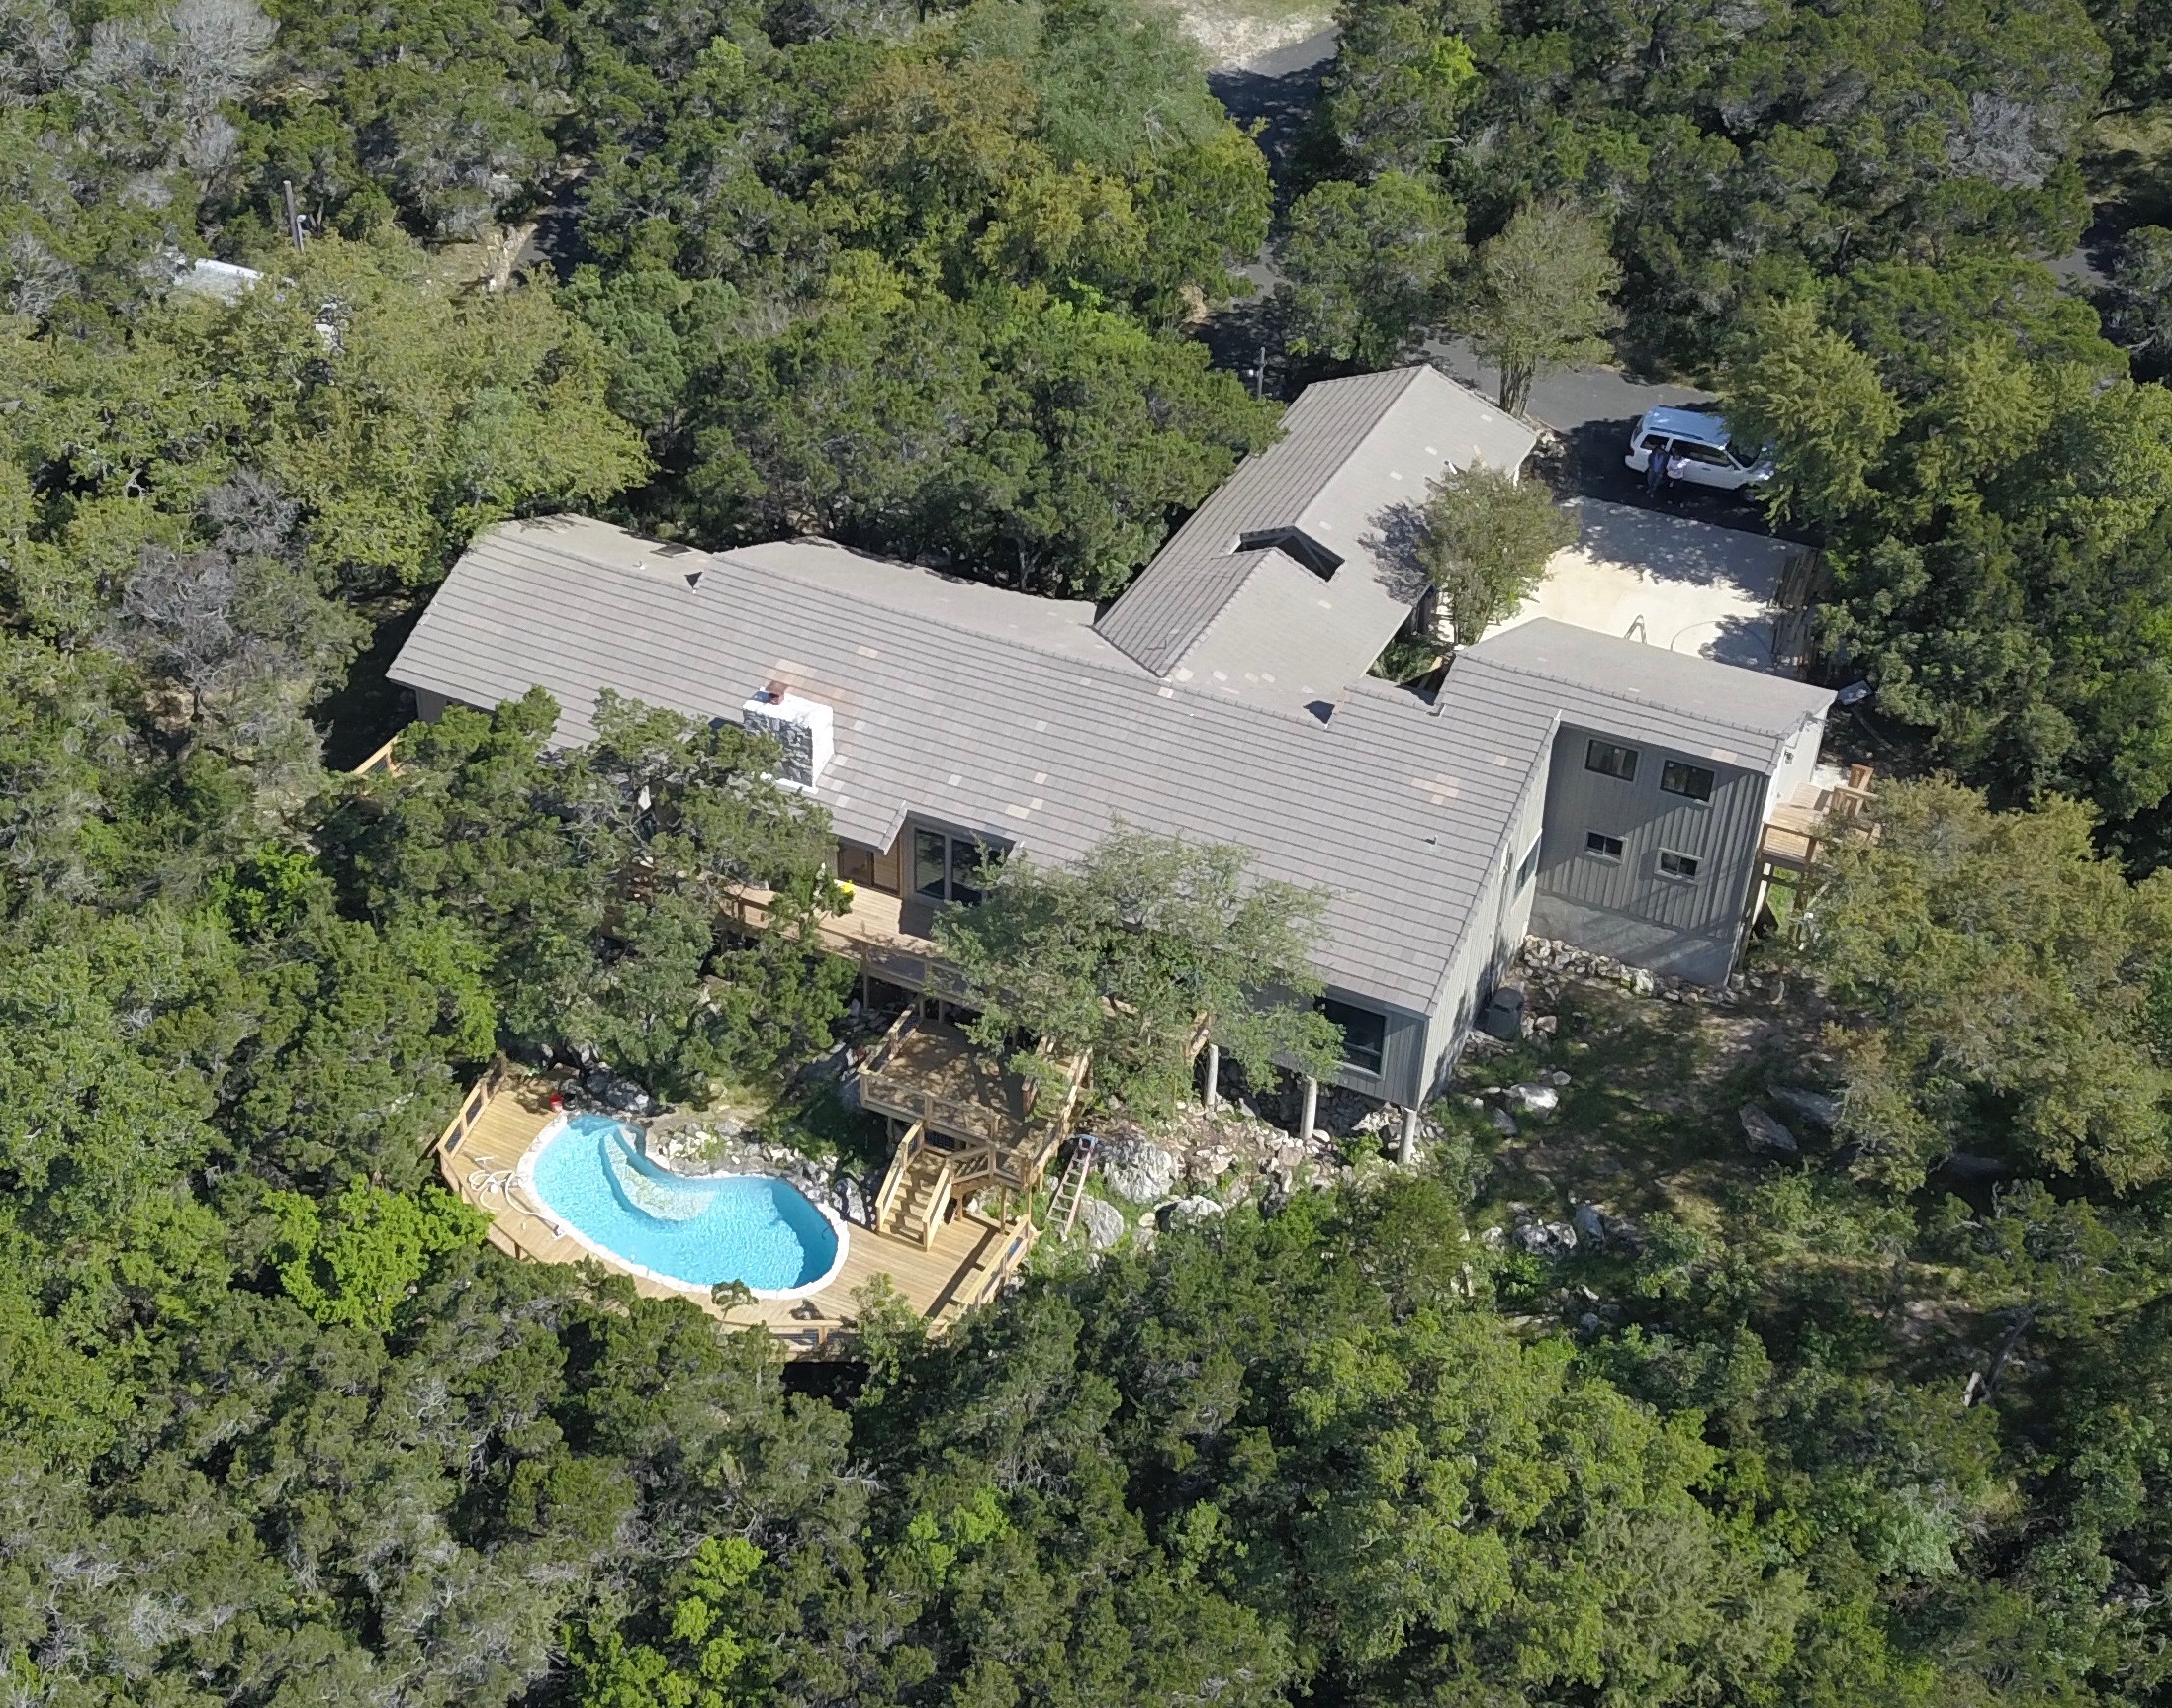
The Roof
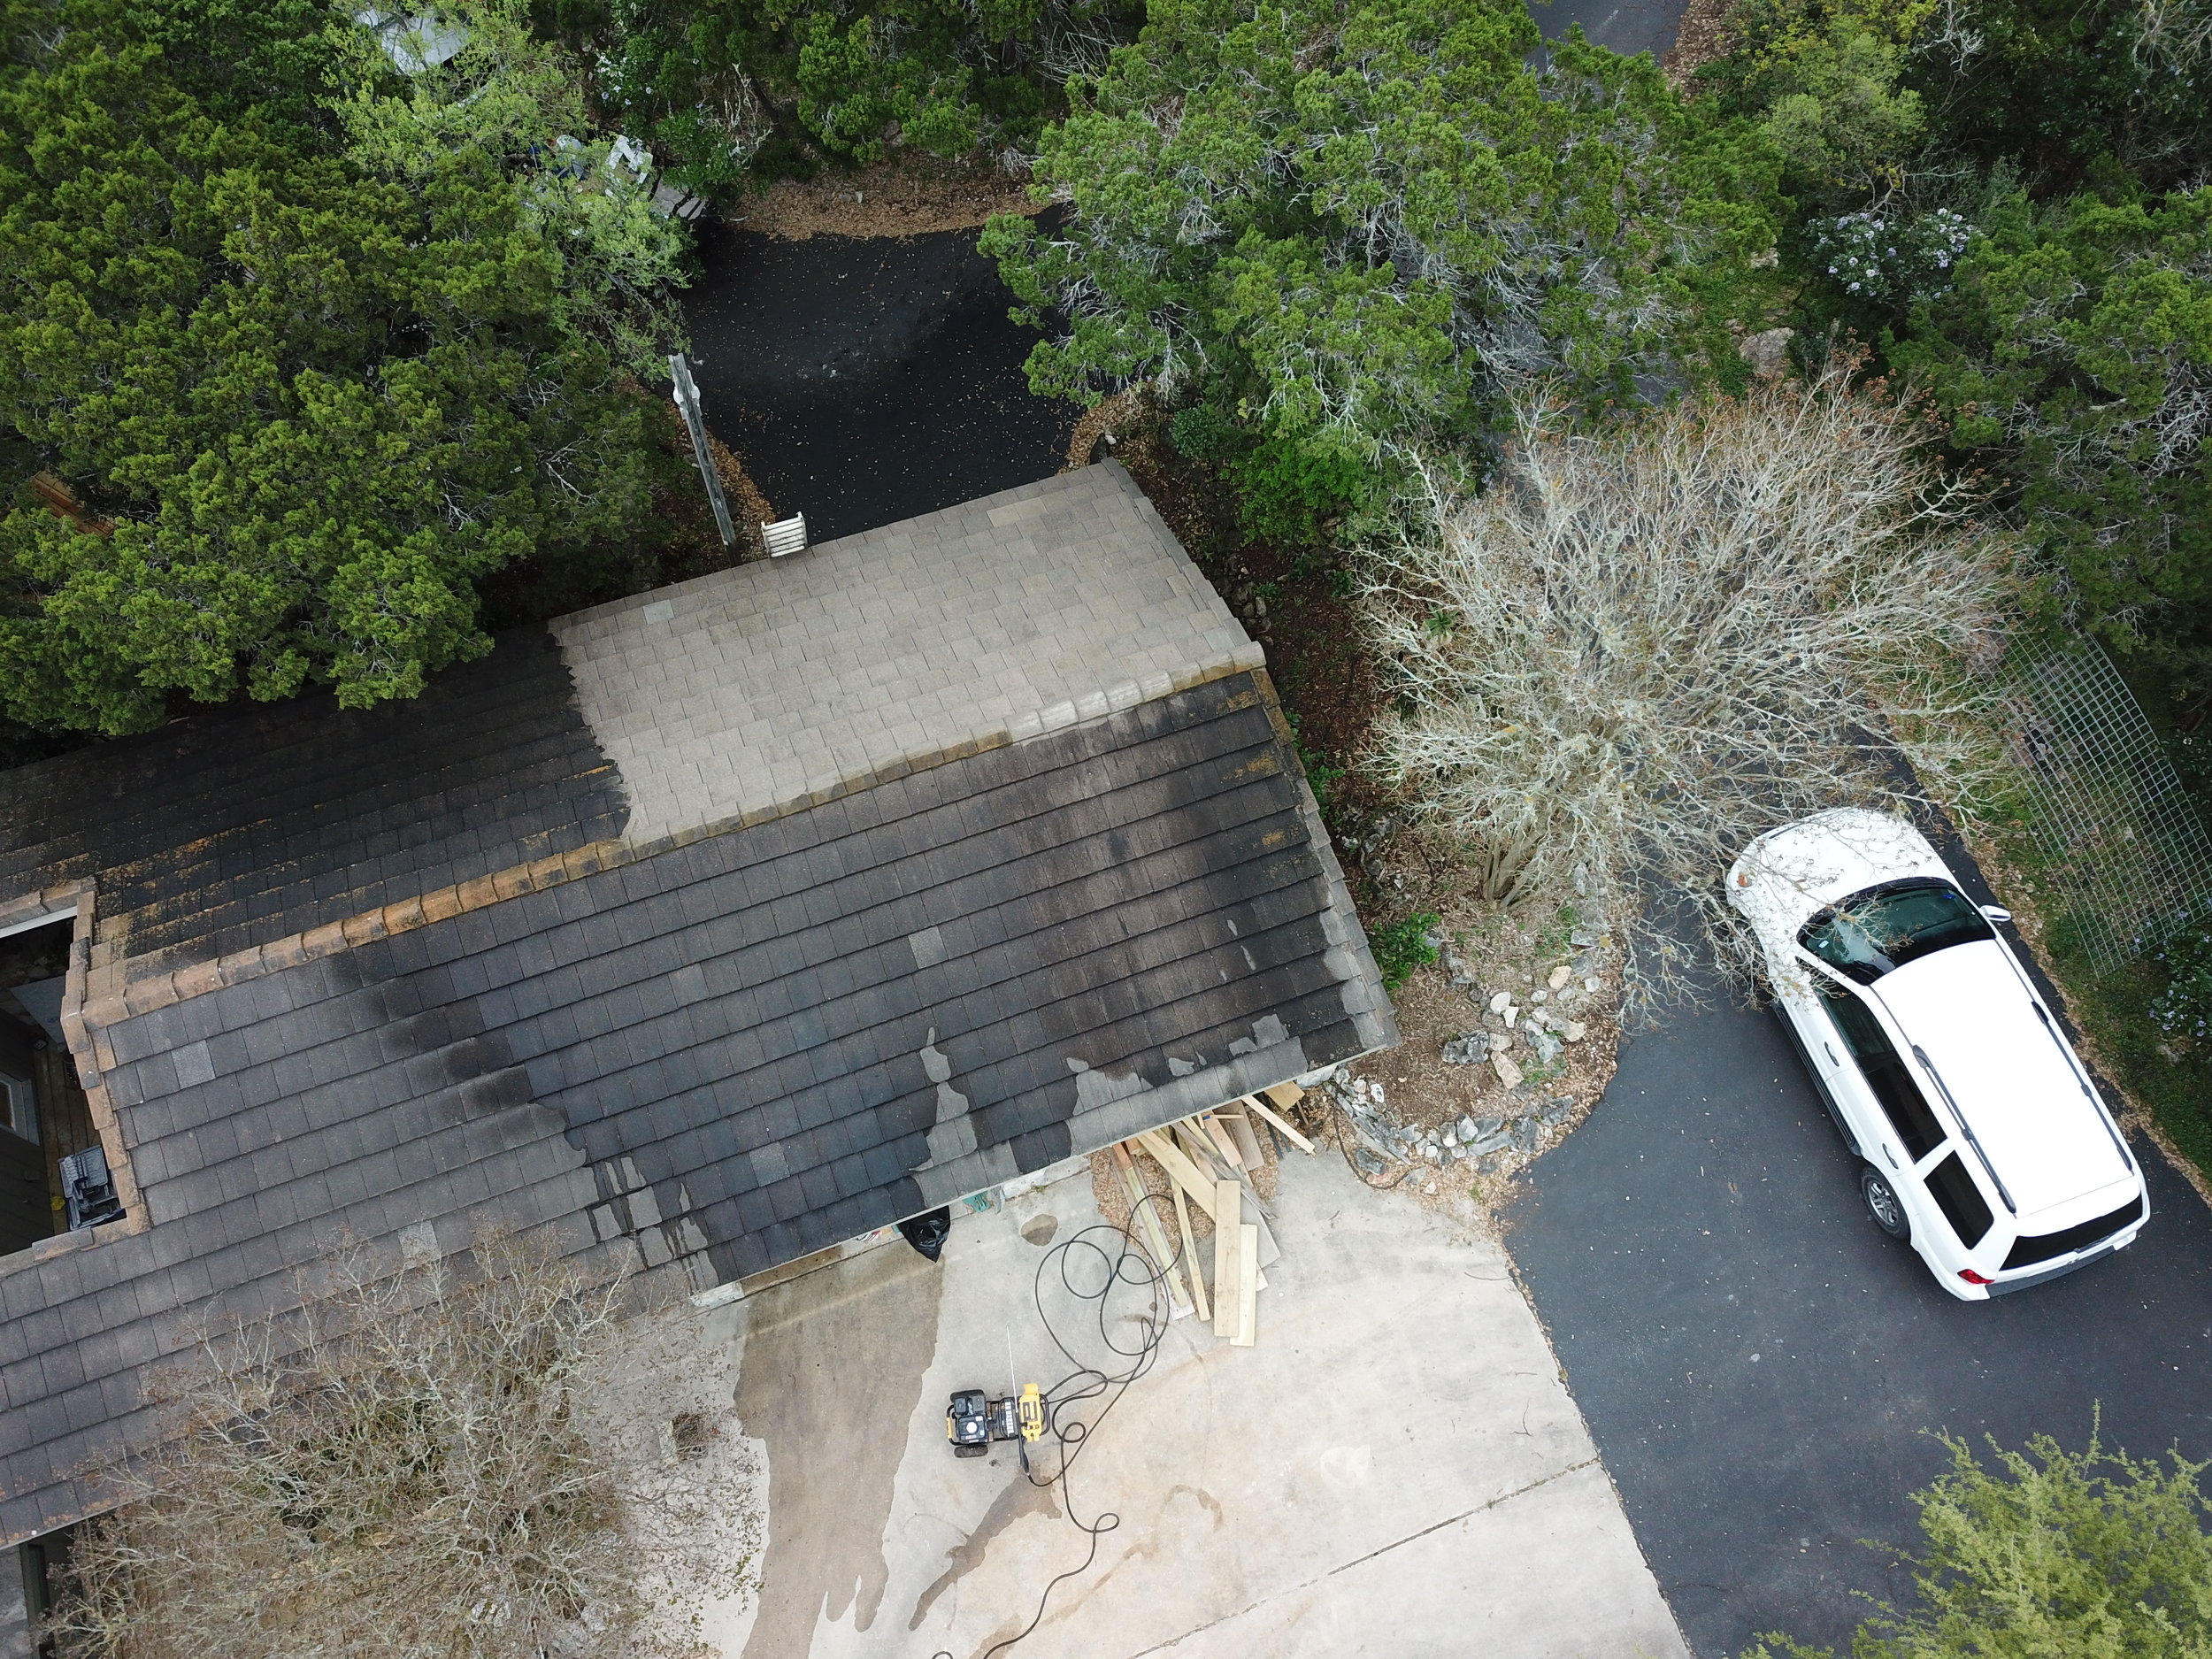
Another amazing change to the house was power washing the roof. The house has a concrete shingle roof that is extremely durable and easy to repair…the shingles are not nailed down, and to replace a damaged one, you simply pick up the two above it and replace the broken one. Several potential buyers asked about how much it would cost to replace, thinking that it was in bad shape (about $45,000!)…but that was just years of crud on the surface. It took three days to power wash, but the results were stunning. It’s like a brand new house!

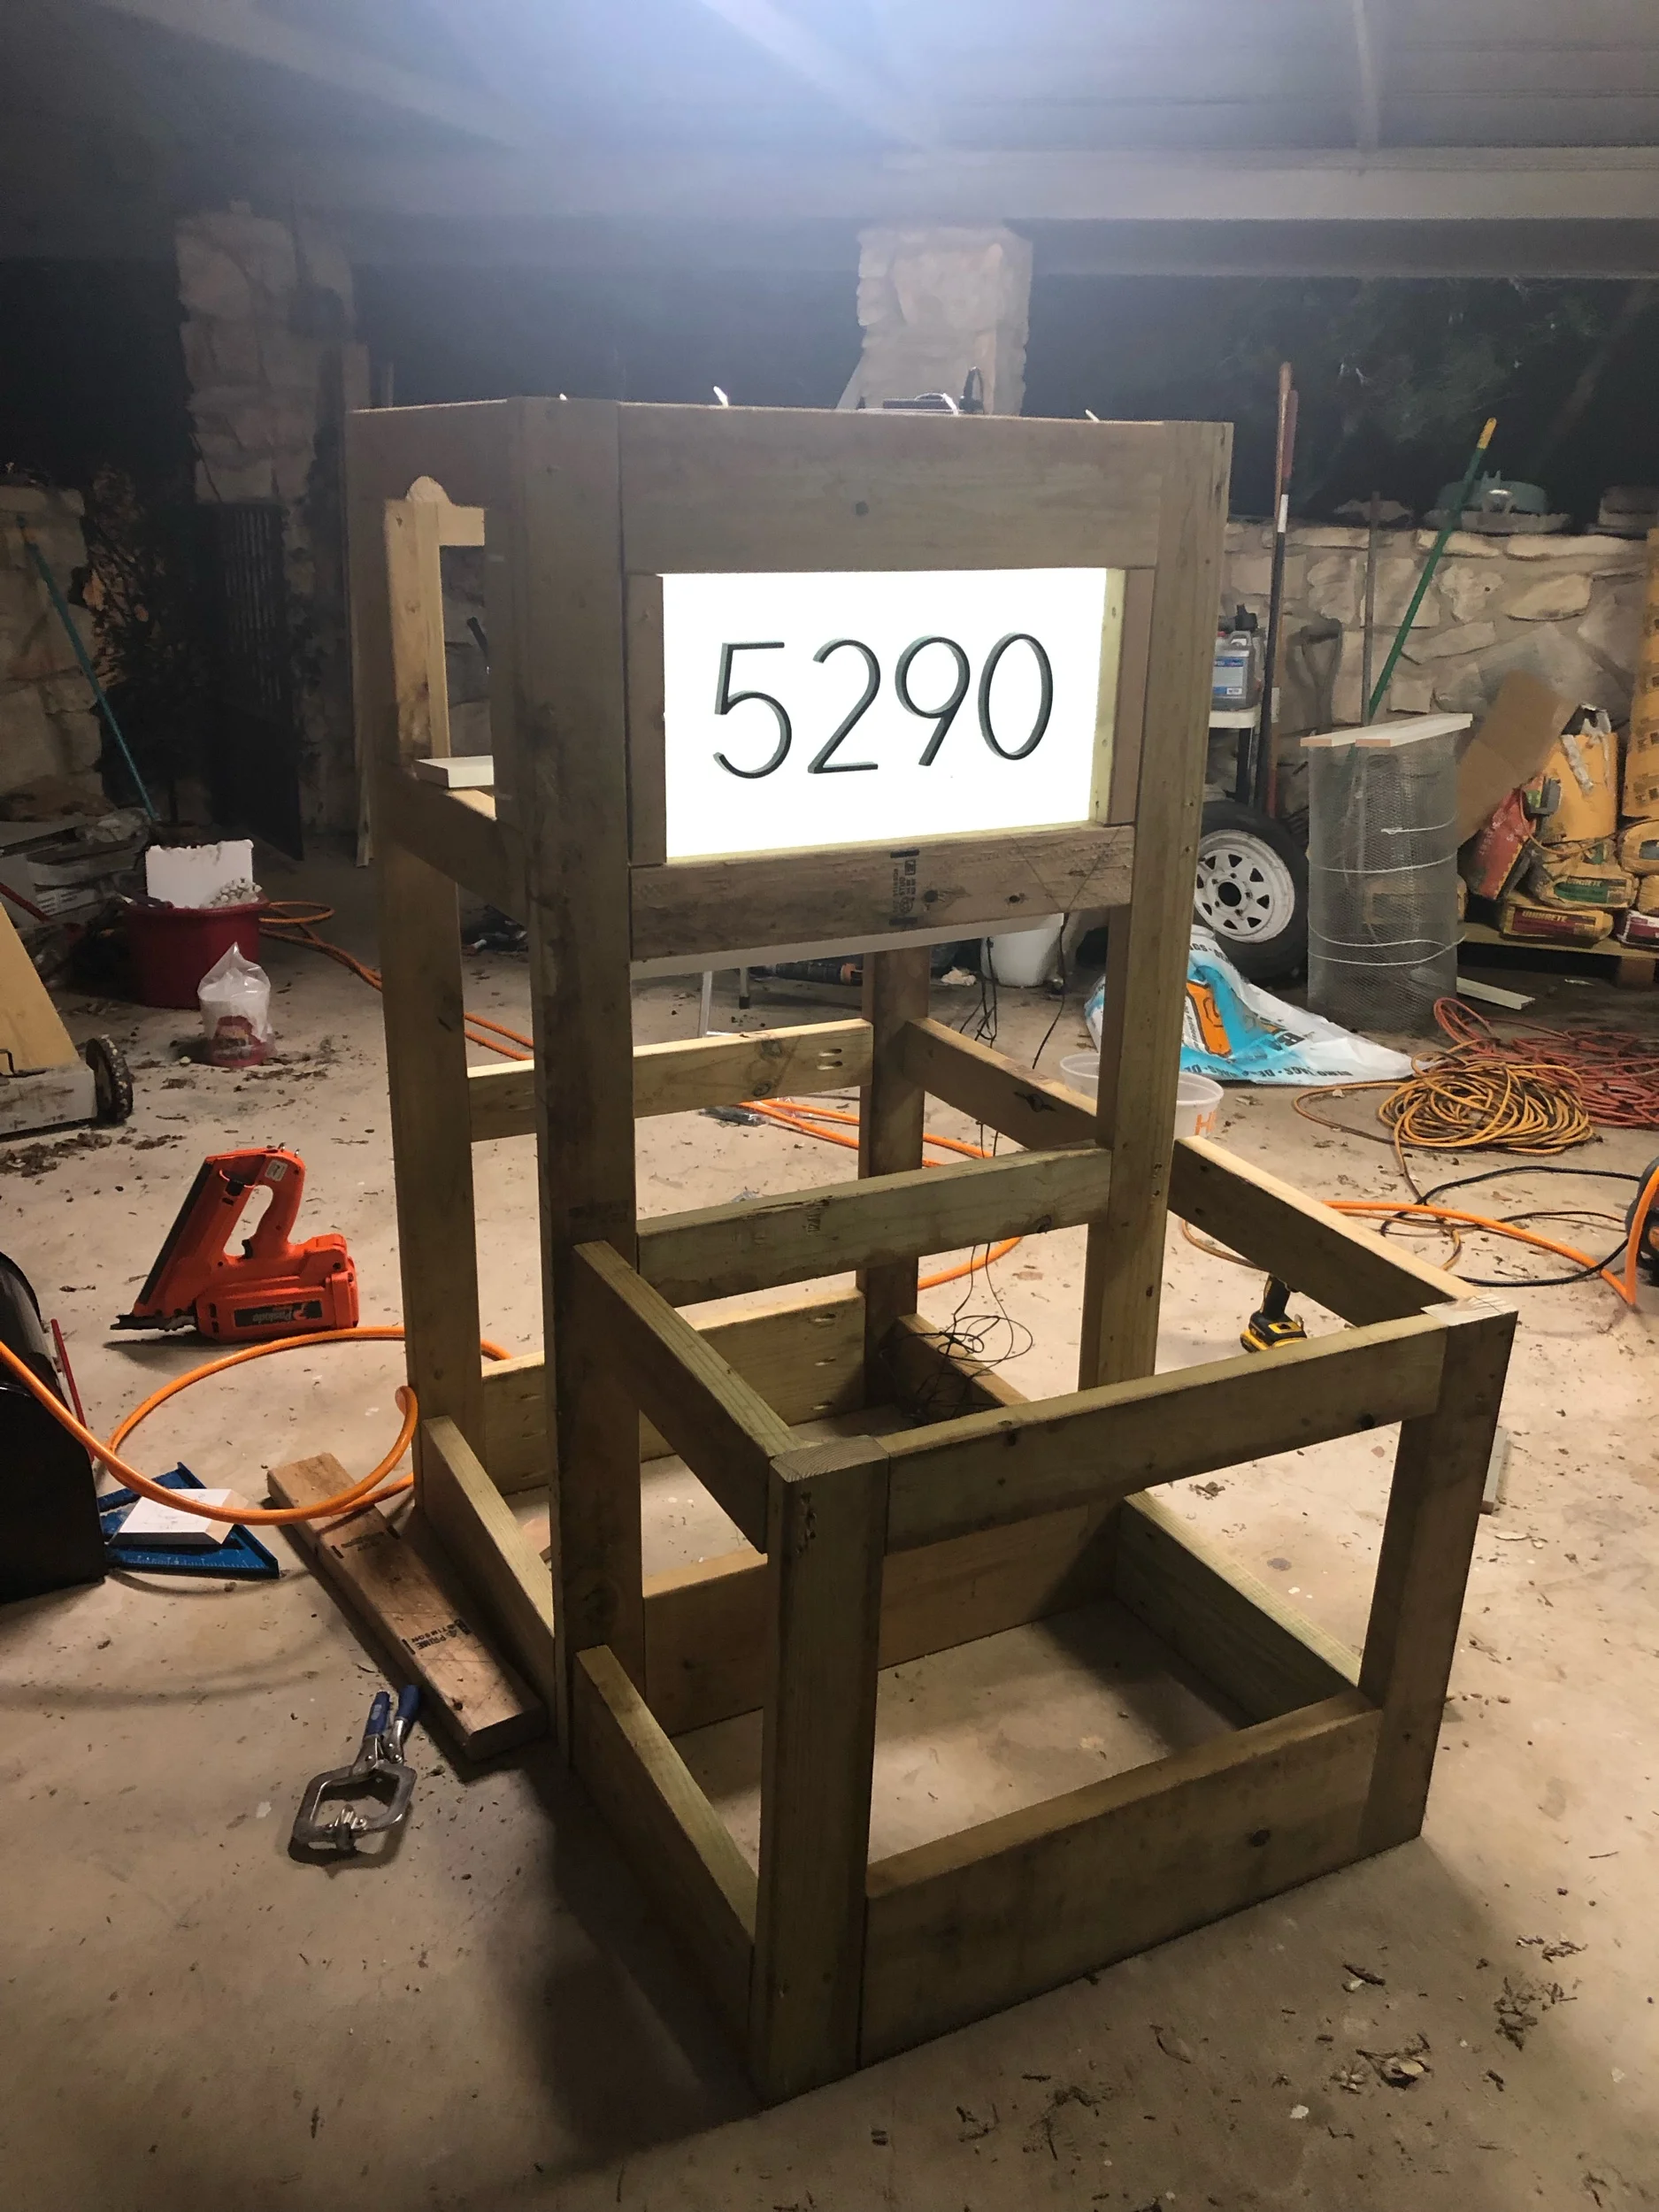
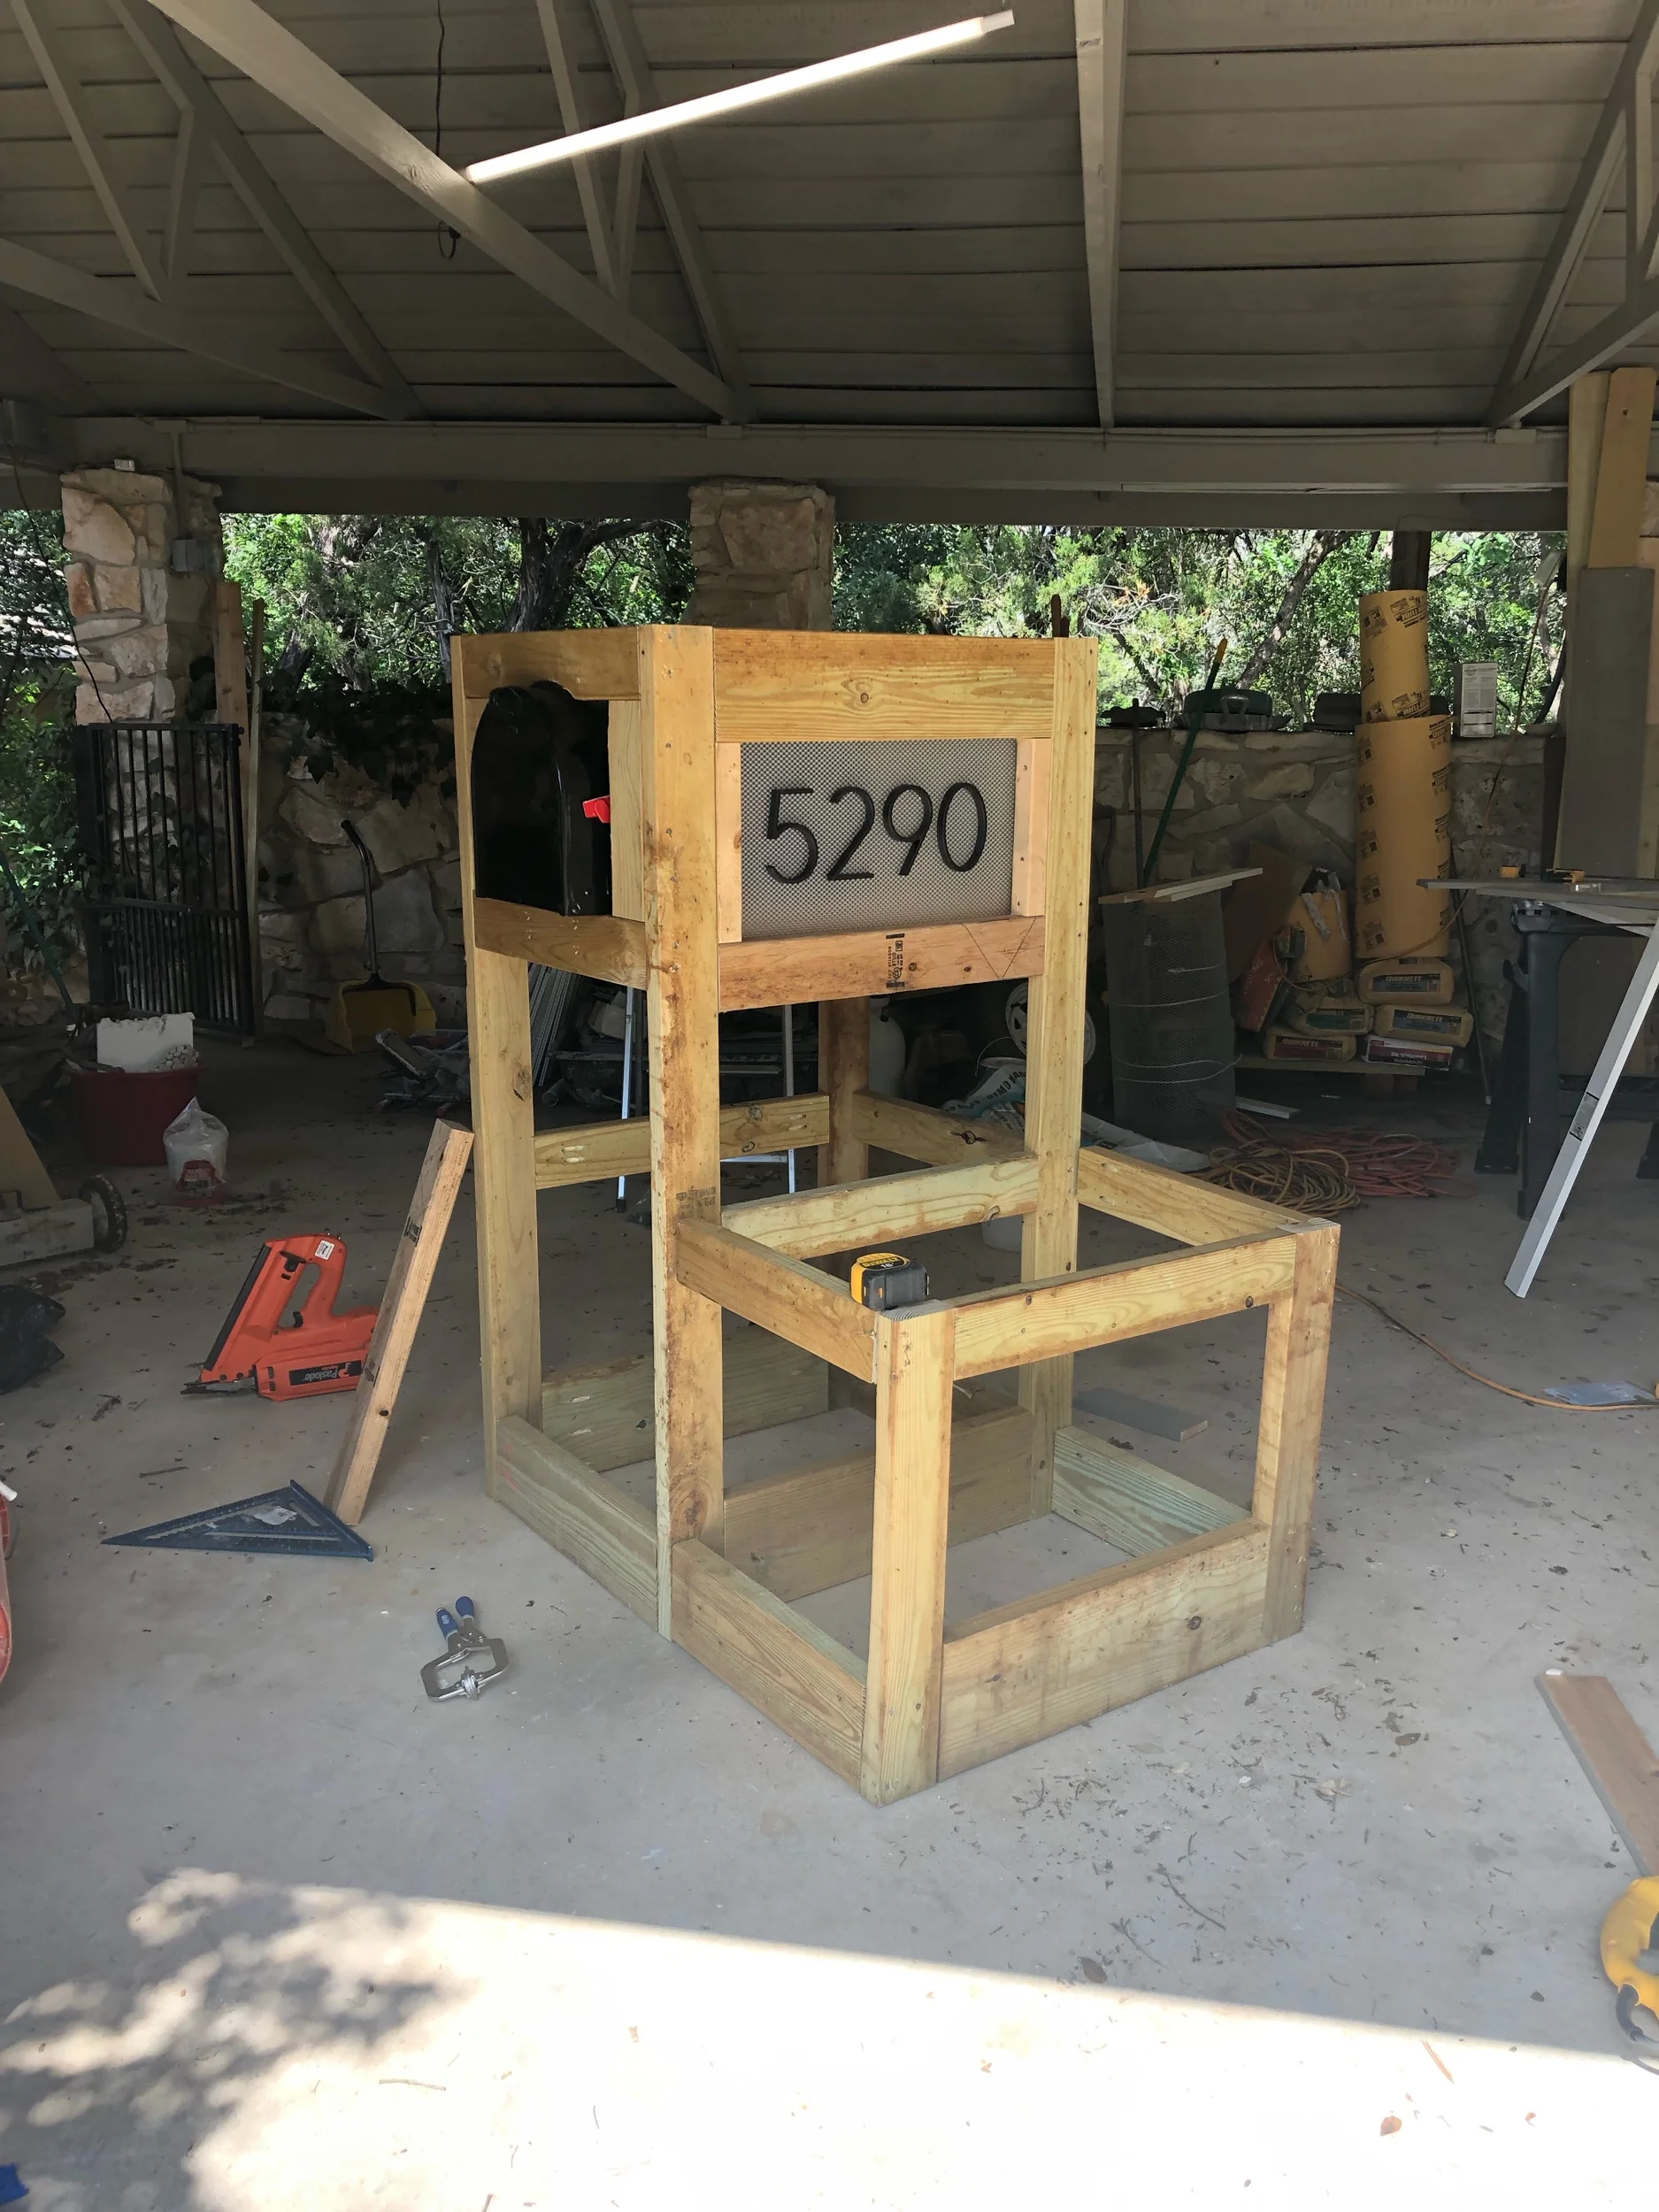
A New Mailbox!
The house needed an updated mailbox, house number, and a place for package deliveries. A quick design in SketchUp, a solar rope light, and some leftover lumber, and voila!