One of the things I have just kind of accepted while working with ZBrush is that the rendering engine leaves a lot to be desired. If you want to invest a LOT of extra money into another piece of software—fantastic software—you can purchase Keyshot, which will allow you to apply photorealistic textures to your models.
Enter Blender.
And I thought ZBrush was complicated…oh…my…God. Blender made my head spin. But I’m pleased to say that after a recommendation from my new Facebook friend (and “Cyr” wheel instructor), Nick Carter, he turned me onto a really great Blender tutorial on YouTube. And before you know it, I’m modeling a donut and a cup of coffee, and I’m well on my way to rendering some jewelry.
Ring rendered in ZBrush
So you may wonder, “Kat, what the heck are you talking about?” If you’re new to CAD and 3D modeling, then you model some stuff and you’re thrilled at what you’ve made. Then you watch a little HGTV and notice that their 3D CAD models look really realistic. THAT’S photorealistic rendering. Or sometimes you’ll see jewelry on websites and have no idea that the jewelry doesn’t actually exist…textures have been applied and lighting added, and VOILA!
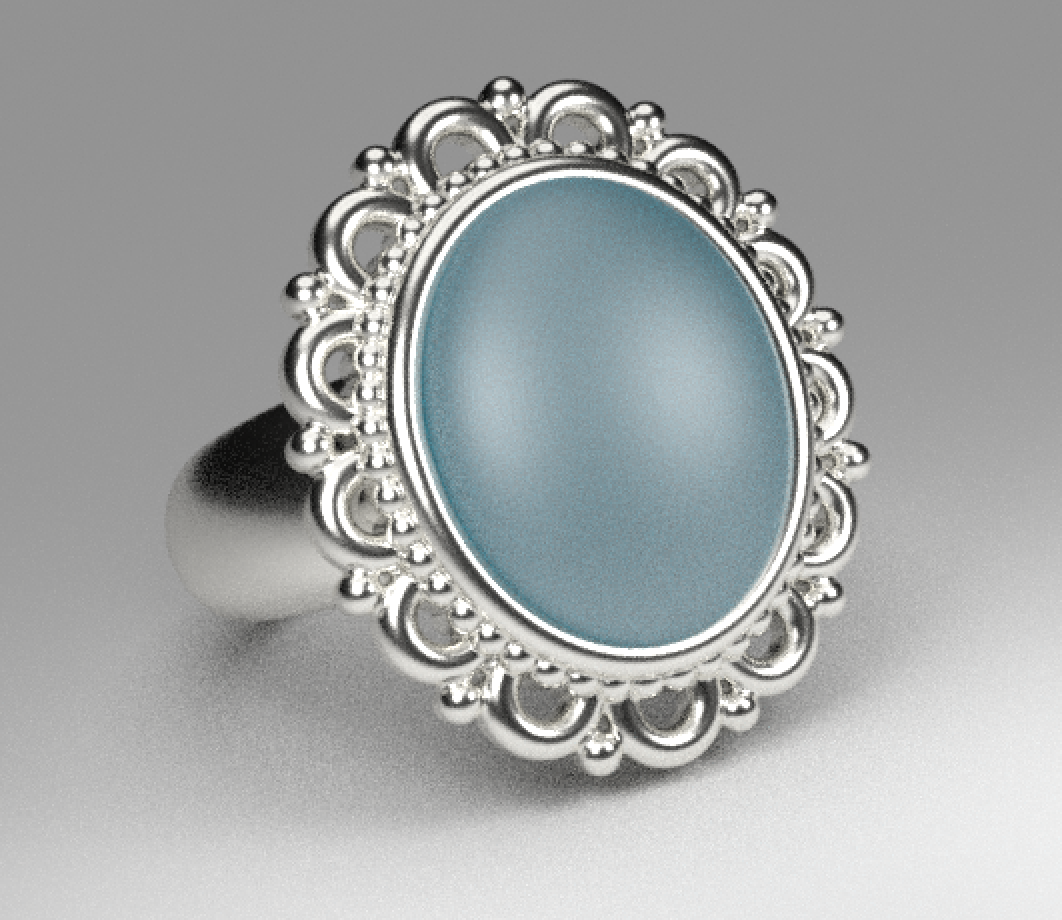
Blender is another piece of software that is used for creating 3D models, scenes, and animations, and the amazing thing is that it’s absolutely FREE. And it has the ability to add those photorealistic textures. Will it replace ZBrush for me? No. I much prefer the freeform modeling of ZBrush and how much it feels like you’re interacting with real materials like clay. But for the moment, playing in Blender is giving me some really interesting results. Here’s the same ring from above with a silver texture applied and a translucent stone.
Rendering from Blender of a ZBrush model
I’m still working through some kinks…for example, underneath the ring there are some artifacts in the shadows that I understand have something to do with lighting. And I’d really like to be able to apply a patina. Overall I’m pleased with the effects!


