I’d seen something pretty cool in ZBrush but had forgotten what it was called…there is a “brush” that allows you to apply objects to a surface and blend them in. One of the great built-in tools is a set of facial features, like noses, eyes, mouths, even some horns if you were creating some movie monsters.
I had seen it used for scales, and it allowed for features to overlap. Tonight it was my mission to find out how to make my own!
One of the best resources available for ZBrush artists is #AskZBrush. Most, if not all, are done by a very talented ZBrush expert named Joseph Drust. Not only are his videos clear and easy to follow, but his voice is very mellow…I could listen to him all day! So after a quick search for a tool that I had no idea what to call, sure enough, one of Joseph’s hundreds of videos covered the topic: the VDM Brush.
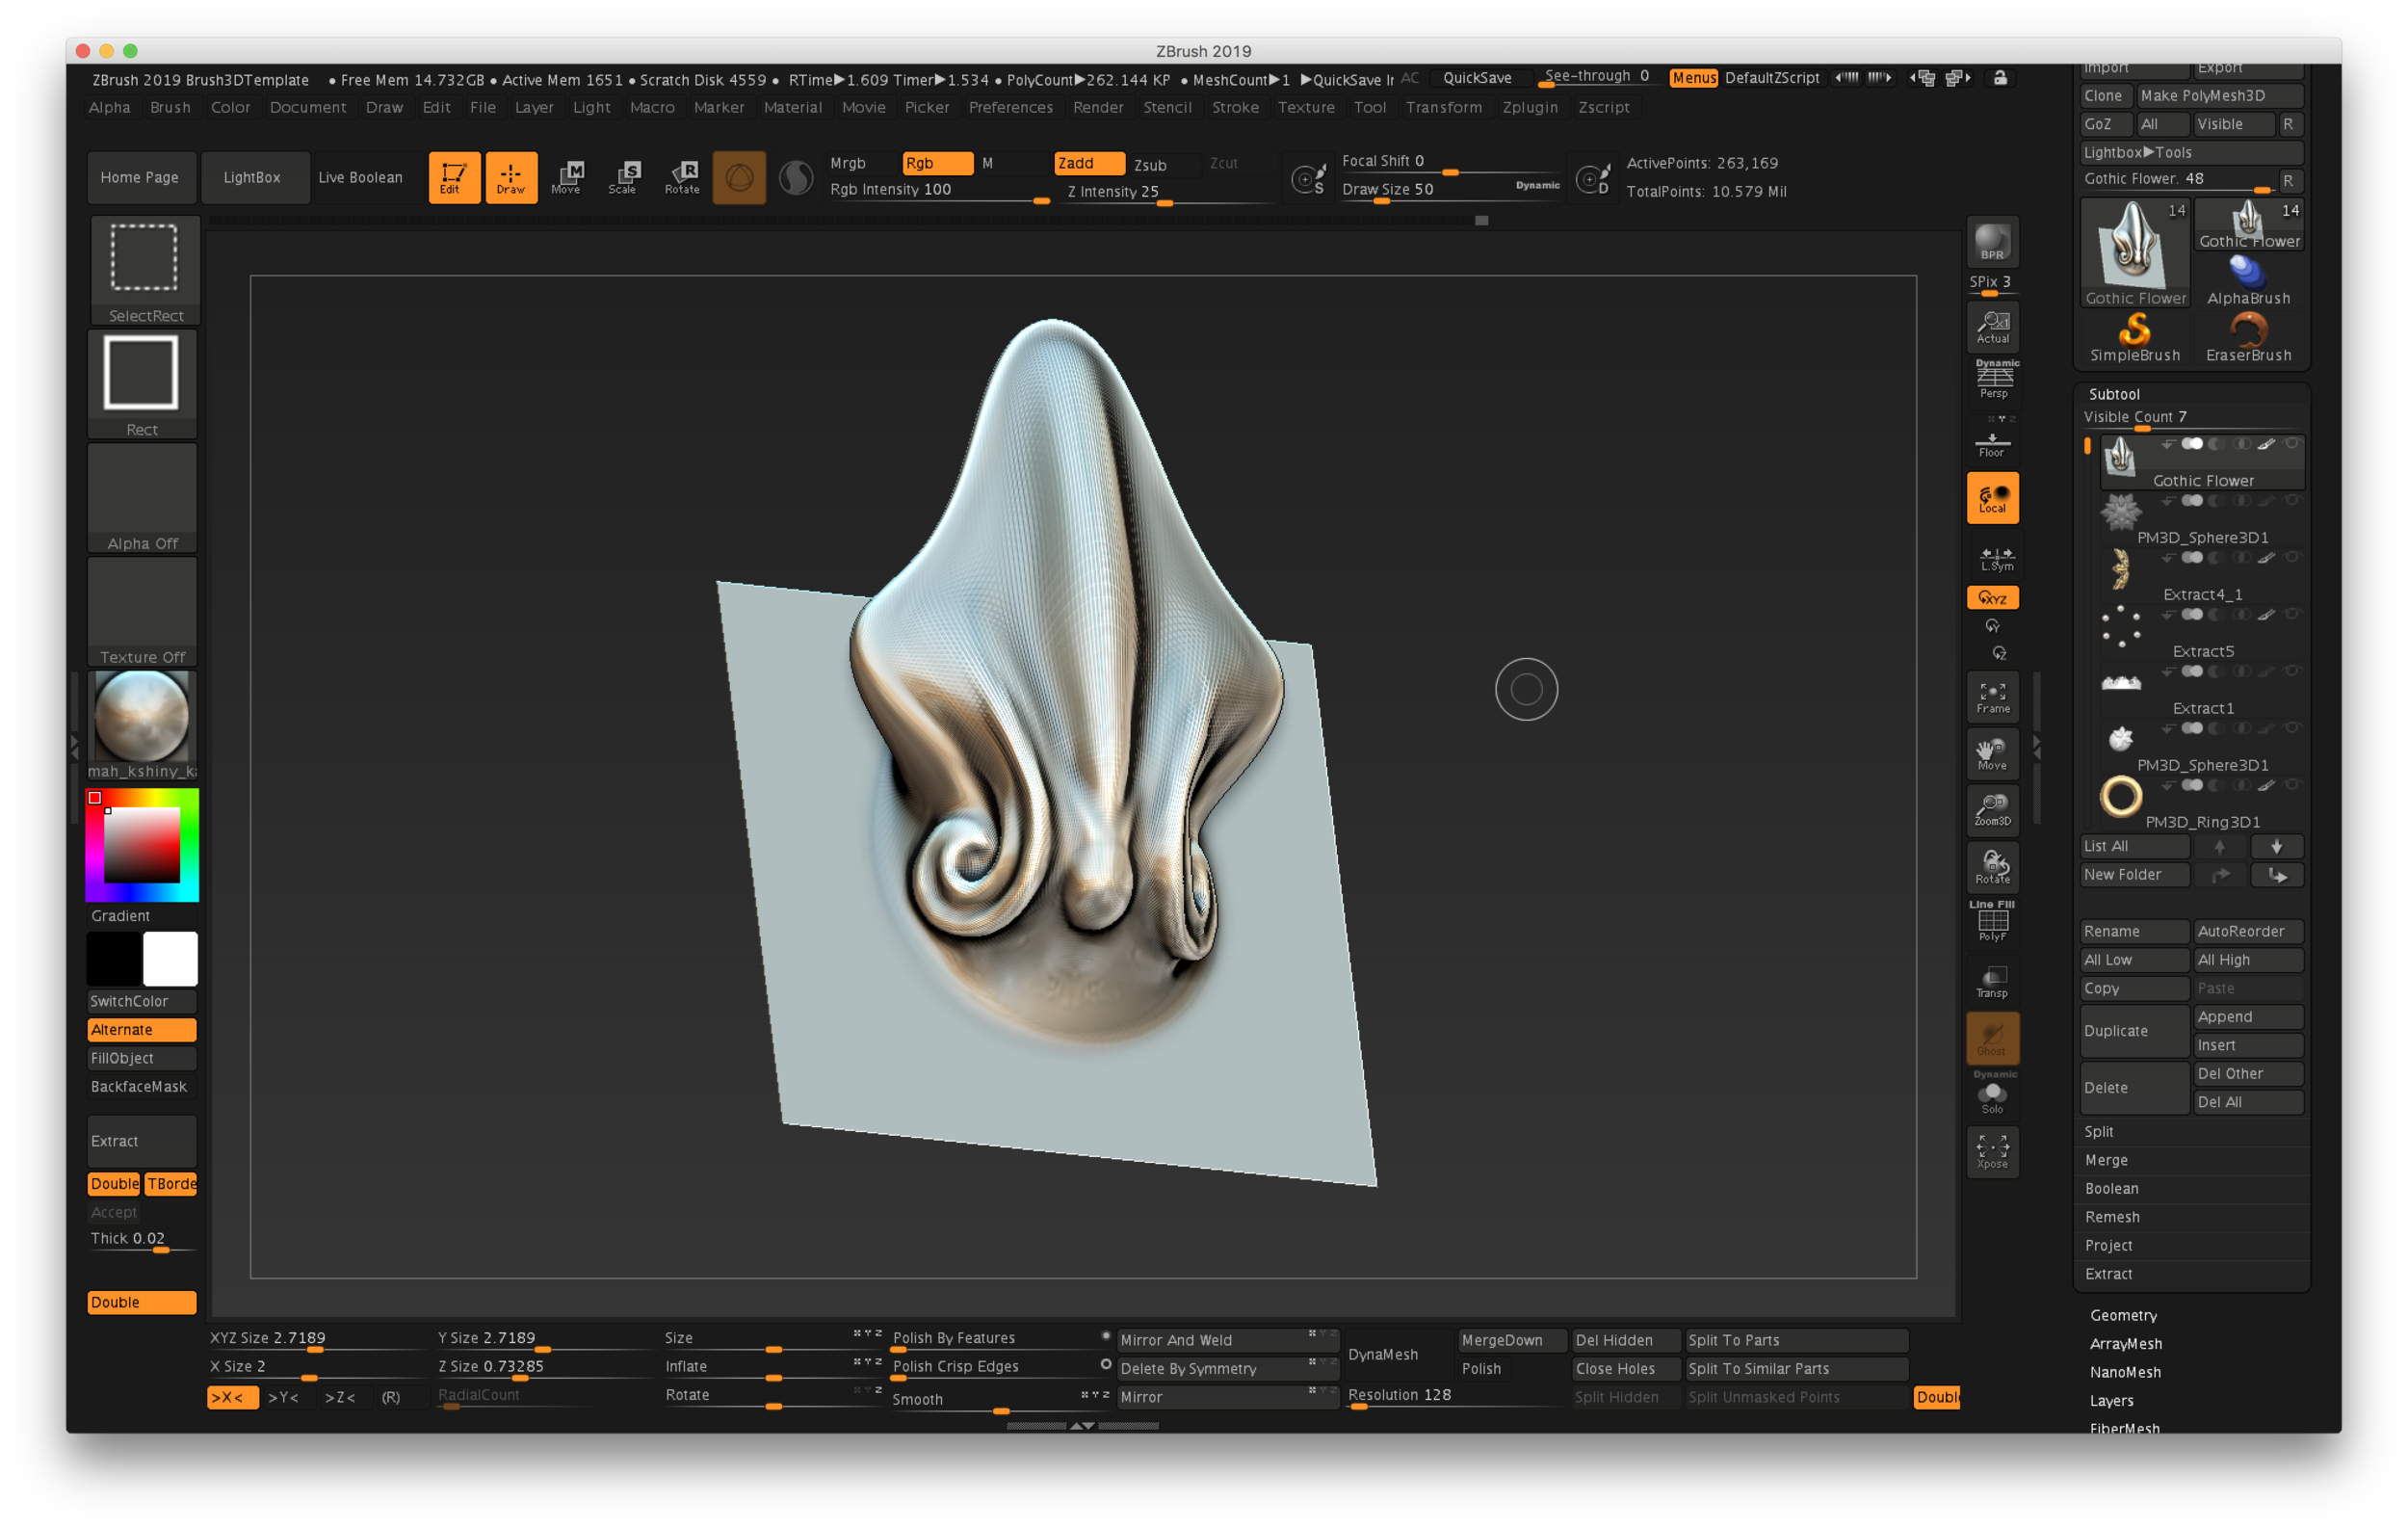
An example of a custom VDM brush in ZBrush
Template is here!
It’s an offshoot of something called a Chisel brush in ZBrush, and the #AskZBrush tutorial on this technique was a great place to start. Within the Lightbox, under Misc, there is a file called Brush3DTemplate.zpr. It’s a starting place for creating your own pattern, using a Plane3D primitive. The template includes the Plane3D with multiple subdivisions, so all you have to do it sculpt something using your favorite brushes while keeping the edges intact—don’t take your design all the way to the edge.
I used the Snakehook brush (Shortcut B-S-H), with the Inflate brush (B-I-N), and the Clay Buildup brush (B-C-B). If your mesh looks a little faceted, simply switch to a higher subdivision (press “D”). If you “lift” the design up off the surface, then there will be room for the design to overlap other instances, creating depth.
Notice also that since we’re using a Plane primitive, the back is open…this model has no real thickness.
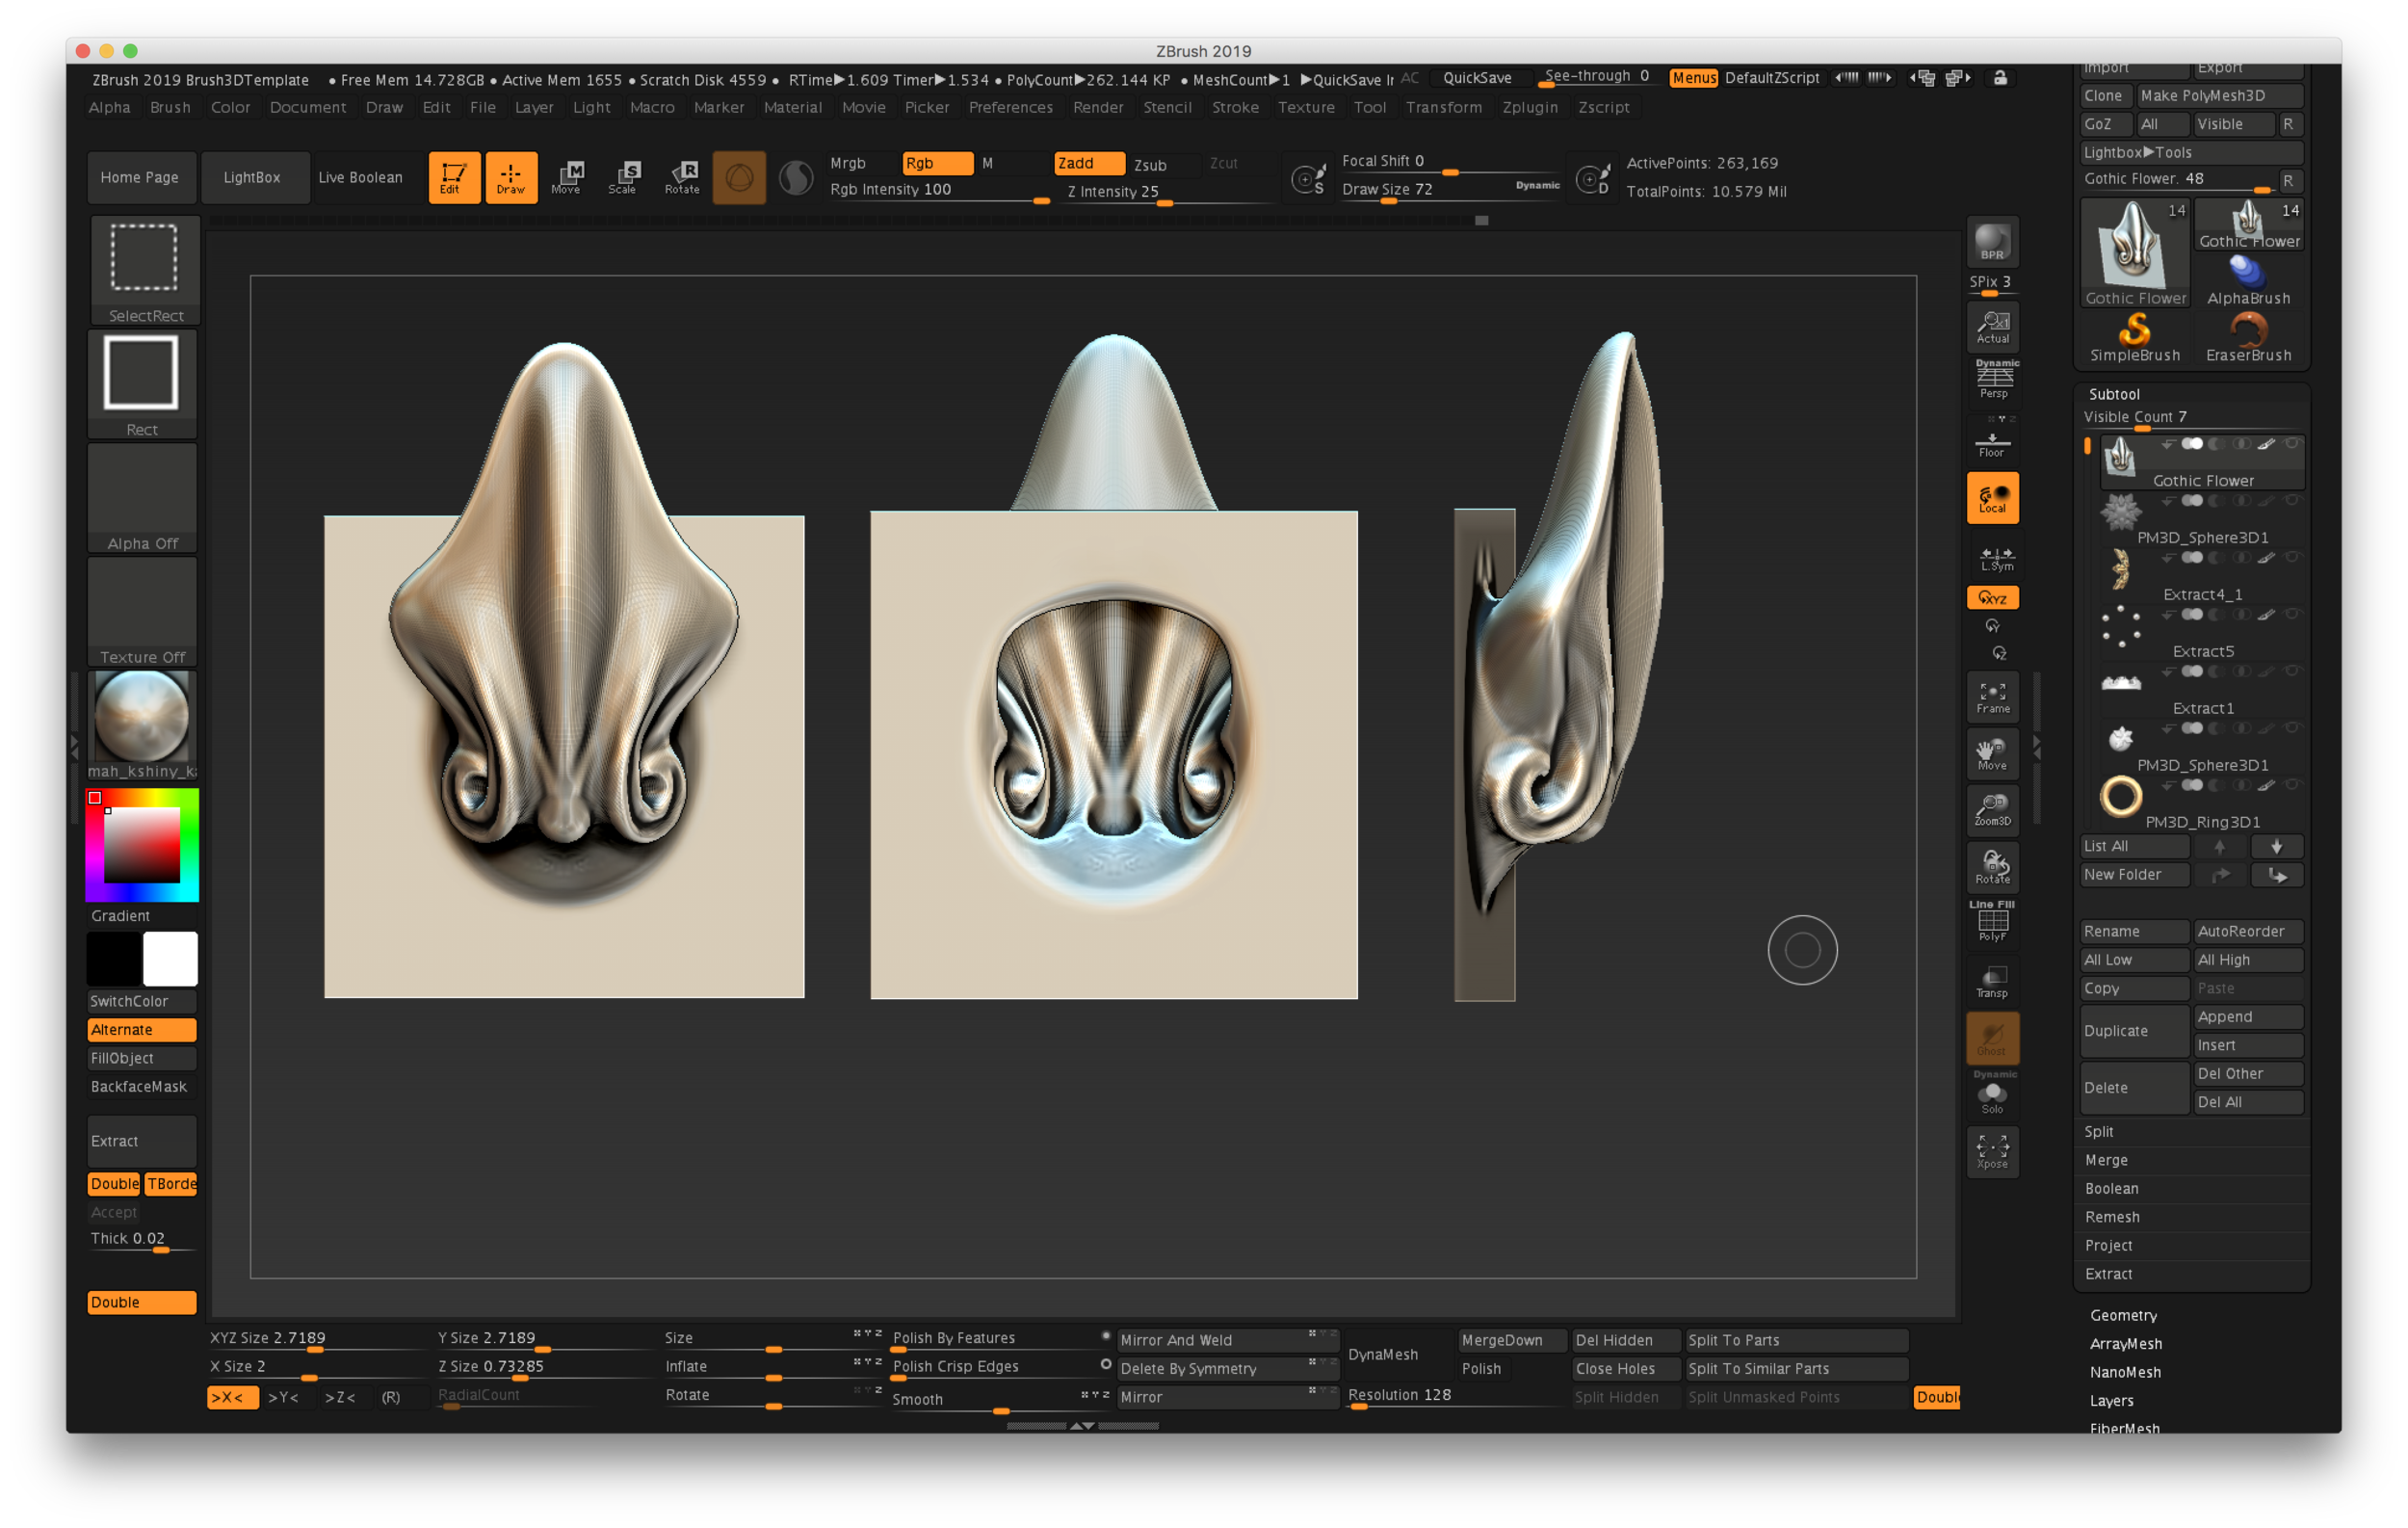
Three views of the new brush…shows the hollow back and side view
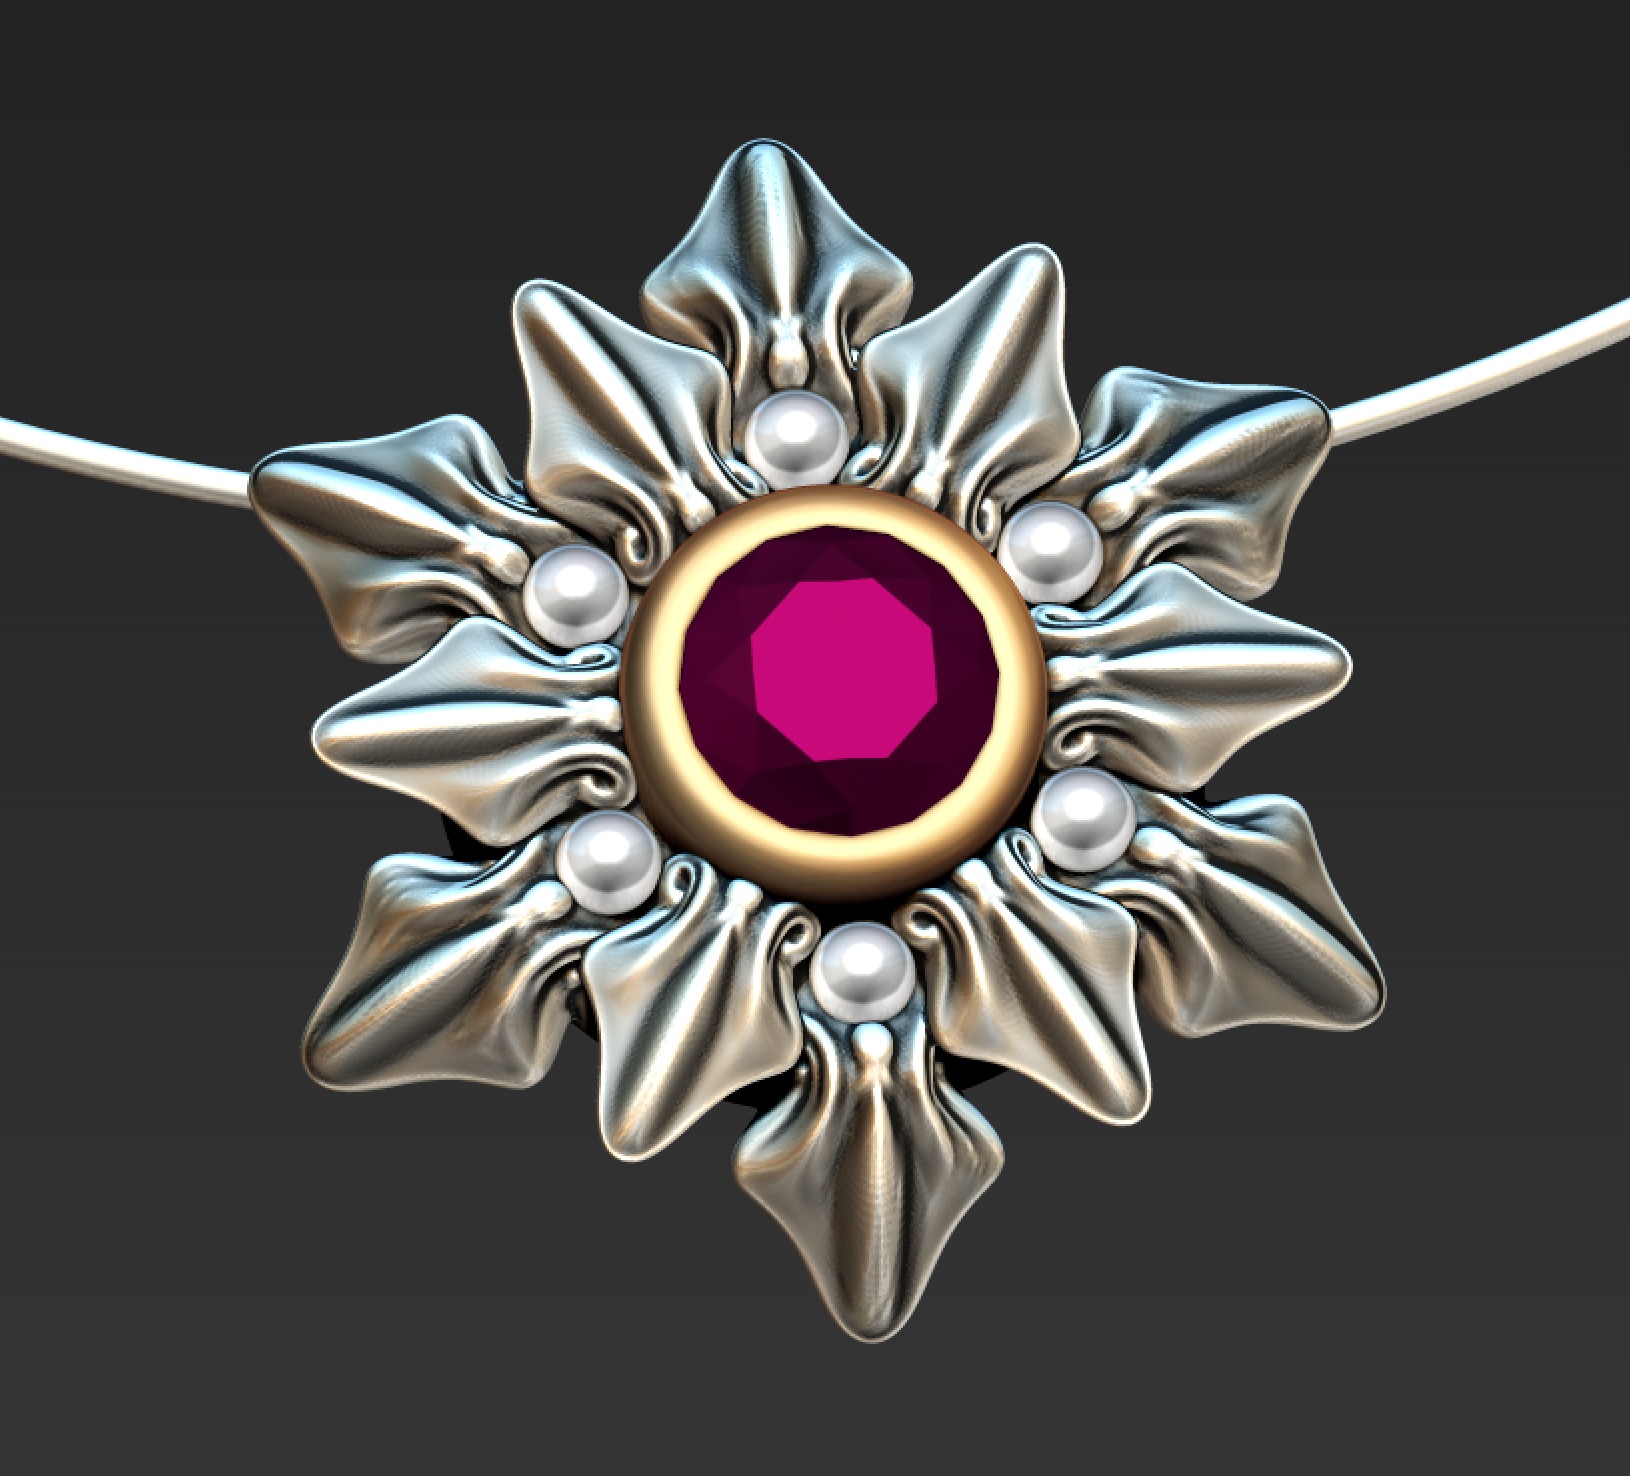
Anyway, I’d recommend that you watch the video for all the details, but I can see all sorts of possibilities here. On my sample model, I used half a sphere with radial symmetry, applied the “leaf,” then added a bezel and some “pearls.” The back is hollowed out, which is something I’ll show more about in my upcoming course.
It looks a little like an origami holiday snowflake to me!