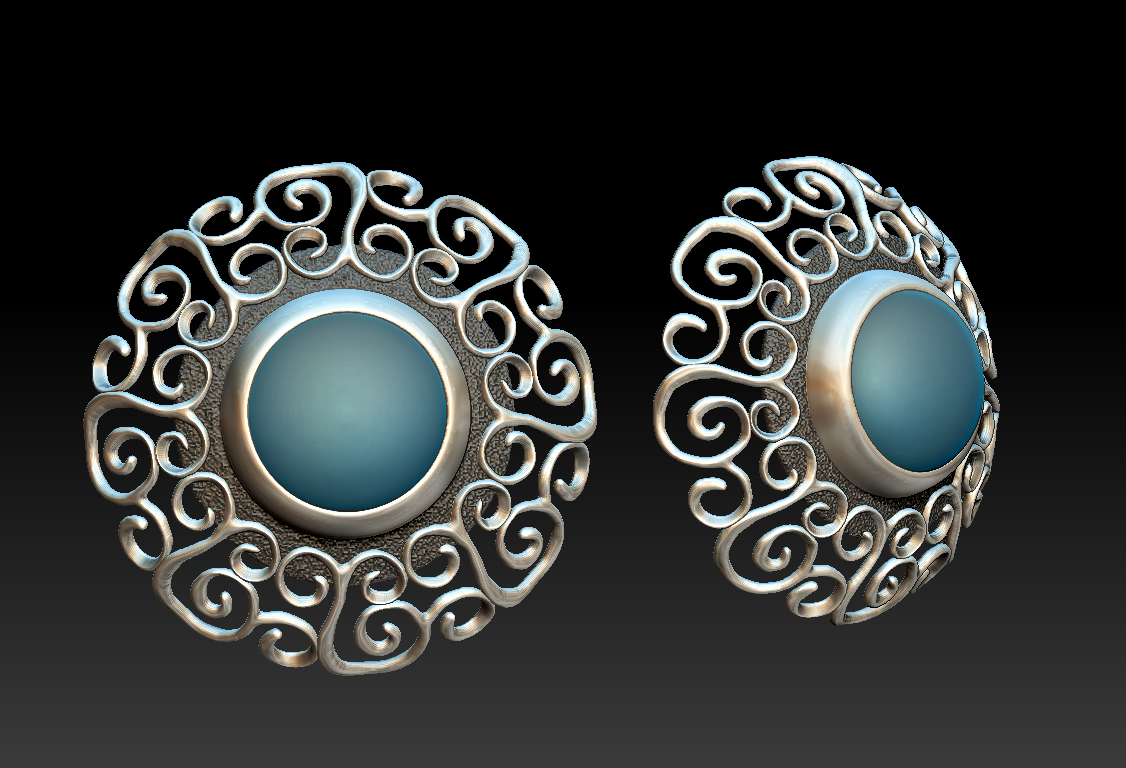
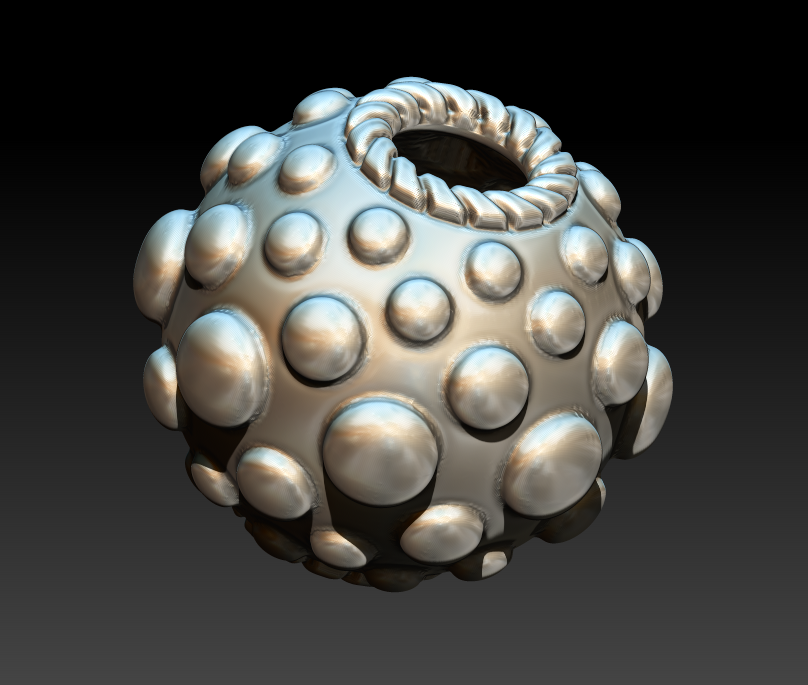
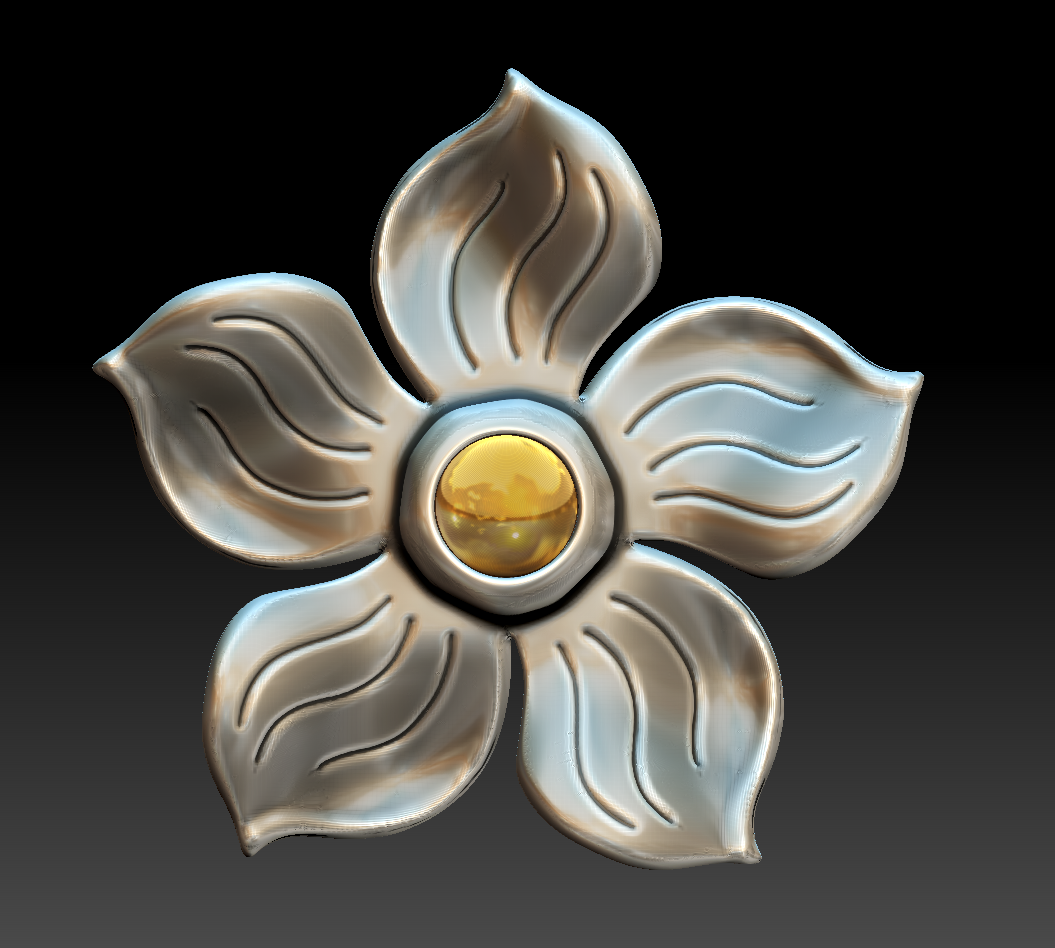
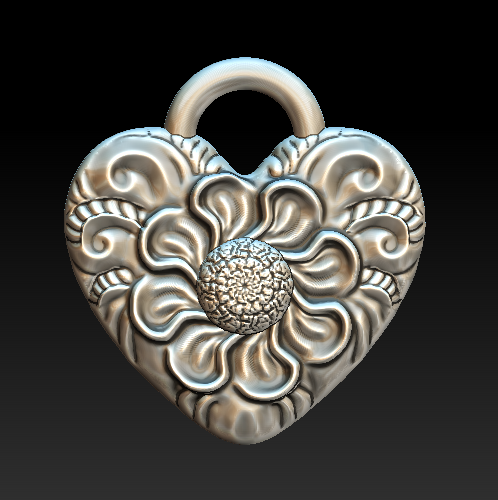
Step 1: Add the Sprues
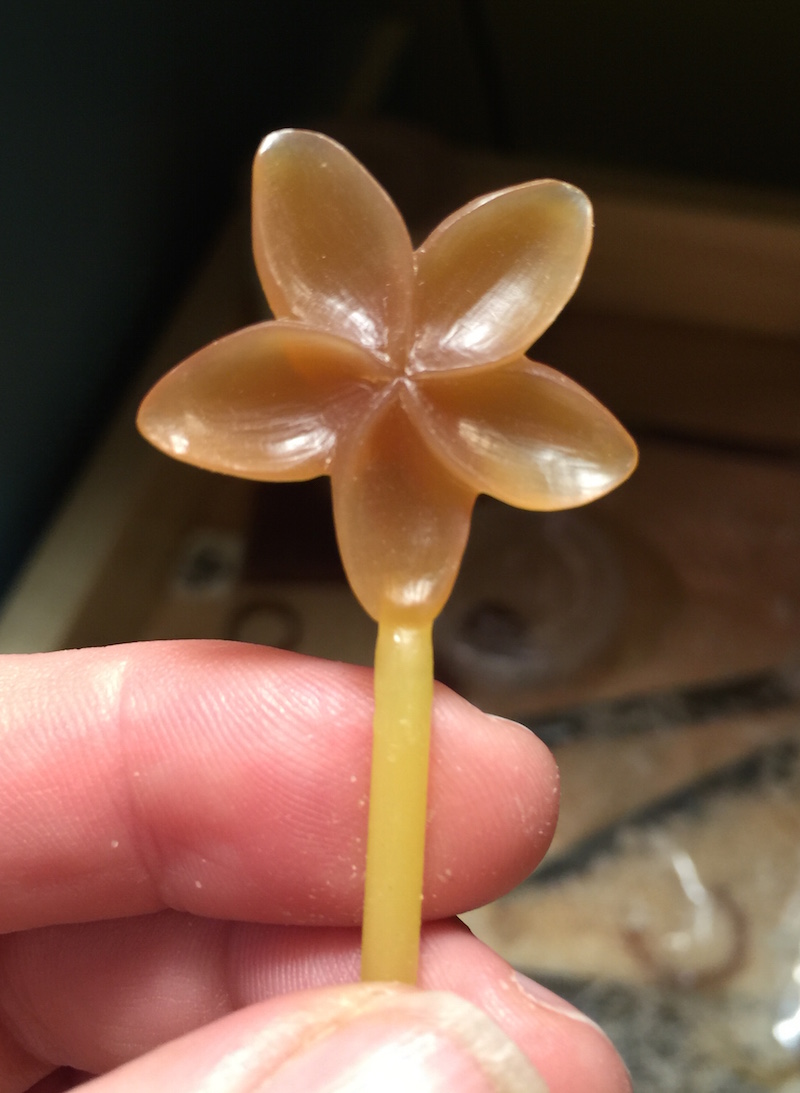
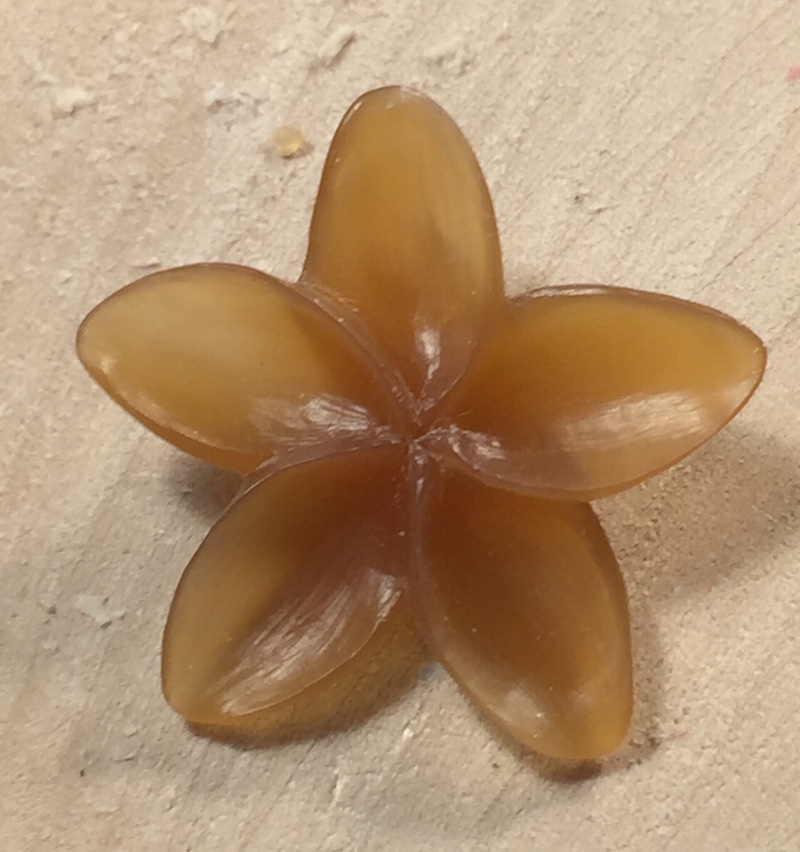
When you're creating a lost wax model, you need to add a "sprue," which creates a tube through which molten metal travels into the model cavity in the investment (like plaster of paris).
You'll want to weigh each model with a short sprue attached on a jeweler's scale, and make a note of the weight in GRAMS on a piece of paper. You'll use this to calculate the amount of metal needed.
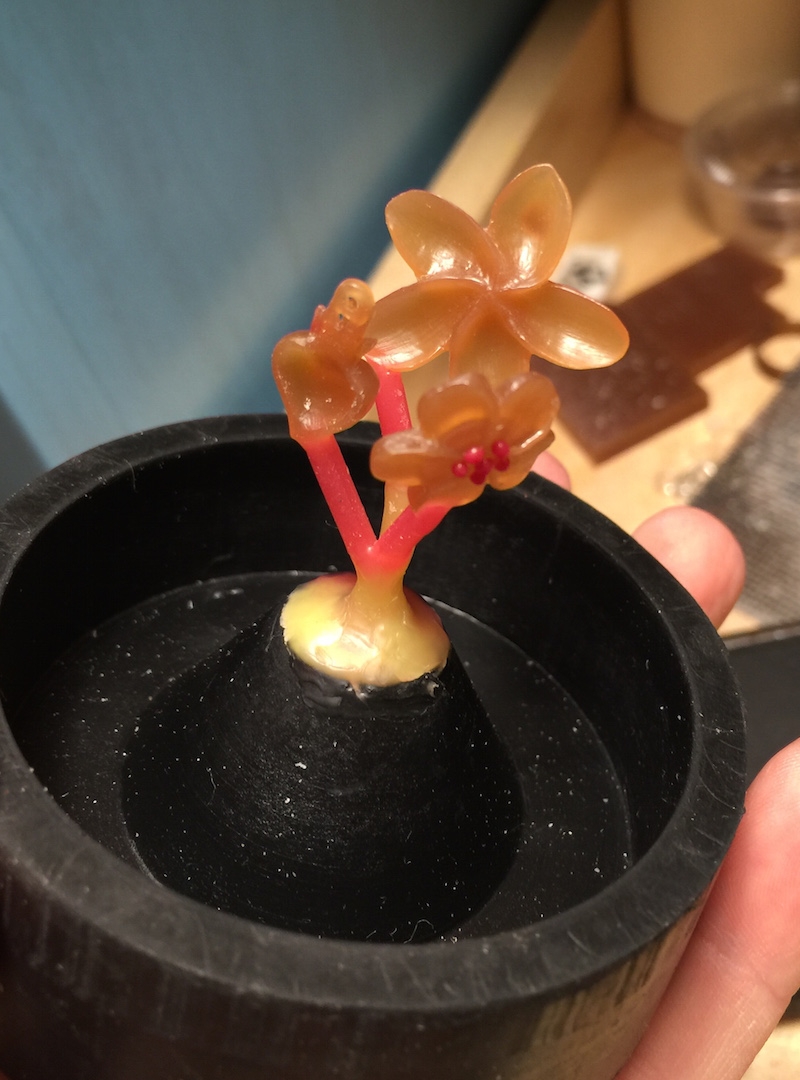
If you're casting multiple items at the same time, you can make a "tree" of the separate models, connected with sprues to the button.
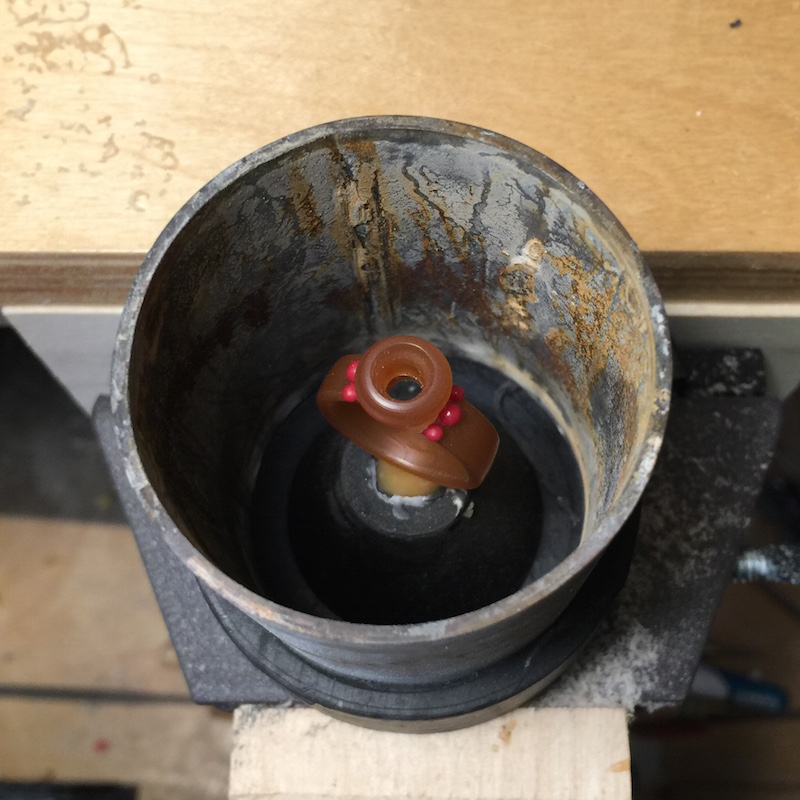
The bottom base shown on the last photo will fit onto a metal flask, which is a large stainless tube.
Next, spray the model with a light coat of debubblizer from about 12-18 inches away. Bubbles on the model will result in little bumps...you want to avoid them at all costs!
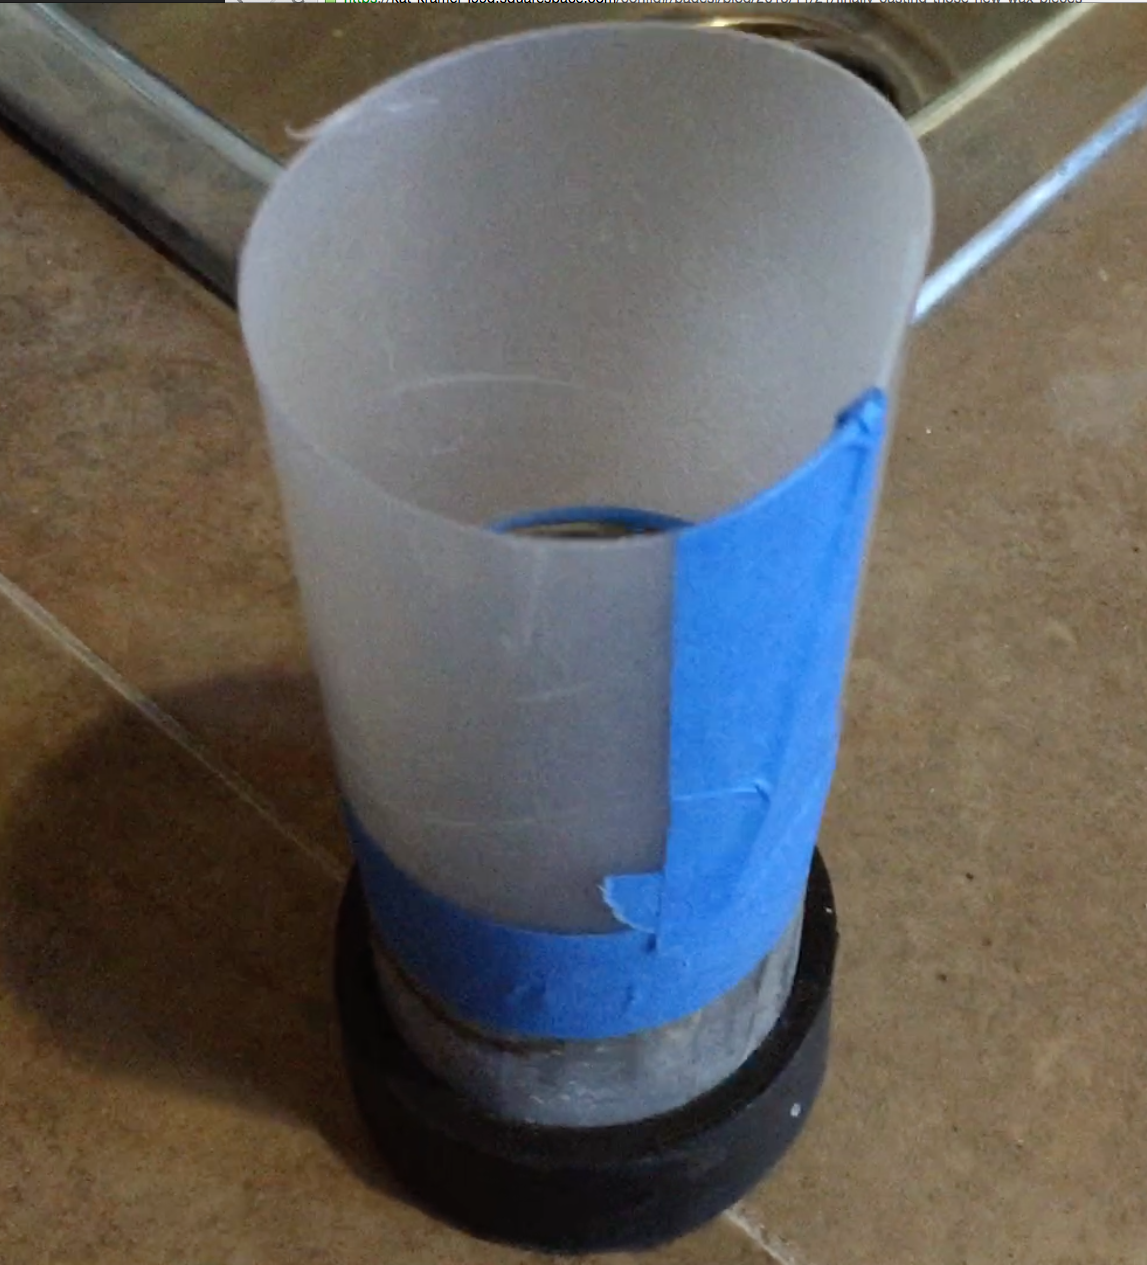
Using thin plastic, such as transparency material, create a "collar" at the top of the flask to contain the investment.
Step 2: Mix the Investment
The next step is to mix the investment, using the casting machine's vacuum chamber to remove any bubbles from the investment.
Using tables provided by the manufacturer of the investment, you carefully mix dry investment with cool water in a rubber mixing bowl. With plaster, you always add the dry plaster to water, and allow the water to seep into the dry mix...a process called "slaking." After the investment has absorbed water, you can start to mix. Kerr, the manufacturer of the investment, recommends mixing for about 3-1/2 minutes. I didn't go that long.
Step 3: Remove the Bubbles by Vacuuming
My first casting kit recommended tapping the side of the bowl to remove bubbles, but the Kaya-Cast has a vacuum chamber that lowers the pressure, causing the investment to "boil." Kerr recommends that once the investment starts to boil, vacuum an additional 20 seconds more. When the pressure is released, the bubbles disappear!
Step 4: Pour the Investment in the Flask and Vacuum Again
Carefully pour the investment down the side of the flask, never on the model itself. The investment will fill around the model from the bottom, which will help push any air bubbles to the top. Make sure that the investment is slightly below the top of the flask.
Place the flask in the vacuum chamber again, and vacuum up to 90 seconds.
In the video, you'll notice that the sound of the vacuum is different. The bell jar was not sealing completely with the silicone pad. Pressing down on the jar fixed the problem, and since only a few seconds elapsed, I didn't have to adjust the time.
